Garlic Sauteed Swiss Chard with Rice Stir-Fry
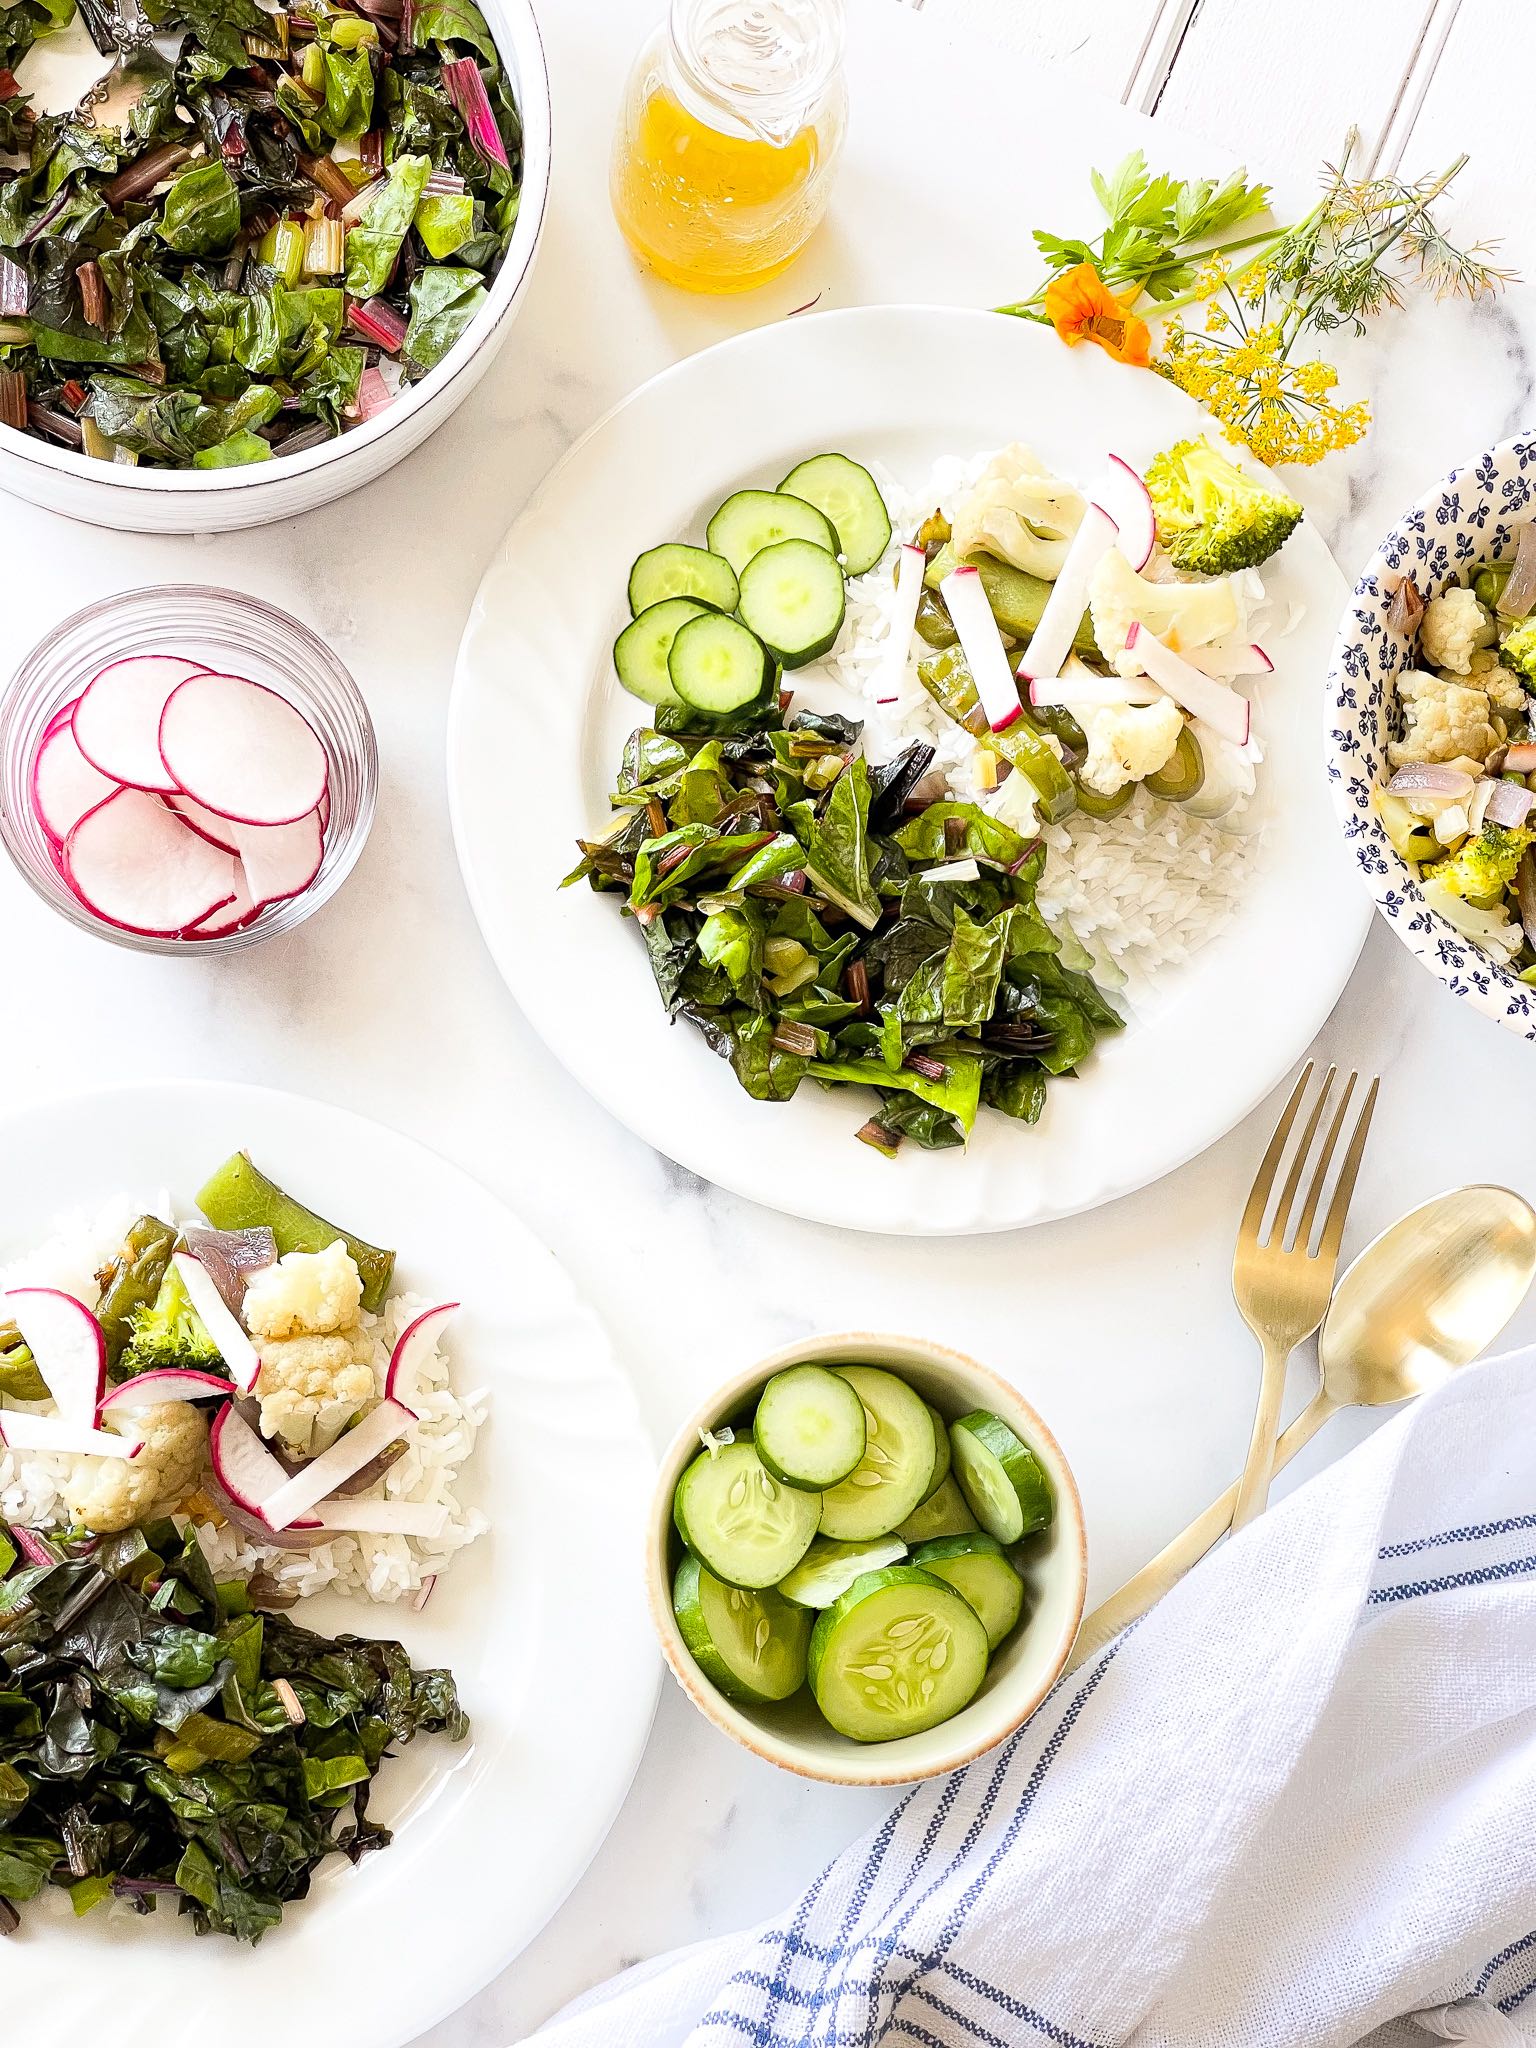
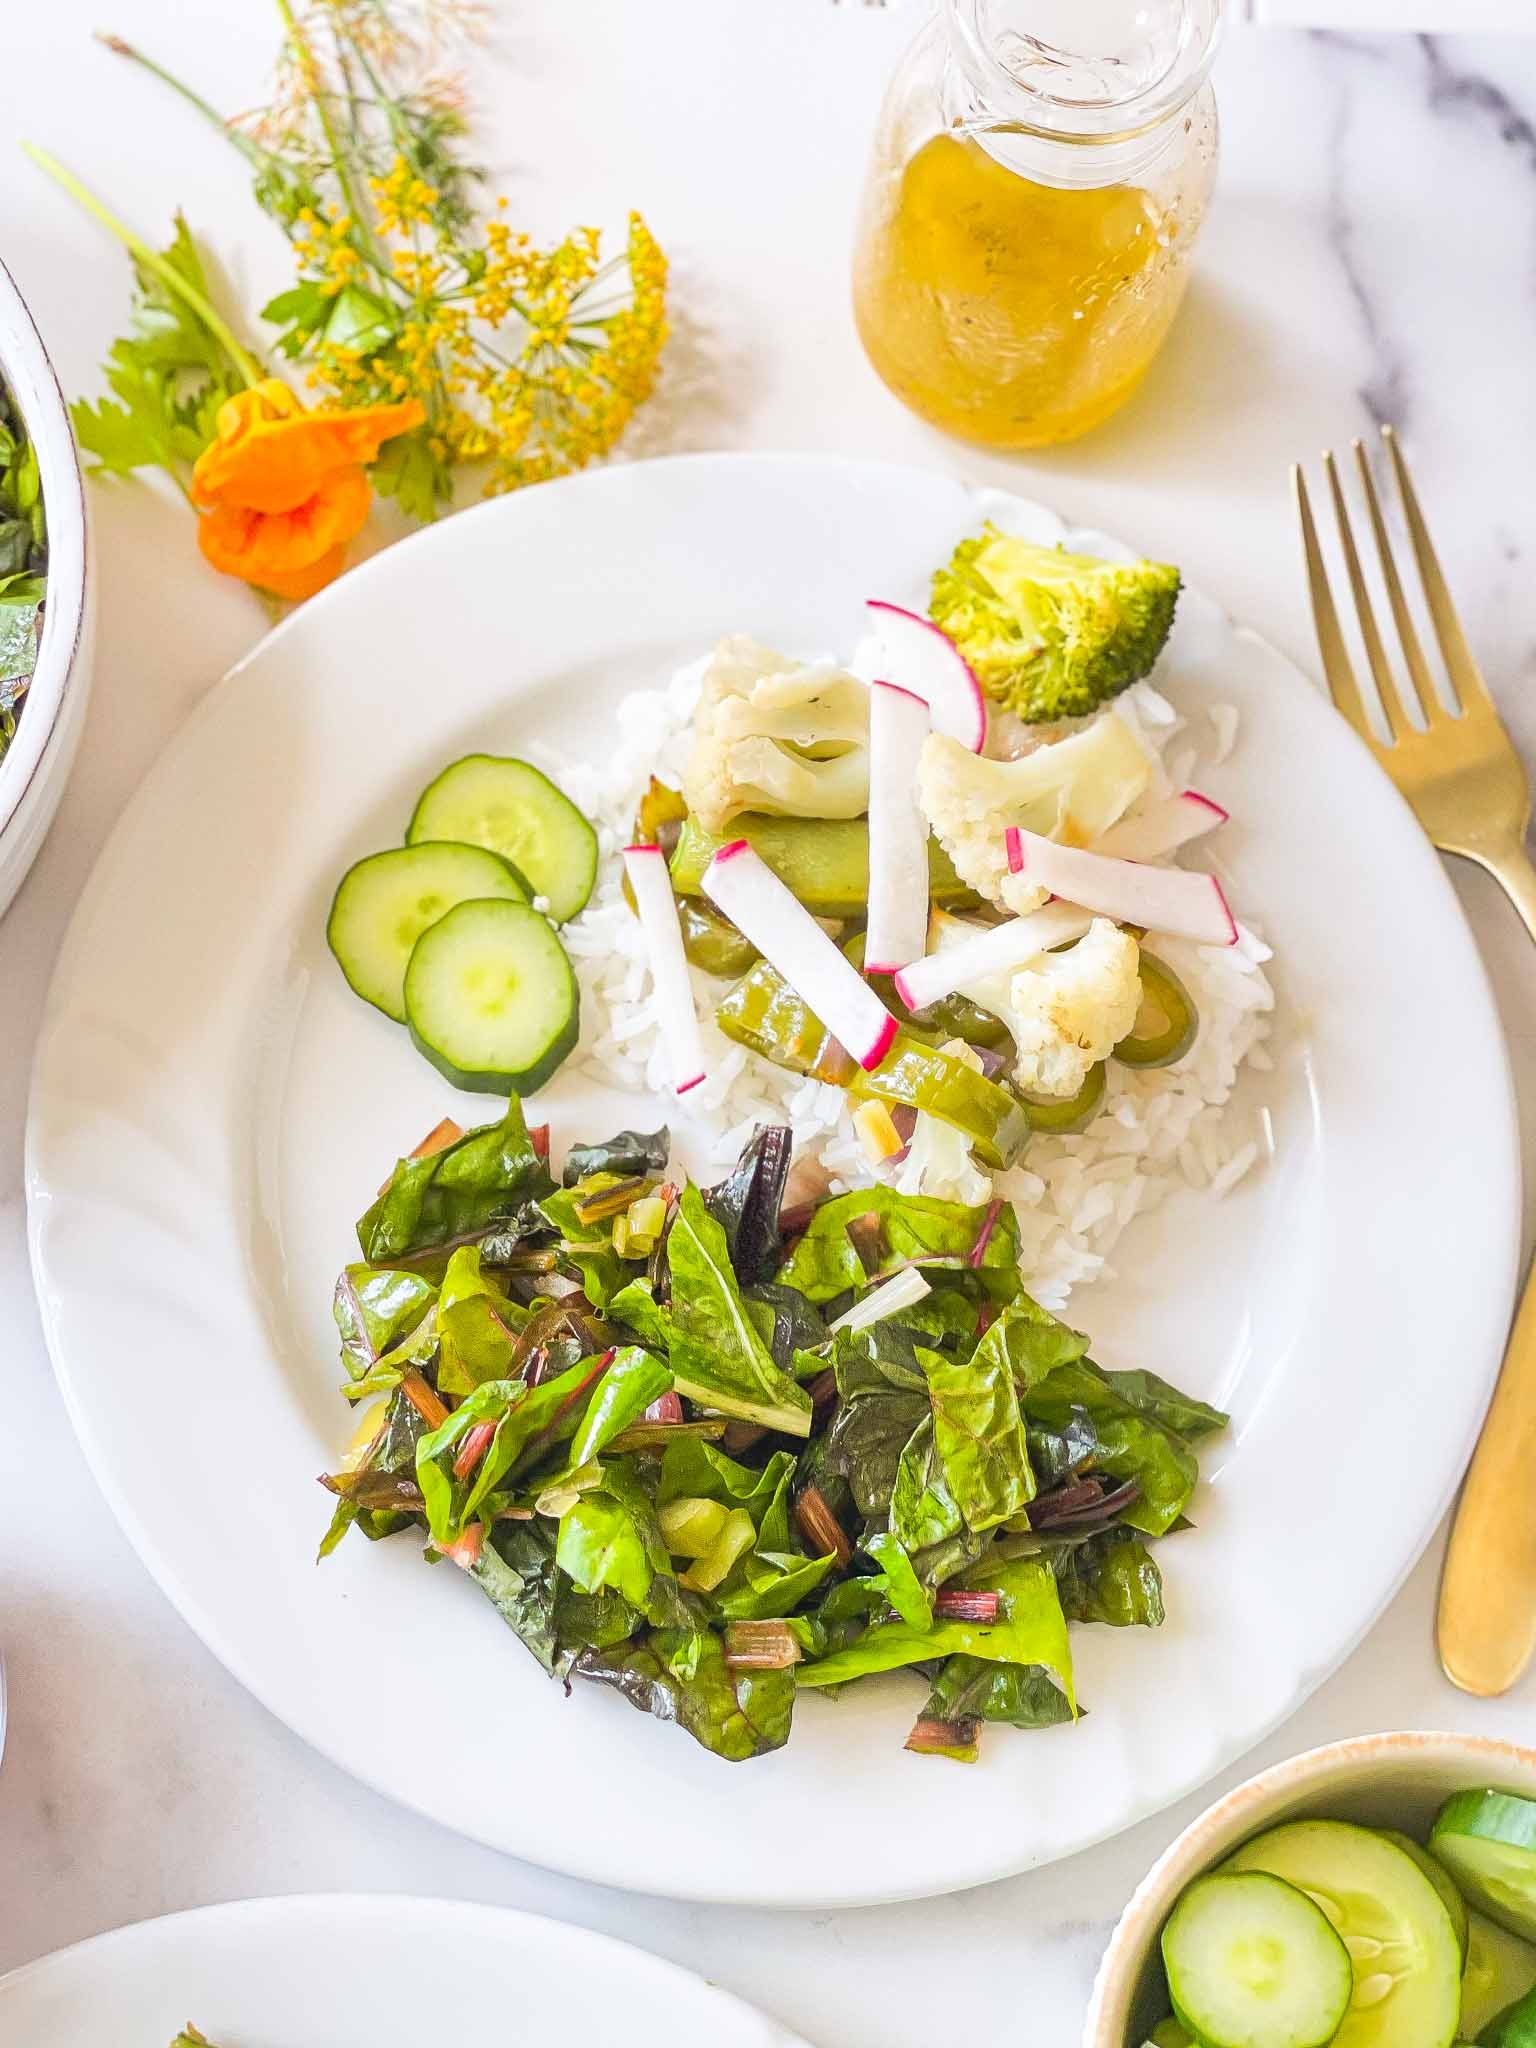
The bright color mix of Silverbeet Swiss Chard makes this delicious green a standout in the garden and on the plate. Sautée with good olive oil, salt, loads of garlic, and a jolt of red pepper flakes. Join me for a light lunch of rice stir-fry and garlic sauteed Swiss chard.
![]()

Garlic-sauteed Swiss chard is another green that’s making its way to the center stage among gardeners and chefs. Like its cousin, collard greens, swiss chard is experiencing a resurgence in popularity. Garlic sauteed Swiss chard is simple and easy to make – all you need is olive oil, sea salt, and garlic. The flavor is similar to beets and spinach, with a slight bitterness, and strong earthy flavor. Here’s more on how to grow Swiss chard from seed to transplant to harvest! My go-to is collard green wraps. This recipe is fun to make and eat and is packed with healthy nutrients.
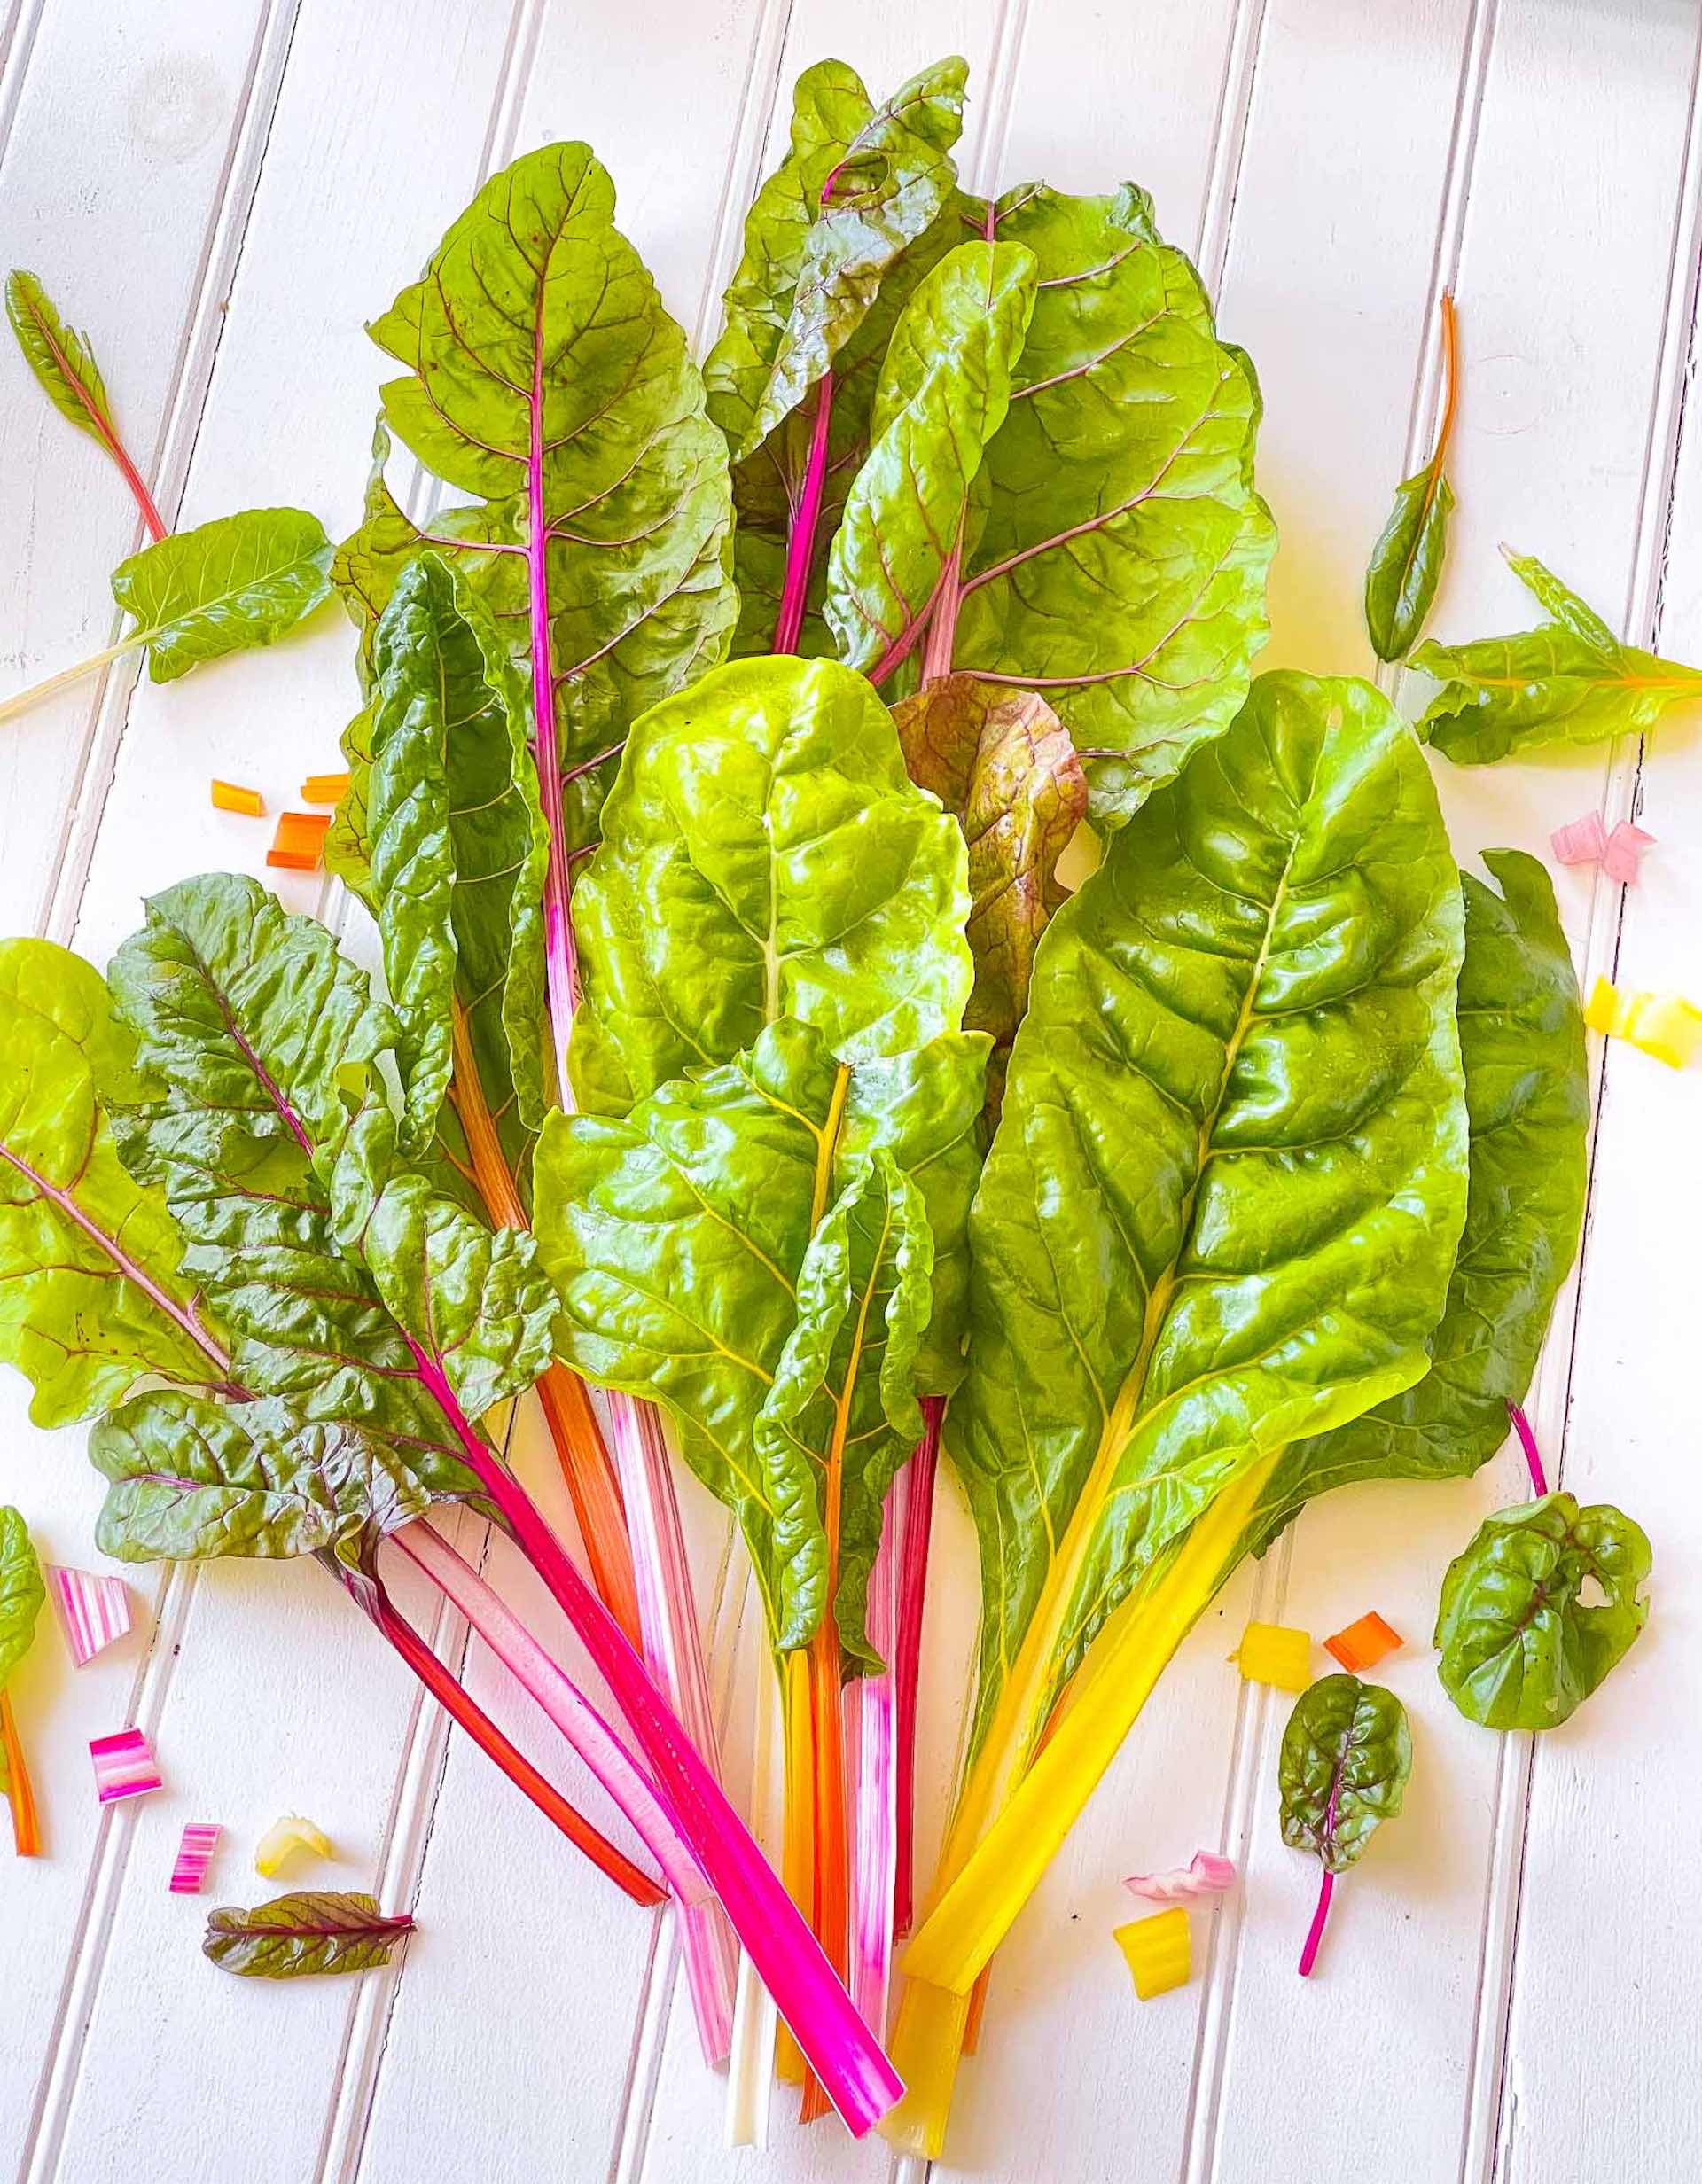
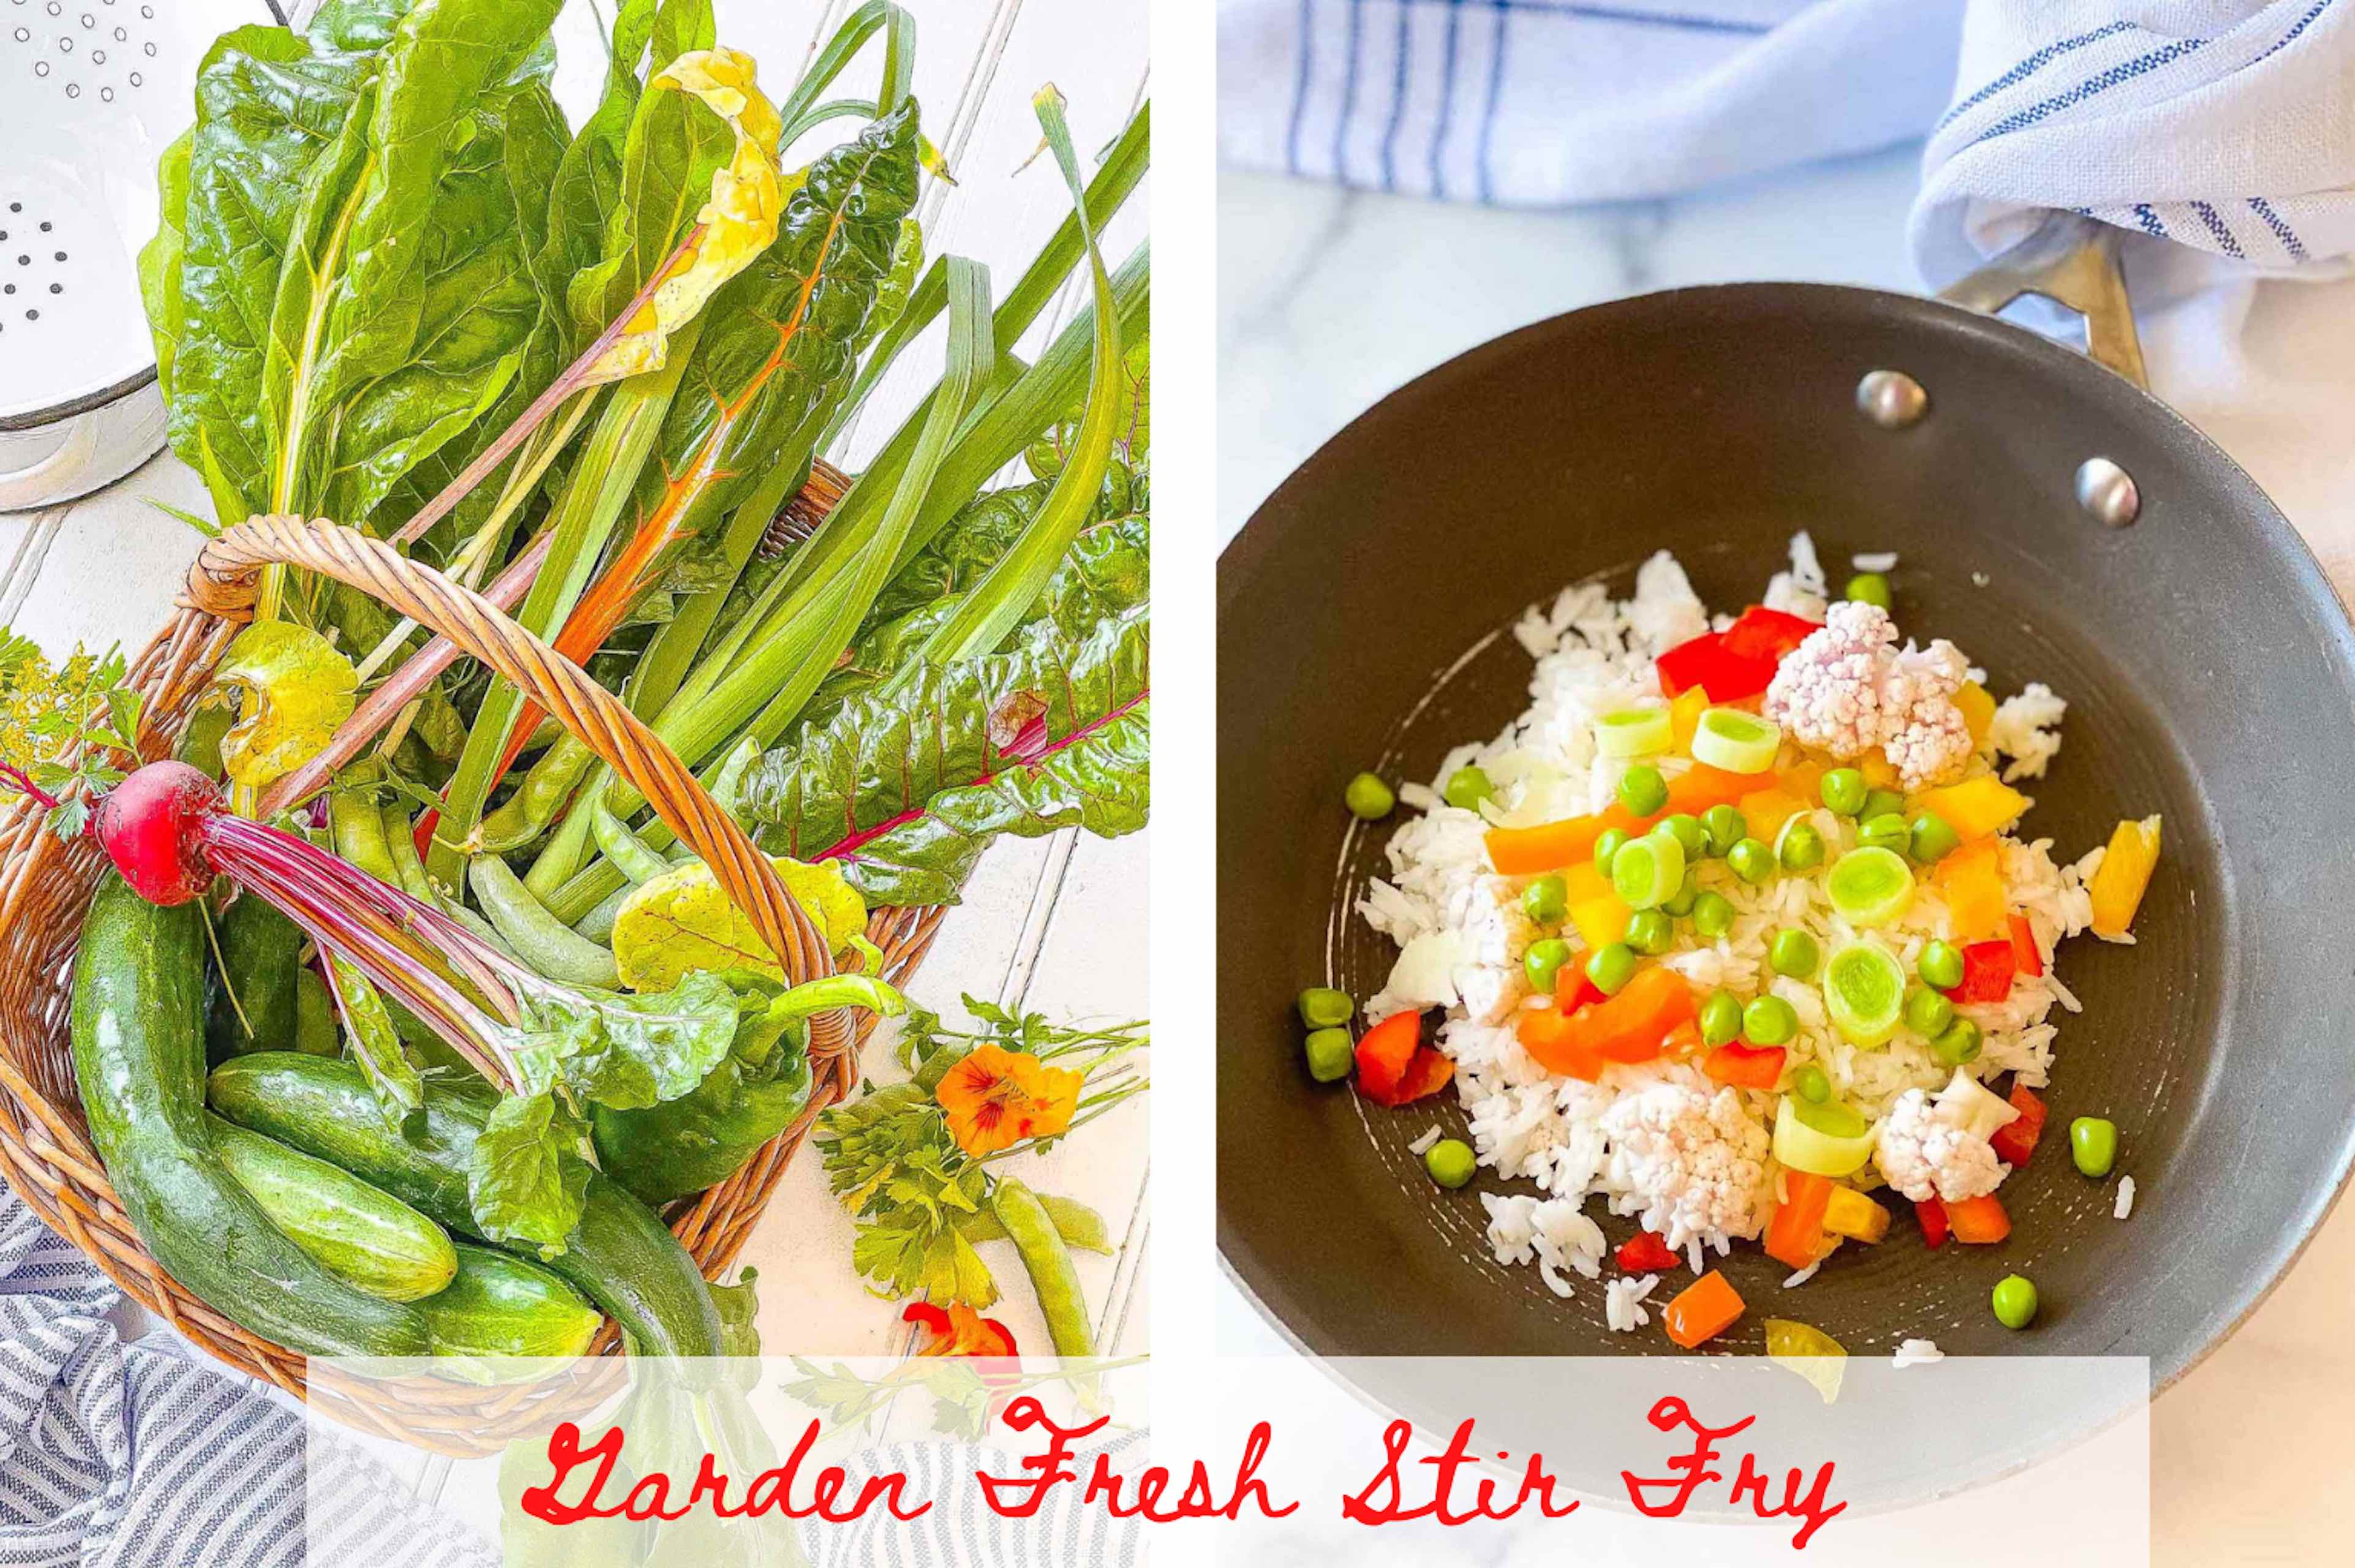
This is the first year I’ve grown Swiss chard, and I love seeing this beautiful, leafy green explode with color in my garden. I am growing Silverbeet Swiss chard, (commonly known as Rainbow Swiss Chard) whose stems are bright pink, orange, red, yellow, and white. Often, I will chop it up raw and add it to a salad. This basic side dish is low in calories, extremely healthy, simple to prepare, and can be paired with a wide variety of meals! This Garlic Sauteed Swiss Chard is my favorite. Today, I’m going to prepare a light lunch of Garlic Sauteed Swiss Chard along with Stir-Fried Rice, and fresh vegetables from the garden. Let’s get started!

What is Swiss Chard?
Swiss chard (Beta vulgaris) is a leafy green vegetable that’s closely related to beets and spinach. The mature leaves are lush and relatively coarse when they’re raw, but they wilt down beautifully when they’re braised or sautéed. Their earthy flavor pairs really well with garlic, nuts, dried fruits like currants and raisins, and acids like lemon juice and vinegar.

How to Make Garlic Sauteed Swiss Chard
If you’ve never cooked Swiss chard there’s nothing to be afraid of! Let’s get started.
-
- Prepare your Swiss chard. Wash 1 pound rainbow Swiss chard (washed in several changes of water.) Thoroughly dry and lay flat on a cutting board.
- Stack a large handful of Swiss chard greens. Use a sharp knife to trim the Swiss chard leaves from the stalks. Cut along either side of the stalk to keep the large leaves intact, or fold the chard in half to cut out the stem.
- Cut the stalks. Cut the Swiss chard stems into smaller sections, slicing 1-inch pieces, like celery.
- In a sauté pan, heat the oil over medium heat.
- Smash the garlic clove with the side of a knife and add it to the pan. Sauté the garlic lightly in the oil and remove it from the pan as soon as it starts to brown.
- Add the chard pieces to the pan and sauté until just wilted, stirring frequently.
- Remove the pan from the heat, add lemon juice, salt (if desired), and pepper to taste, and serve.
Cooks will often separate the leaves from the thick celery-like stems before cooking, but the stems are edible. The stems have unique qualities of their own and can be cut up for stir-fry dishes. You can also serve them as veggie sticks with dips, or pickle them to make a side dish. They take a bit longer to cook, so start them in the pan before adding the leaves.

How to Make the Rice Stir-Fry
This vegetable and rice stir-fry pairs wonderfully with your garlic-sauteed Swiss chard for a light lunch.
-
-
- Prepare your radishes. Wash the radishes well, trim the tops, and thinly slice or halve them. For getting beautifully thin and even slices, I recommend using a mandoline. This makes the preparation and overall time spent go way faster and yield even, paper-thin slices more quickly.
- Divide the radishes among 3 (4 ounce) jars, or whatever lidded jars you have – any lidded jar will do.
- Make the brine. Put the vinegar, water, sugar, and salt in a saucepan over medium heat. Stir until the sugar and salt dissolve. This should only take about 1 minute. The brine works best cool at room temperature, so let it cool down before pouring it over the radishes in the jars.
- Finally, add the peppercorns and mustard seeds, cover the jars, and refrigerate.
-
These quick pickled radishes are ready to eat when they are bright pink, tangy, and complex, with subtle flavoring from the peppercorns and mustard seeds. The thinly sliced radishes are great after just an hour in the fridge – halved radishes are best after a day or so. Keep refrigerated and they will keep for up to two weeks.
Pickled Radish Recipe Ingredients
Here’s what you need to make this quick pickled radish recipe:
-
- Radishes, of course! I like red radishes here, but other varieties would work well too. I’ve experimented with daikon, watermelon, and Easter Egg.
- White vinegar and water – They make up the zesty and tangy base of the brine.
- Cane sugar – It’s the perfect sweet complement to the vinegar, making these quick pickles well-balanced and tasty.
- Sea salt – It helps preserve the radishes and adds needed salty flavor.
Whole peppercorns and mustard seeds – They add a distinctive depth of flavor to this simple brine.

More Favorite Quick Pickled Recipes:
If you love this quick pickled cauliflower recipe you’re sure to appreciate these other pickling recipes.
-
- Quick Pickled Radishes
- Quick Pickled Asparagus
- Quick Pickled Cucumbers
I hope you enjoy this recipe as much as I do. Let me know in the comments below.

Sautéed Swiss Chard with Garden Fresh Stir Fry
Ingredients
- 2 bunches Fresh Swiss Chard
- Chopped Garlic
- 1 tbsp Olive Oil
- Sea Salt
- Red Pepper Flakes
Stir Fry
- 1 cup Rice
- 1/2 cup Cauliflower Florets
- 1/4 cup Chopped Leeks
- 1/4 cup Broccoli Florets
- 1 med Fresh Red Radish
- 1 cup Chopped Swiss Chard Stems
Instructions
- Chop and clean your Swiss Chard. To cut the Swiss Chard, lay a few leaves on top of each other on the cutting board, and remove the stems. Chop the stems into small pieces for stir fry later.
- Sautee the leeks, garlic, cauliflowers, broccoli, stems.
- Add Swiss Chard - Cover and Wilt. Once the stems and veggies are softened add green leaves at the end, since they don’t need as much cooking time to become tender.
- Soften the Greens. Once the greens are wilted down, remove the lid and continue cooking and stirring until the greens are tender.


0 Comments