How To Make Buttery, Flaky Vegan Pie Dough
This easy-to-make buttery, flaky, vegan pie dough is as versatile as the classic you’re used to – only better.
![]()
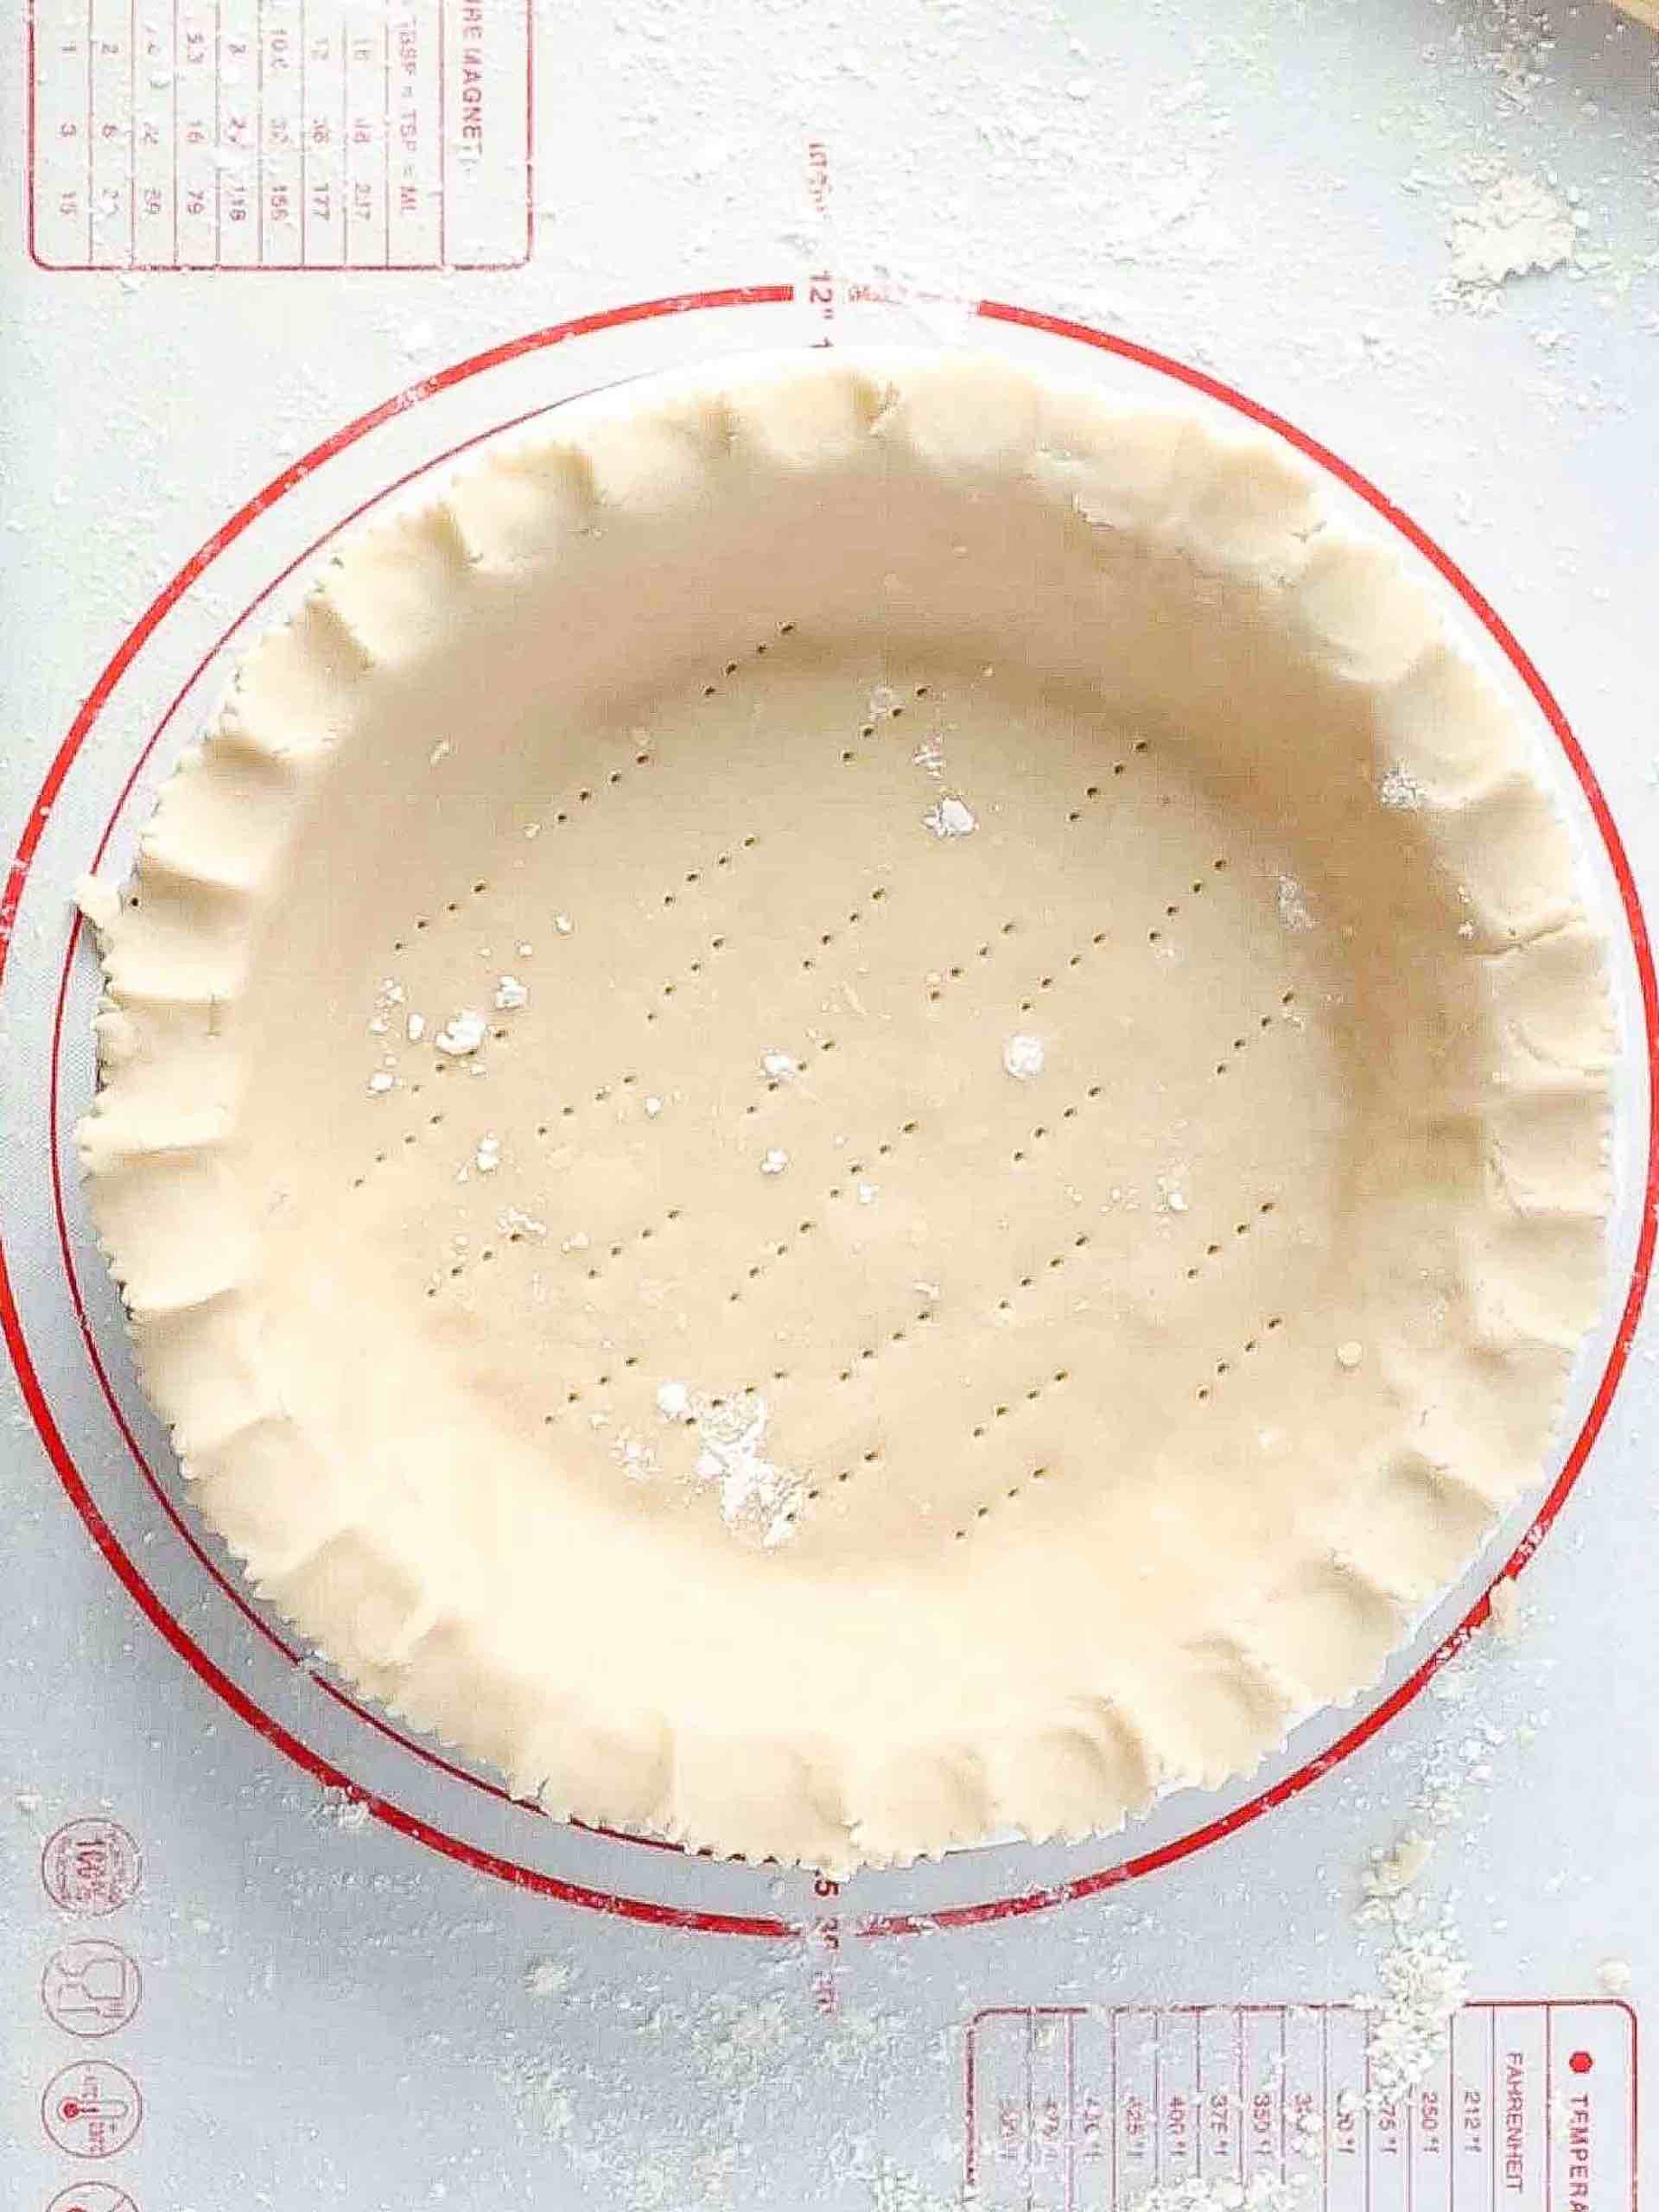
Making vegan pie crust was one of a few early achievements in my beginning years of vegan baking. I’ve tried many versions many times and made many mistakes. I’ve cried over vegan pie crust and then eventually rallied, and now I can say, “I enjoy making my vegan pie crust – classic AND lattice! I get a lot of satisfaction and a sense of redemption these days from making vegan pie crust. LOL!
The transition from classic baking to vegan making isn’t nearly as intimidating or stressful as you might believe. In fact, there are only a few things you need to know. For example, if you learn how to make substitutions for animal milk and eggs, you’re home free. It’s not any more complicated than that. However, let’s start making your own vegan pie crust, both classic and lattice.
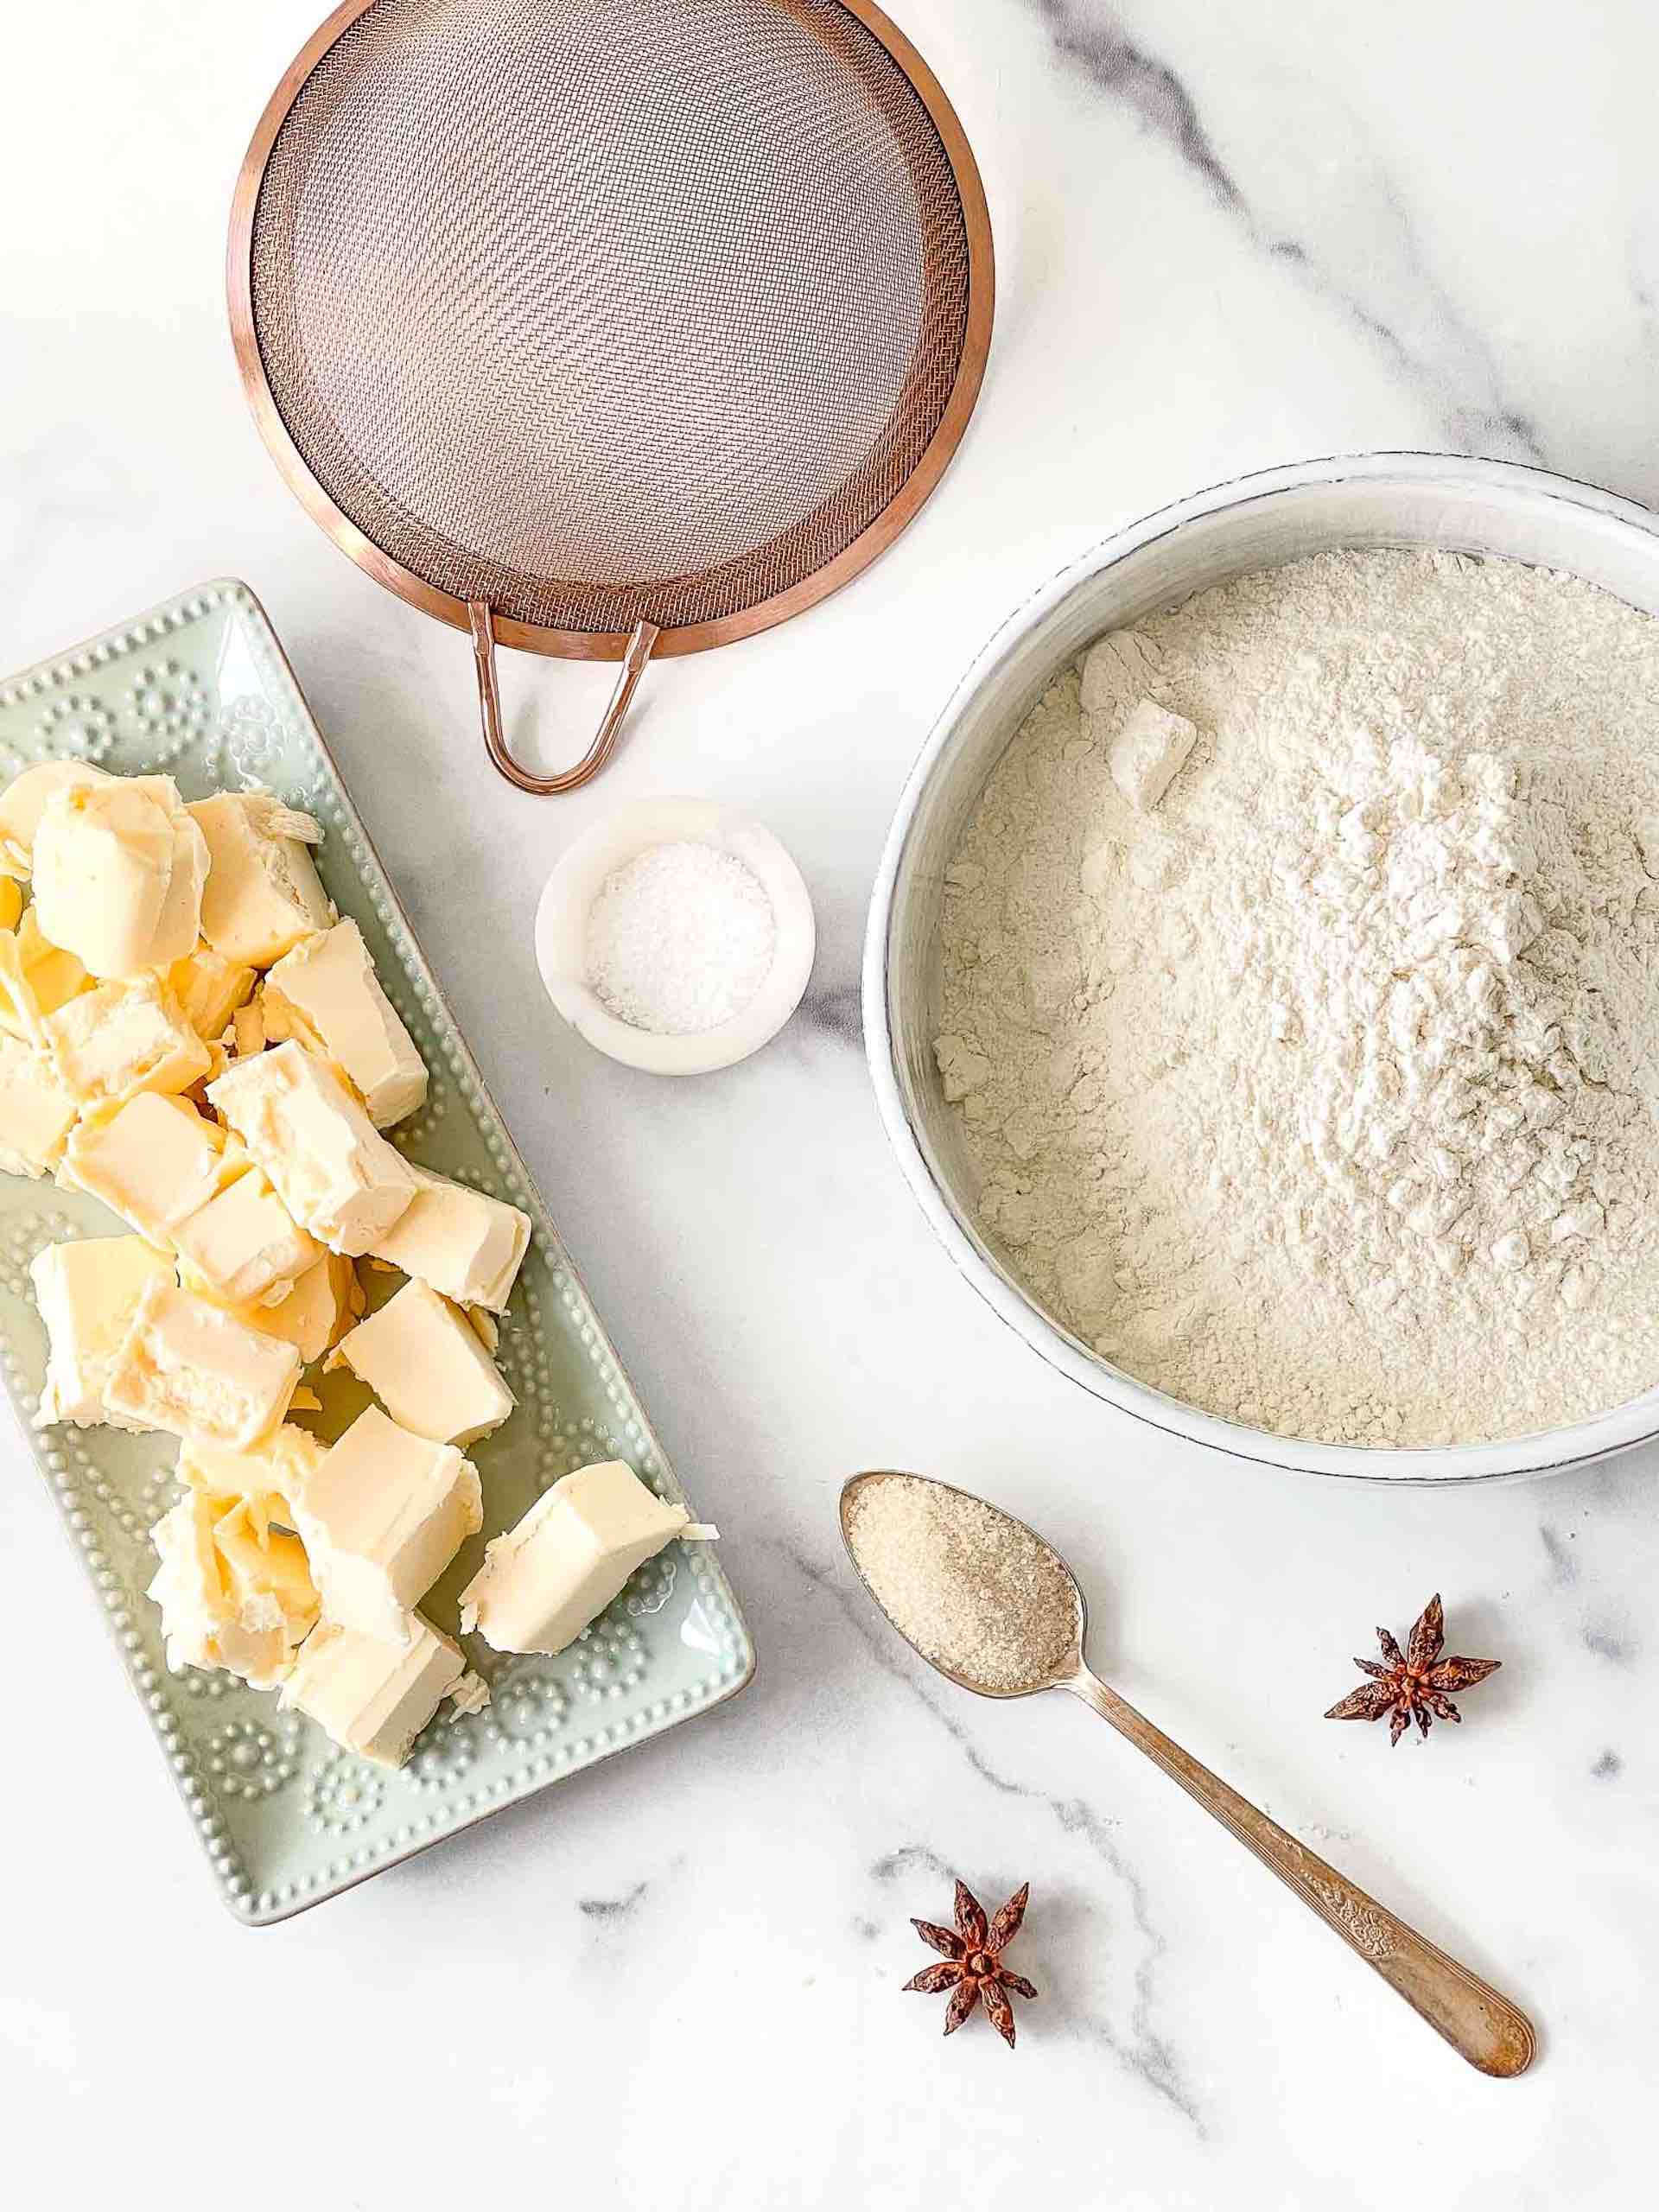
Vegan Pie Dough Ingredients.
There are only 6 ingredients, including water.
-
- Flour – I generally use all-purpose flour enriched and unbleached. However, you can also use gluten-free flour as a one-to-one replacement.
- Sugar – Sugar adds a slight sweetness to your pie dough.
- Vegan butter – Use chilled butter. I prefer to use cultured butter here. I often make my own, but I also use Miyoko’s Vegan Cultured butter or Earth Balance Buttery Vegan Sticks. Either way, it brings a smooth consistency to your pie dough, provides flavor, and makes your crust flakier.
- Vegetable margarine – I use this shortening because it’s much lighter than vegan butter, lightens up the crust, and, from my experience, helps it become flaky and crispy brown when cooked.
- Ice water – Ice water keeps the butter cold. When baked, it releases steam and makes the crust rise and become light and flaky.
- Salt – Makes everything that much better. But a little bit goes a long way!
How to Make Vegan Pie Dough
Follow these easy steps, and you’ll have the perfect pie crust every time. Firstly, of course, we have to make the dough!
Make the dough:
-
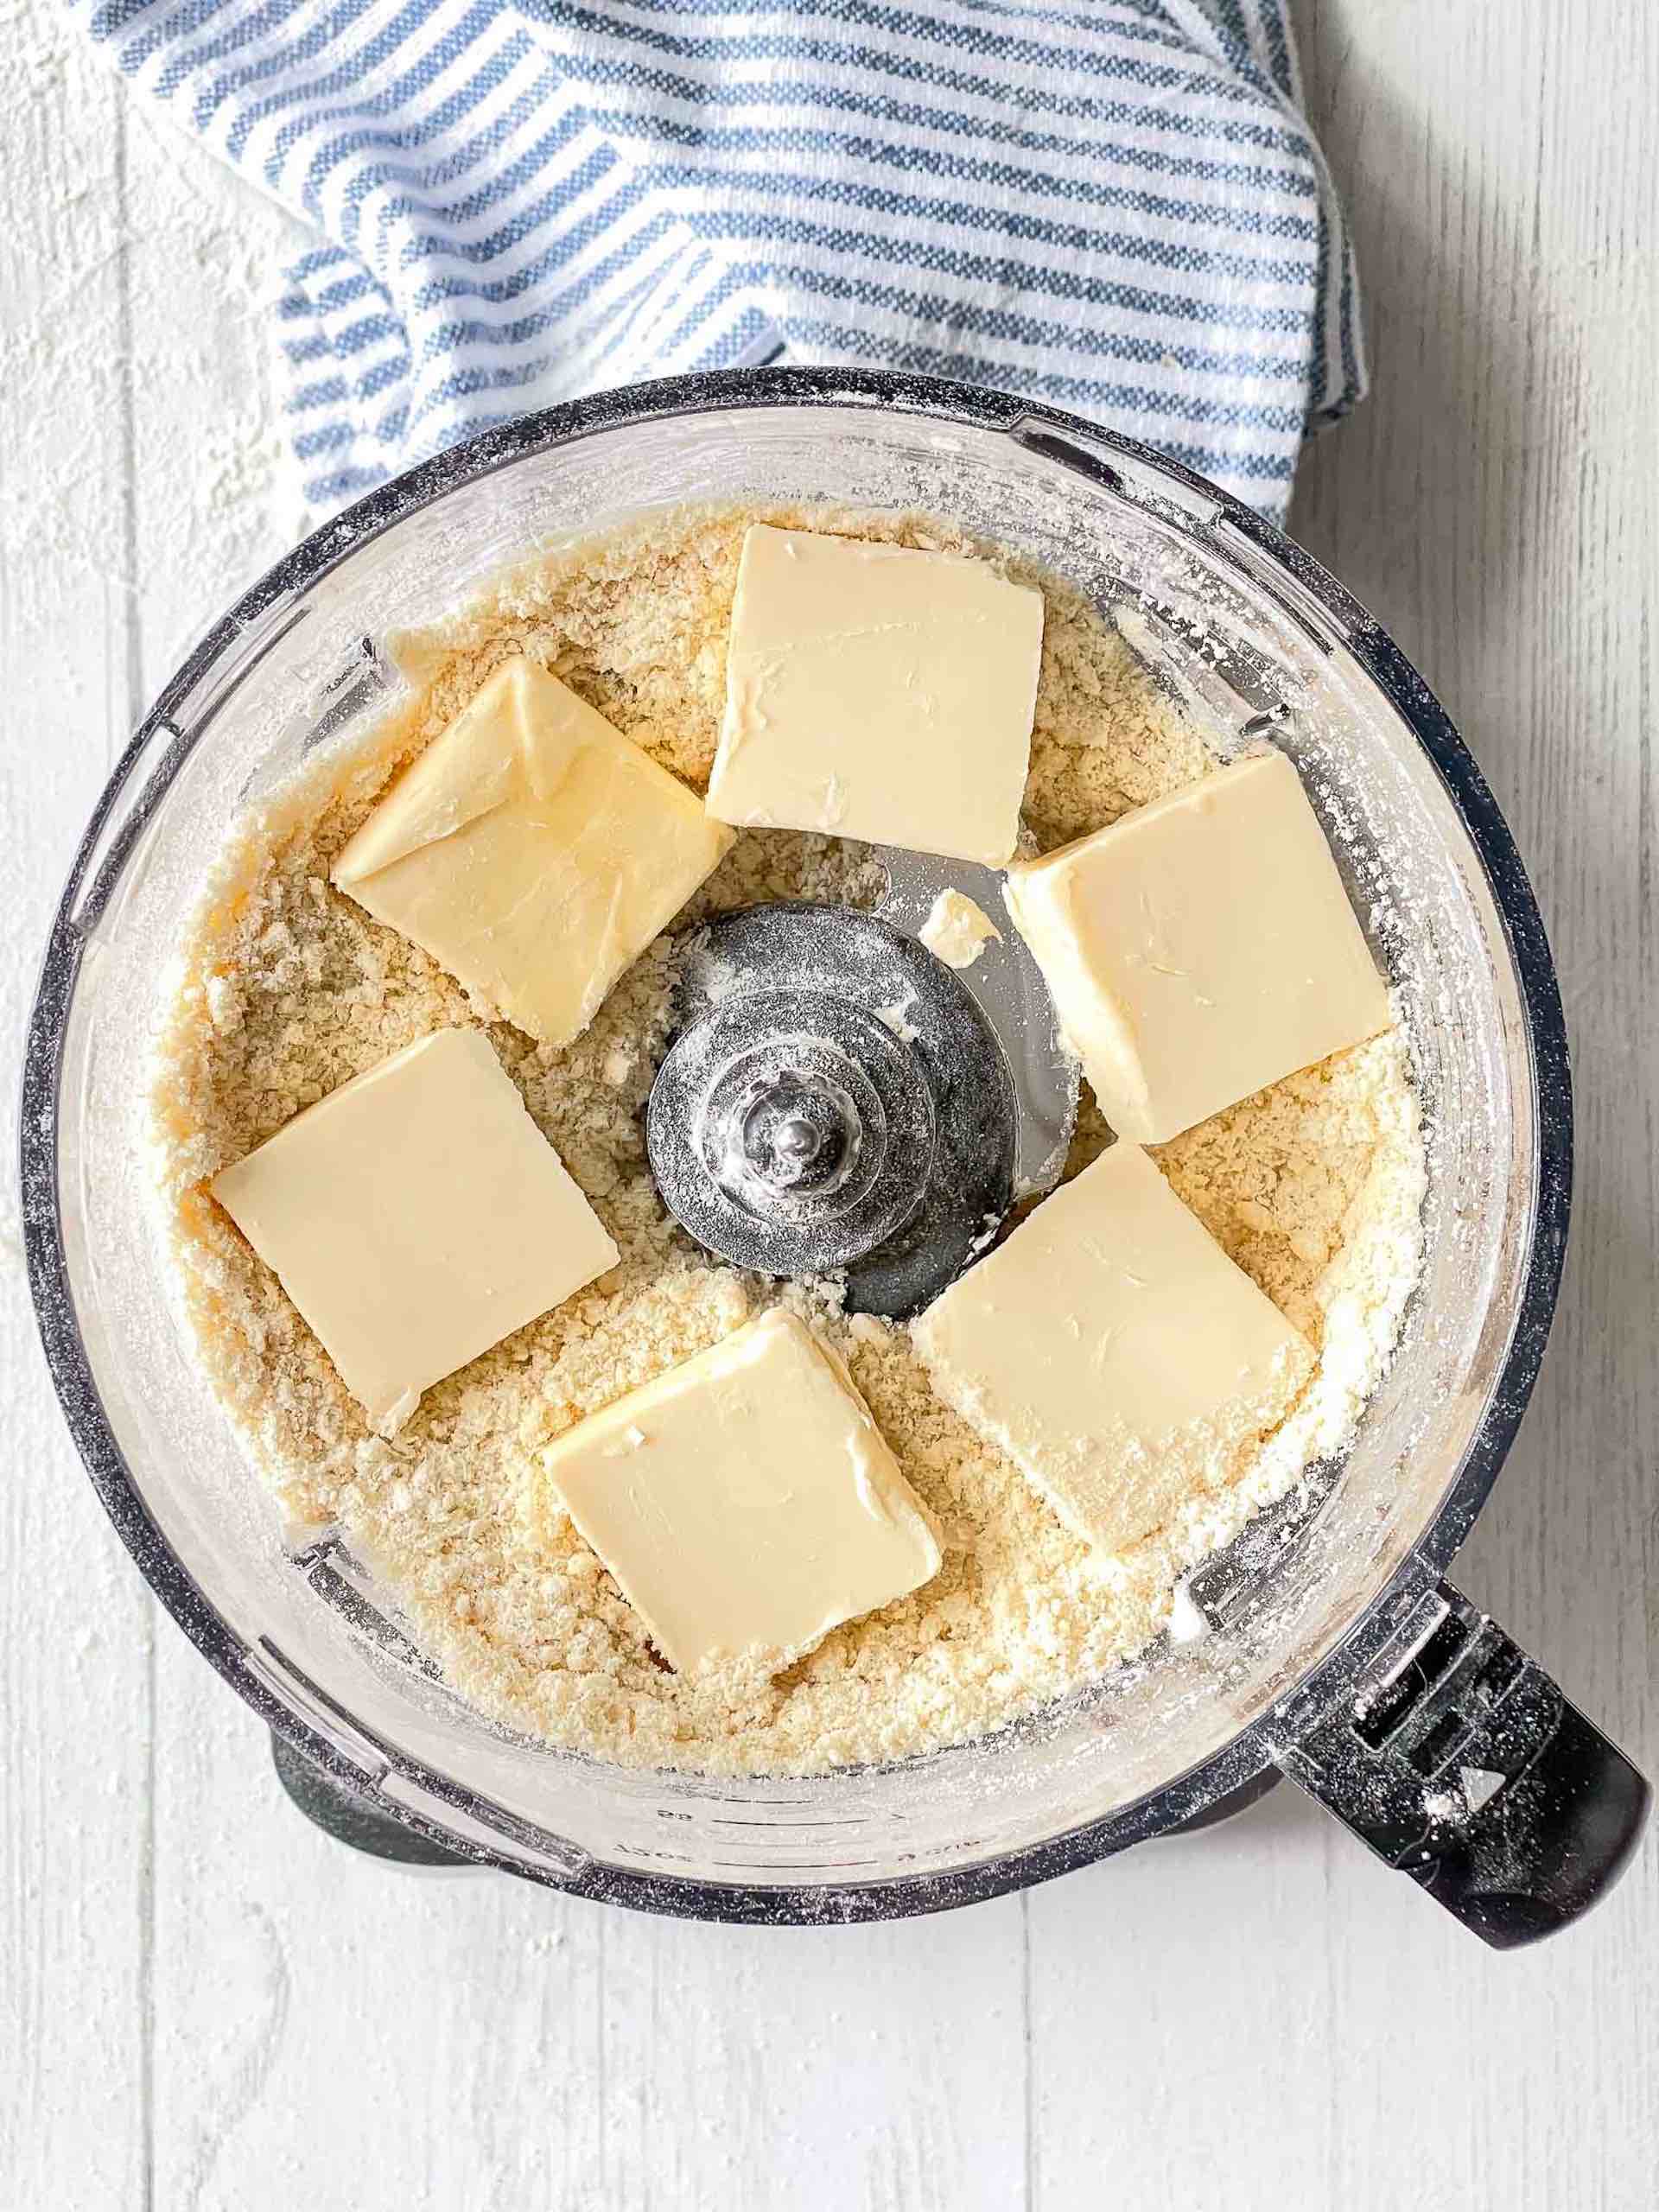
- Add dry ingredients to a food processor– Add all of the above dry ingredients to a food processor. Pulse the dry ingredients a few times. Don’t over-mix here.
- Cut the chilled butter and margarine into cubes – Butter cubes are easier to manage than the big sticks and combine easier with the dry ingredients.
- Add butter to the food processor -Add the chilled butter cubes, chilled margarine cubes, and ice water to the dry ingredients. Pulse until crumbly. This is the consistency you’re looking for, so don’t overprocess.
- Transfer the crumbly dough to a flat surface. Cover the flat surface lightly with flour and work the dough into balls. Do this as quickly as possible the mechanical action of kneading activates the gluten in the flour, making the dough chewy.
- Cover with plastic wrap – Cover the balls with plastic wrap and transfer them to your refrigerator. Riann and I store the vegan pie dough overnight, but two hours is also good. You can also roll it out and chill it in the fridge overnight if you have the space.
Ways To Use Your Vegan Pie Crust – Classic
There are two basic options. Let’s start with the classic pie crust version.
-
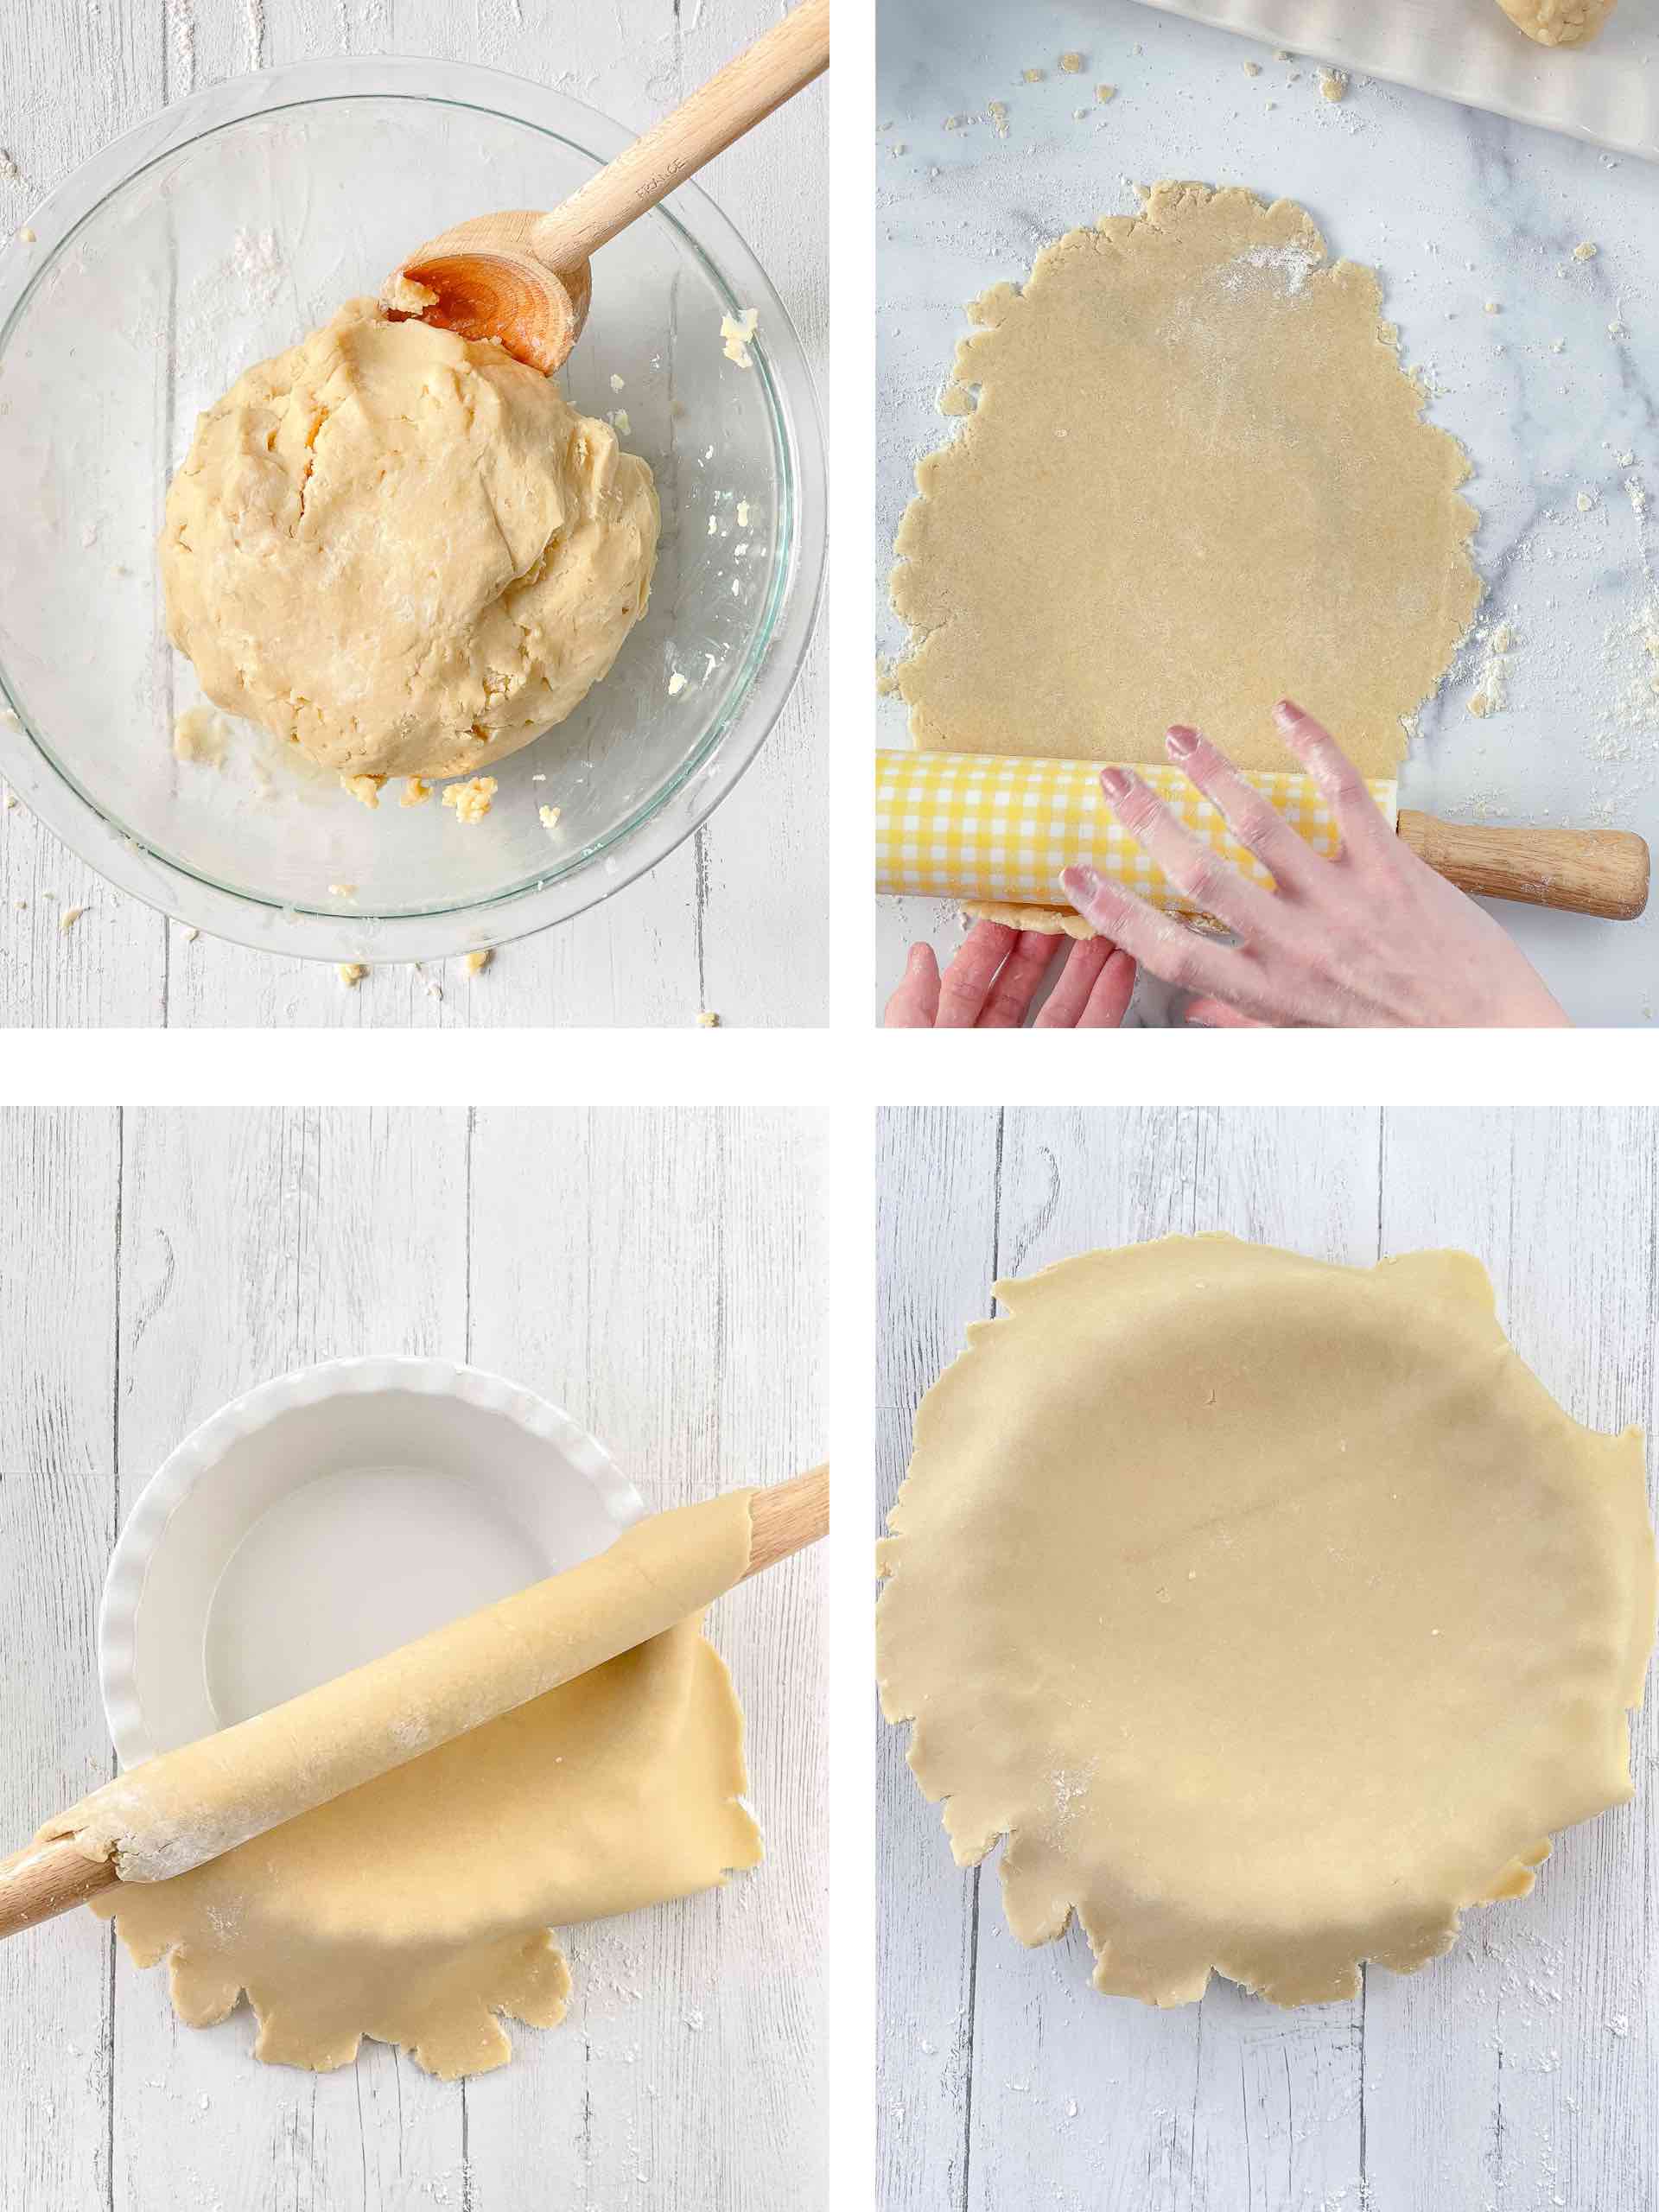
- Transfer your chilled vegan pie dough balls to a flat surface. Lightly cover your surface with flour so your dough won’t stick.
- Roll out your dough – Roll out until about 1/4″ thick. Also, roll it out as wide as you need to fit the dish you’re using.
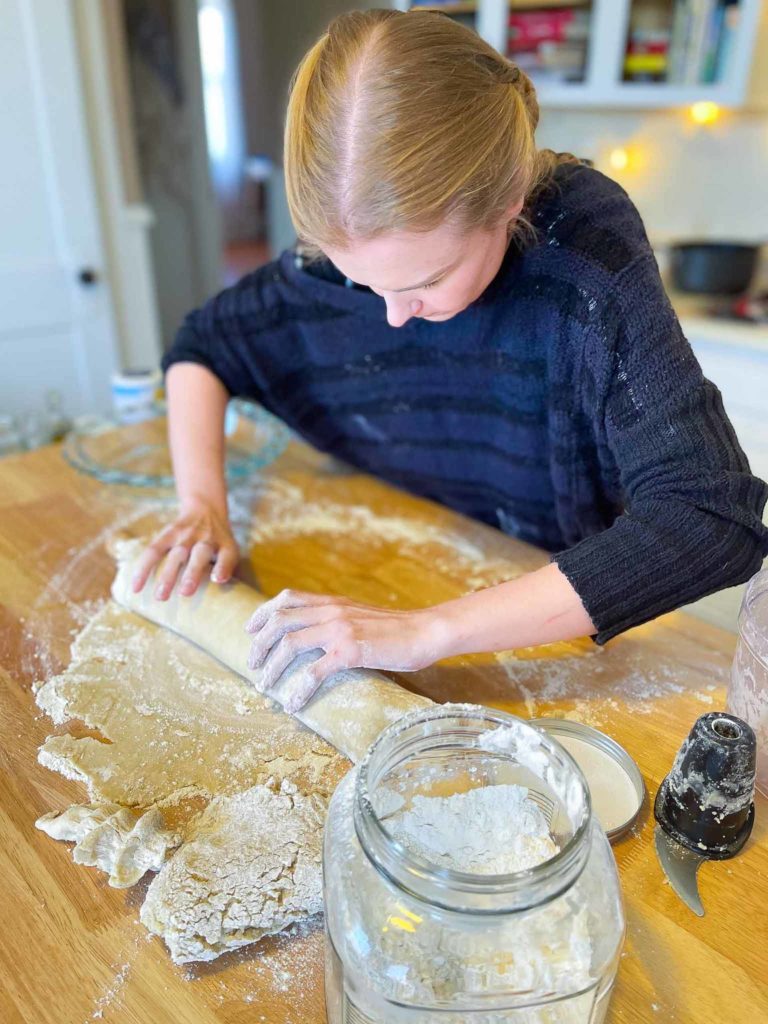
- Wrap onto your rolling pin – Wrap the dough around your rolling pin. If you’re new to this, you might have to try this a couple of times. Don’t stress. You can also patch up any mistakes later.
- Fit pie dough to the bottom of the pie dish – Let the vegan dough fall off your rolling pin and onto the center of the bottom of the pie dish. Fit the dough into the corners of the plate.
- Mark the bottom with a fork – This enables air and steam to get through and allows your pie crust to get fulling cooked on the bottom.
- Add the filling! Scoop in the filling of your choice. Level it out even.
- Drape vegan pie dough over filling. Gently drape the pie dough over the filling and crimp and clamp the bottom and top layers with a fork or your fingers.
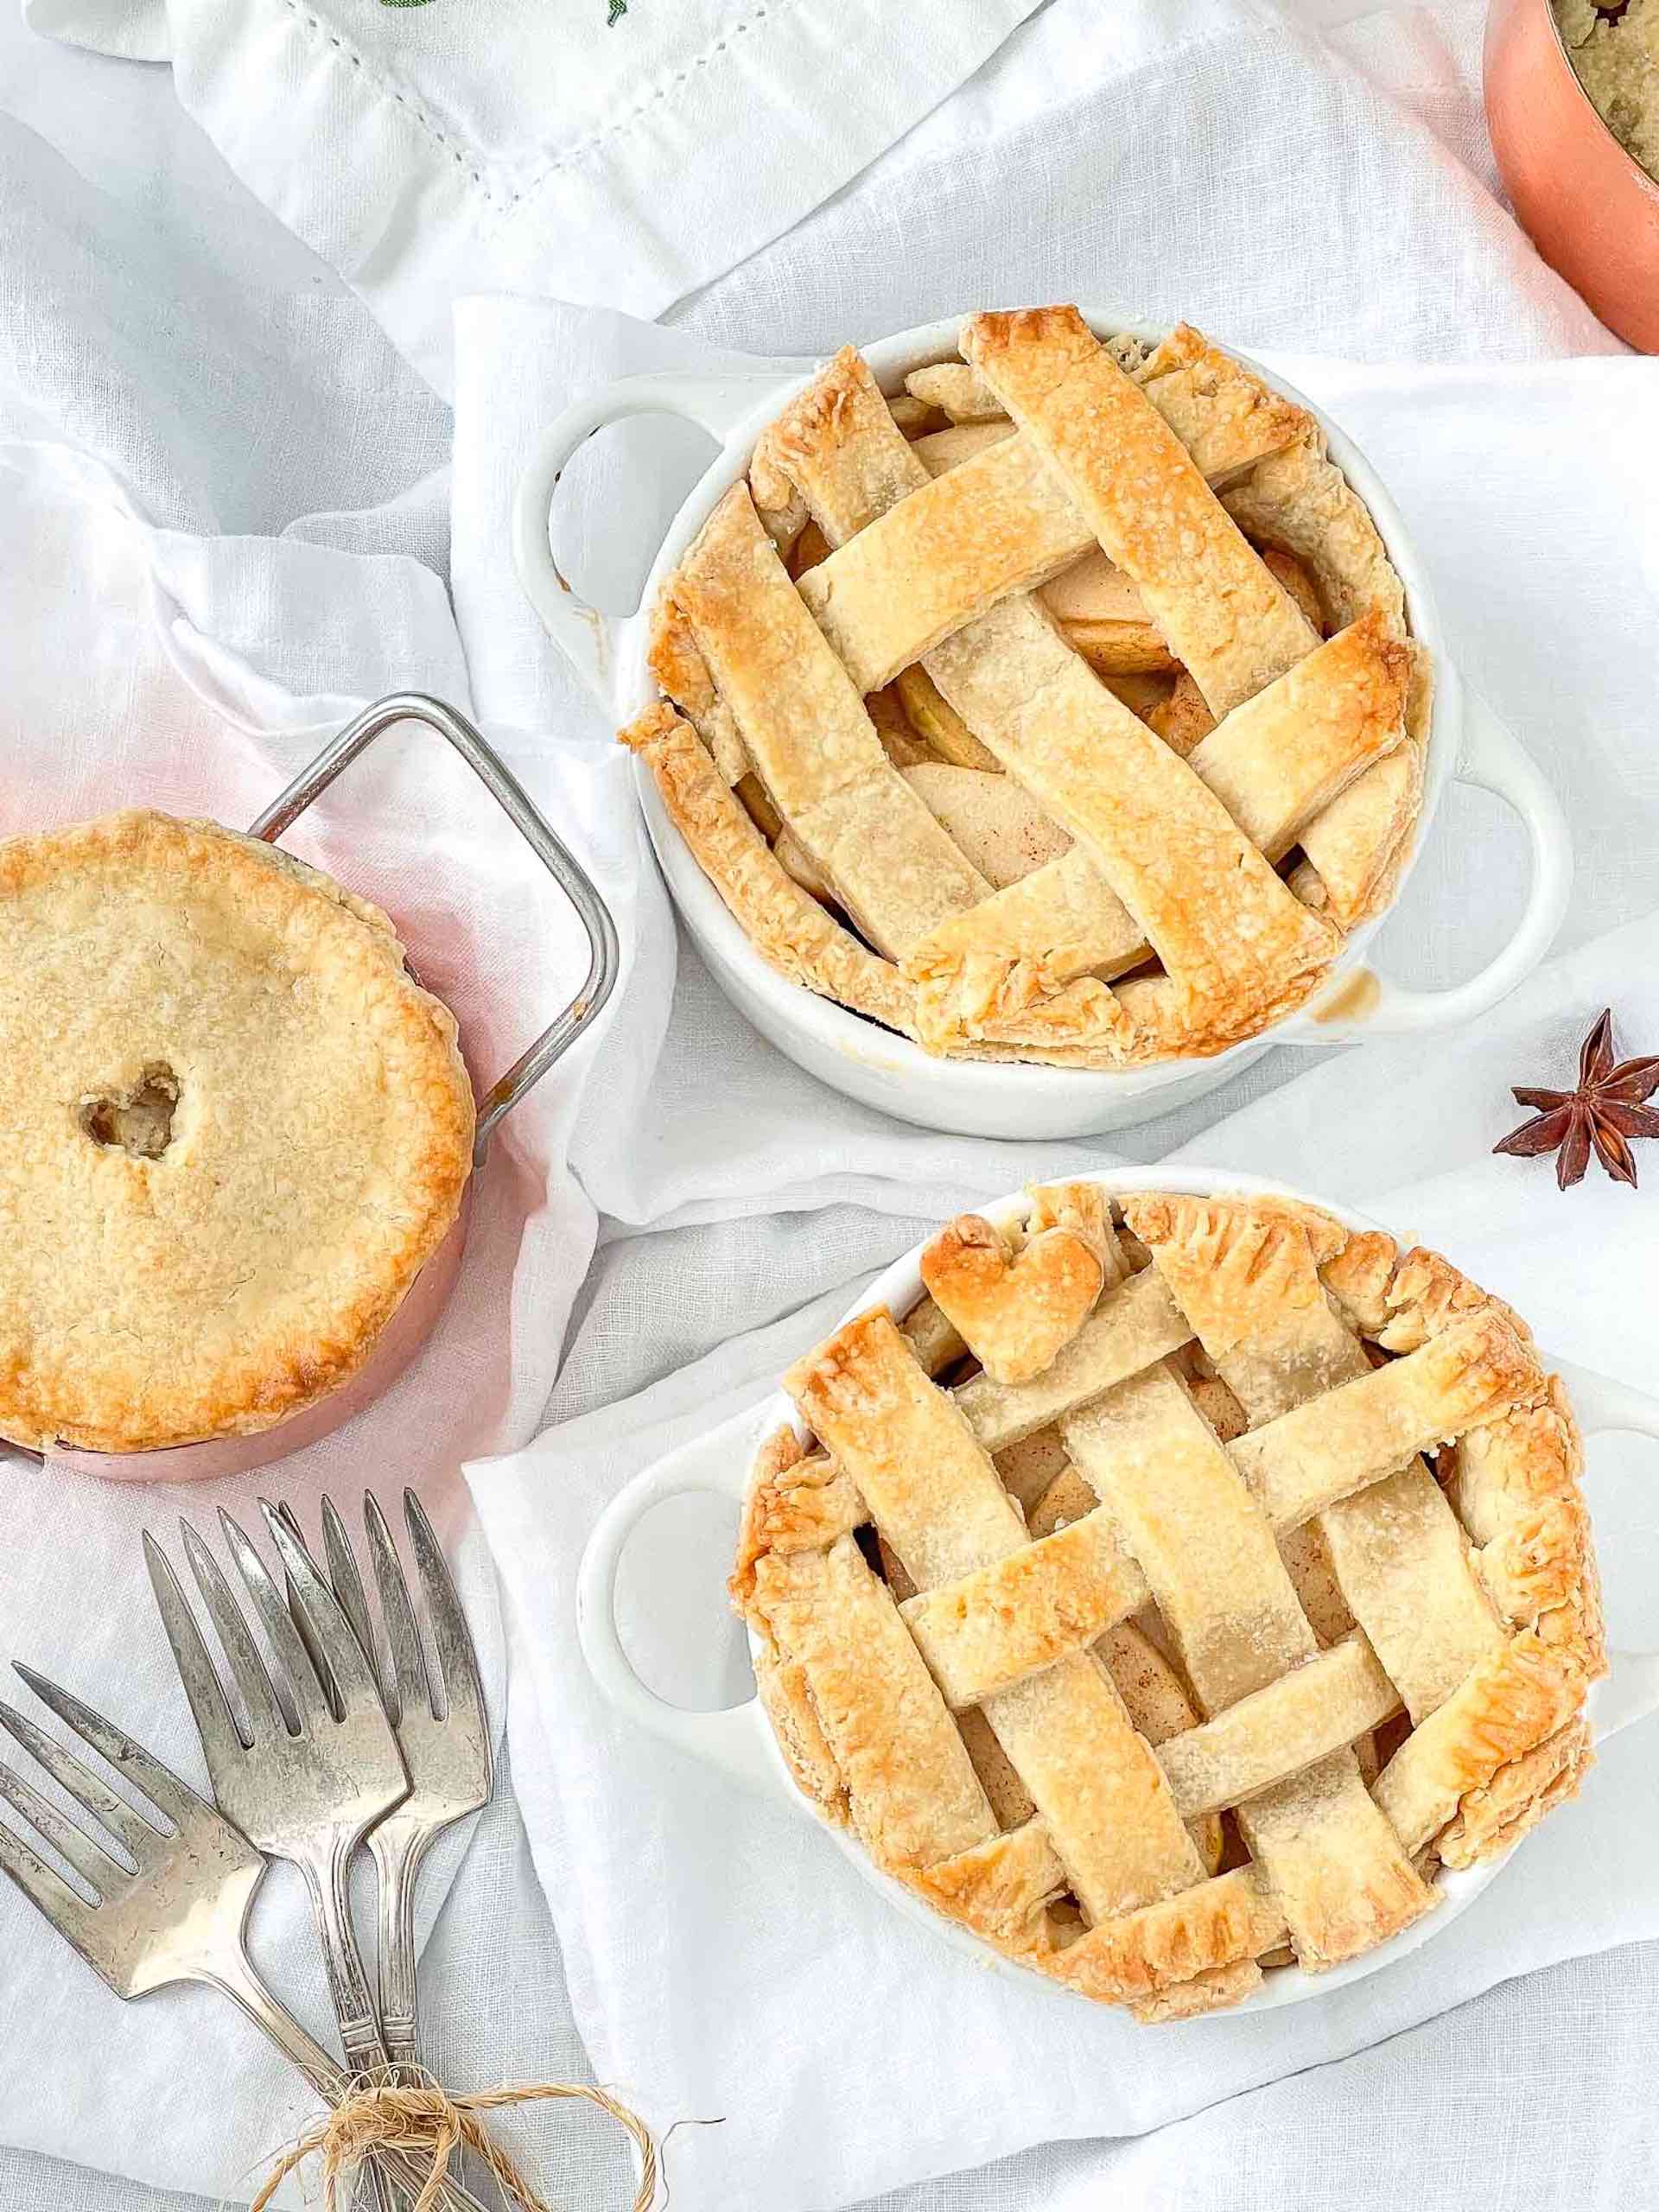
- The personality makes the pie! Make sure to cut a few holes in the top of the crust so the steam can be released! Sometimes I like to cut a cut little heart or star- so be creative!
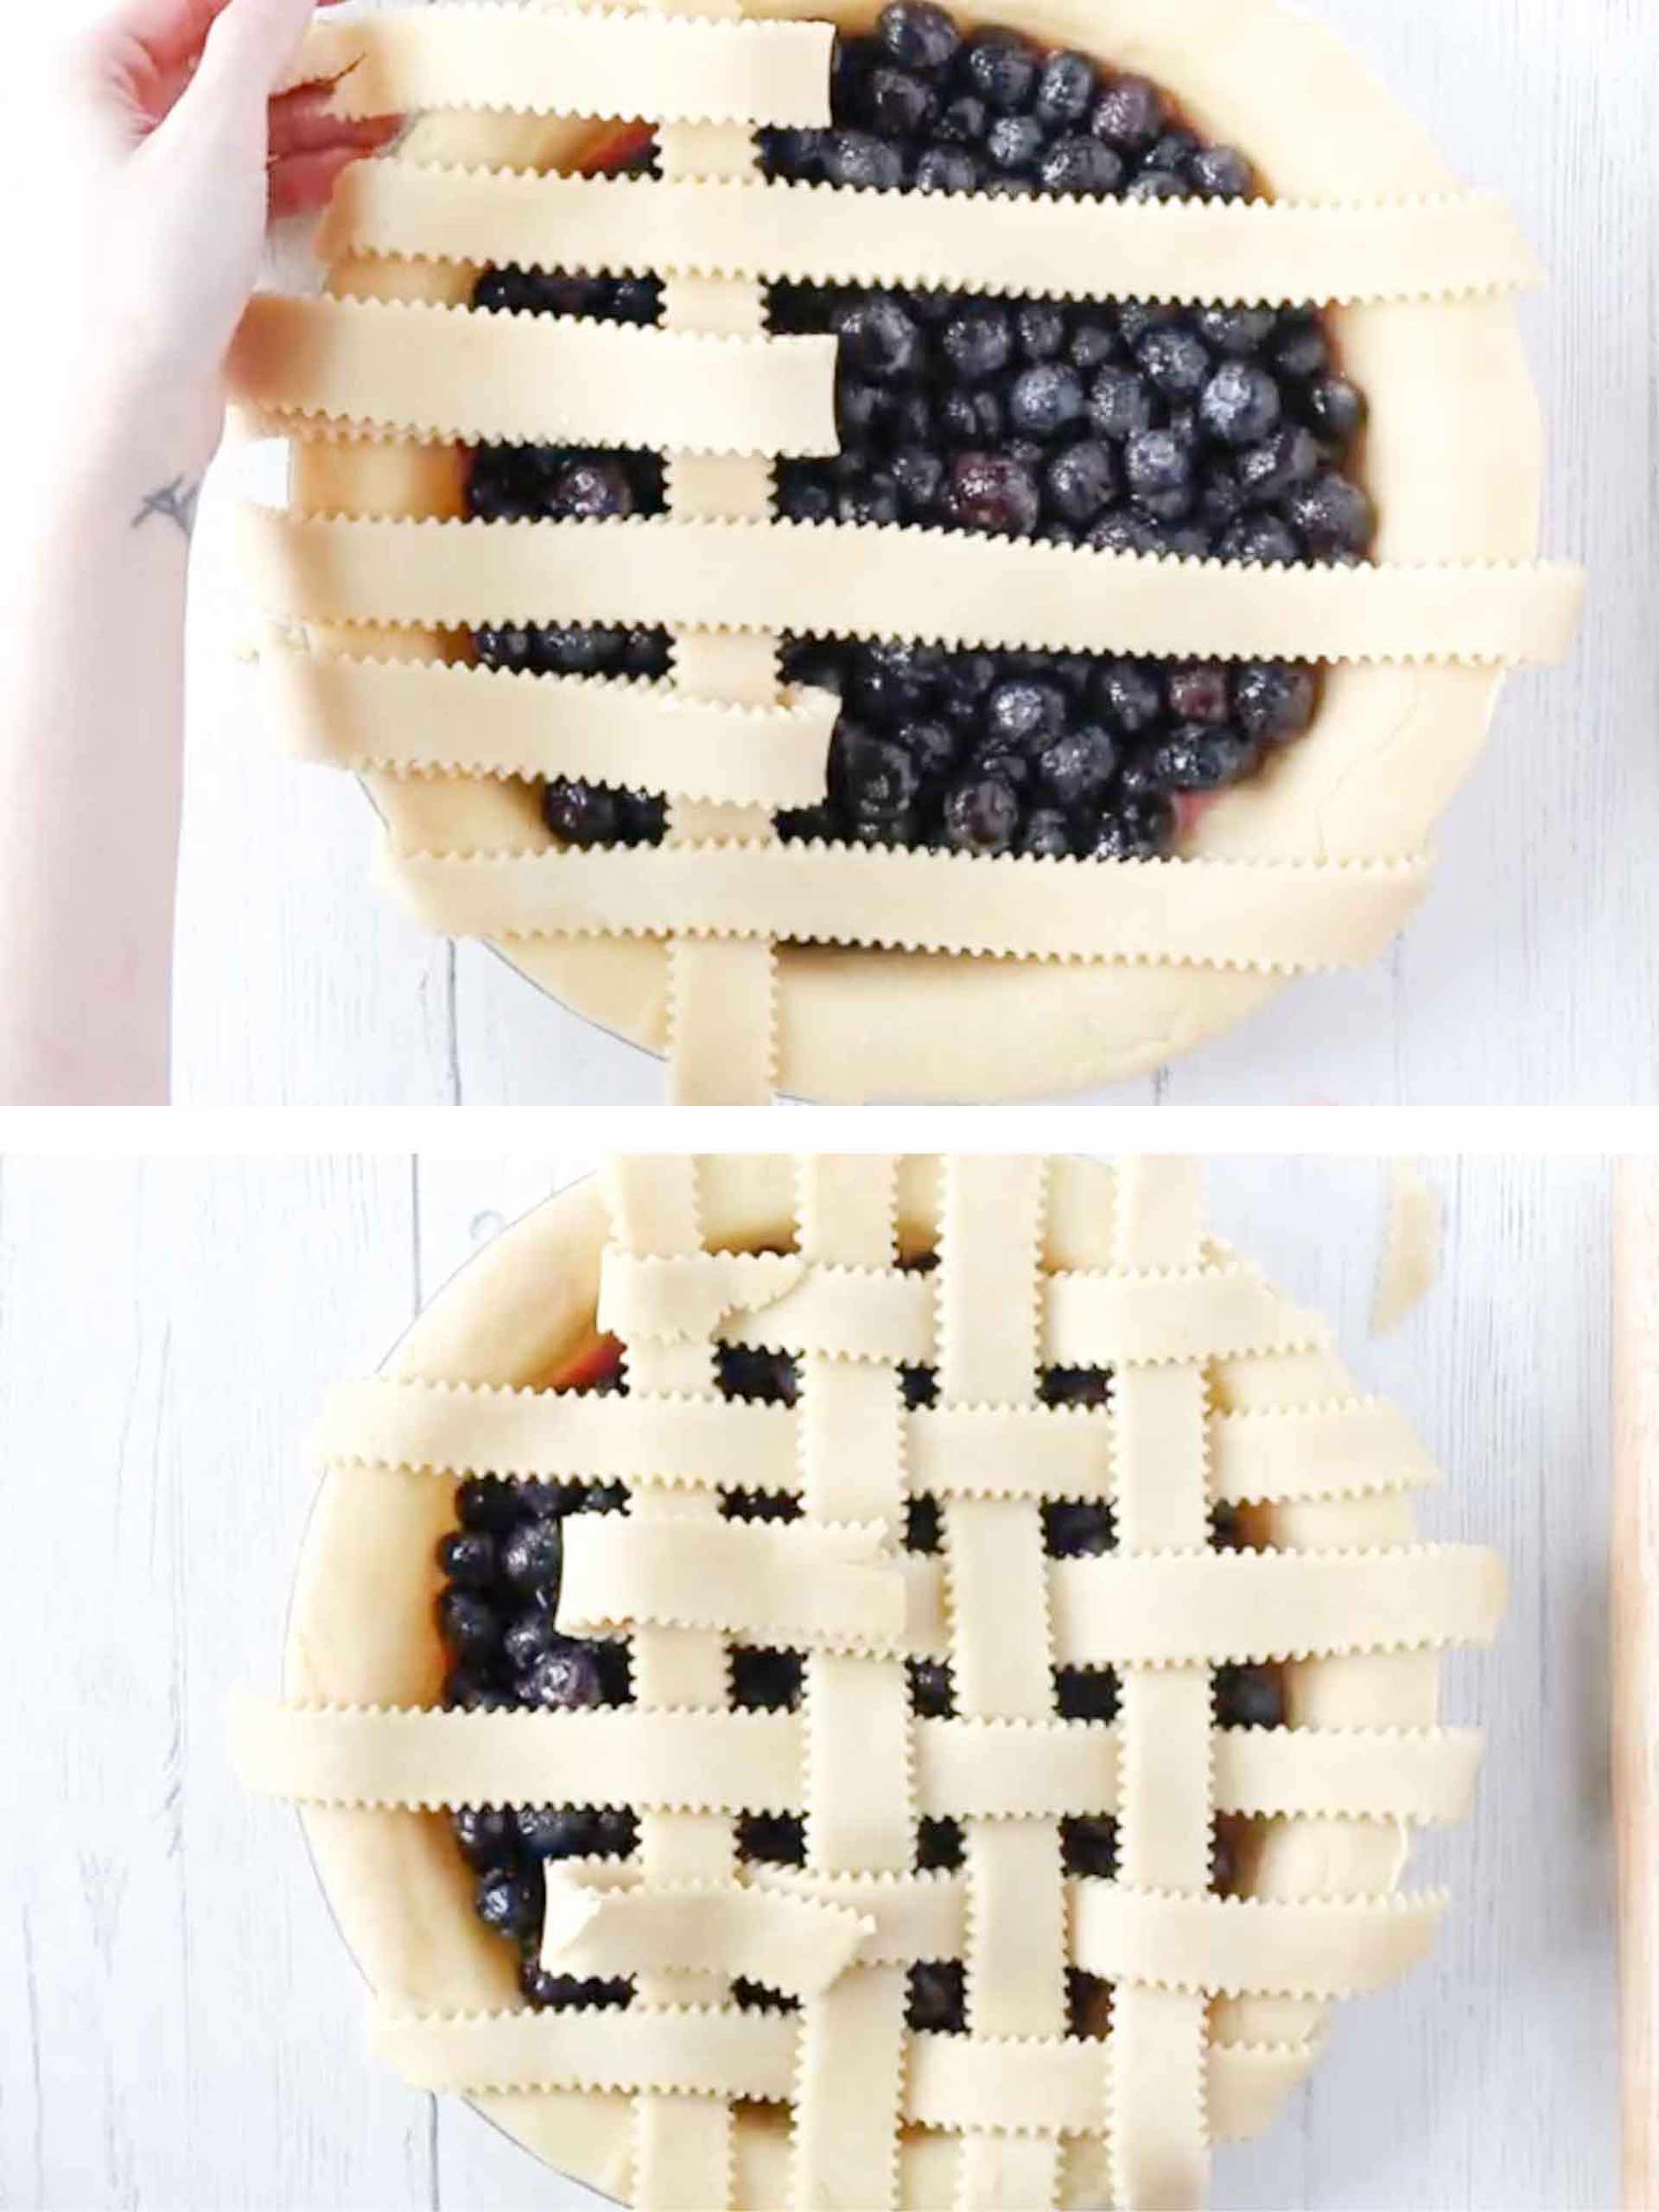
Elegant Lattice Pie Crust
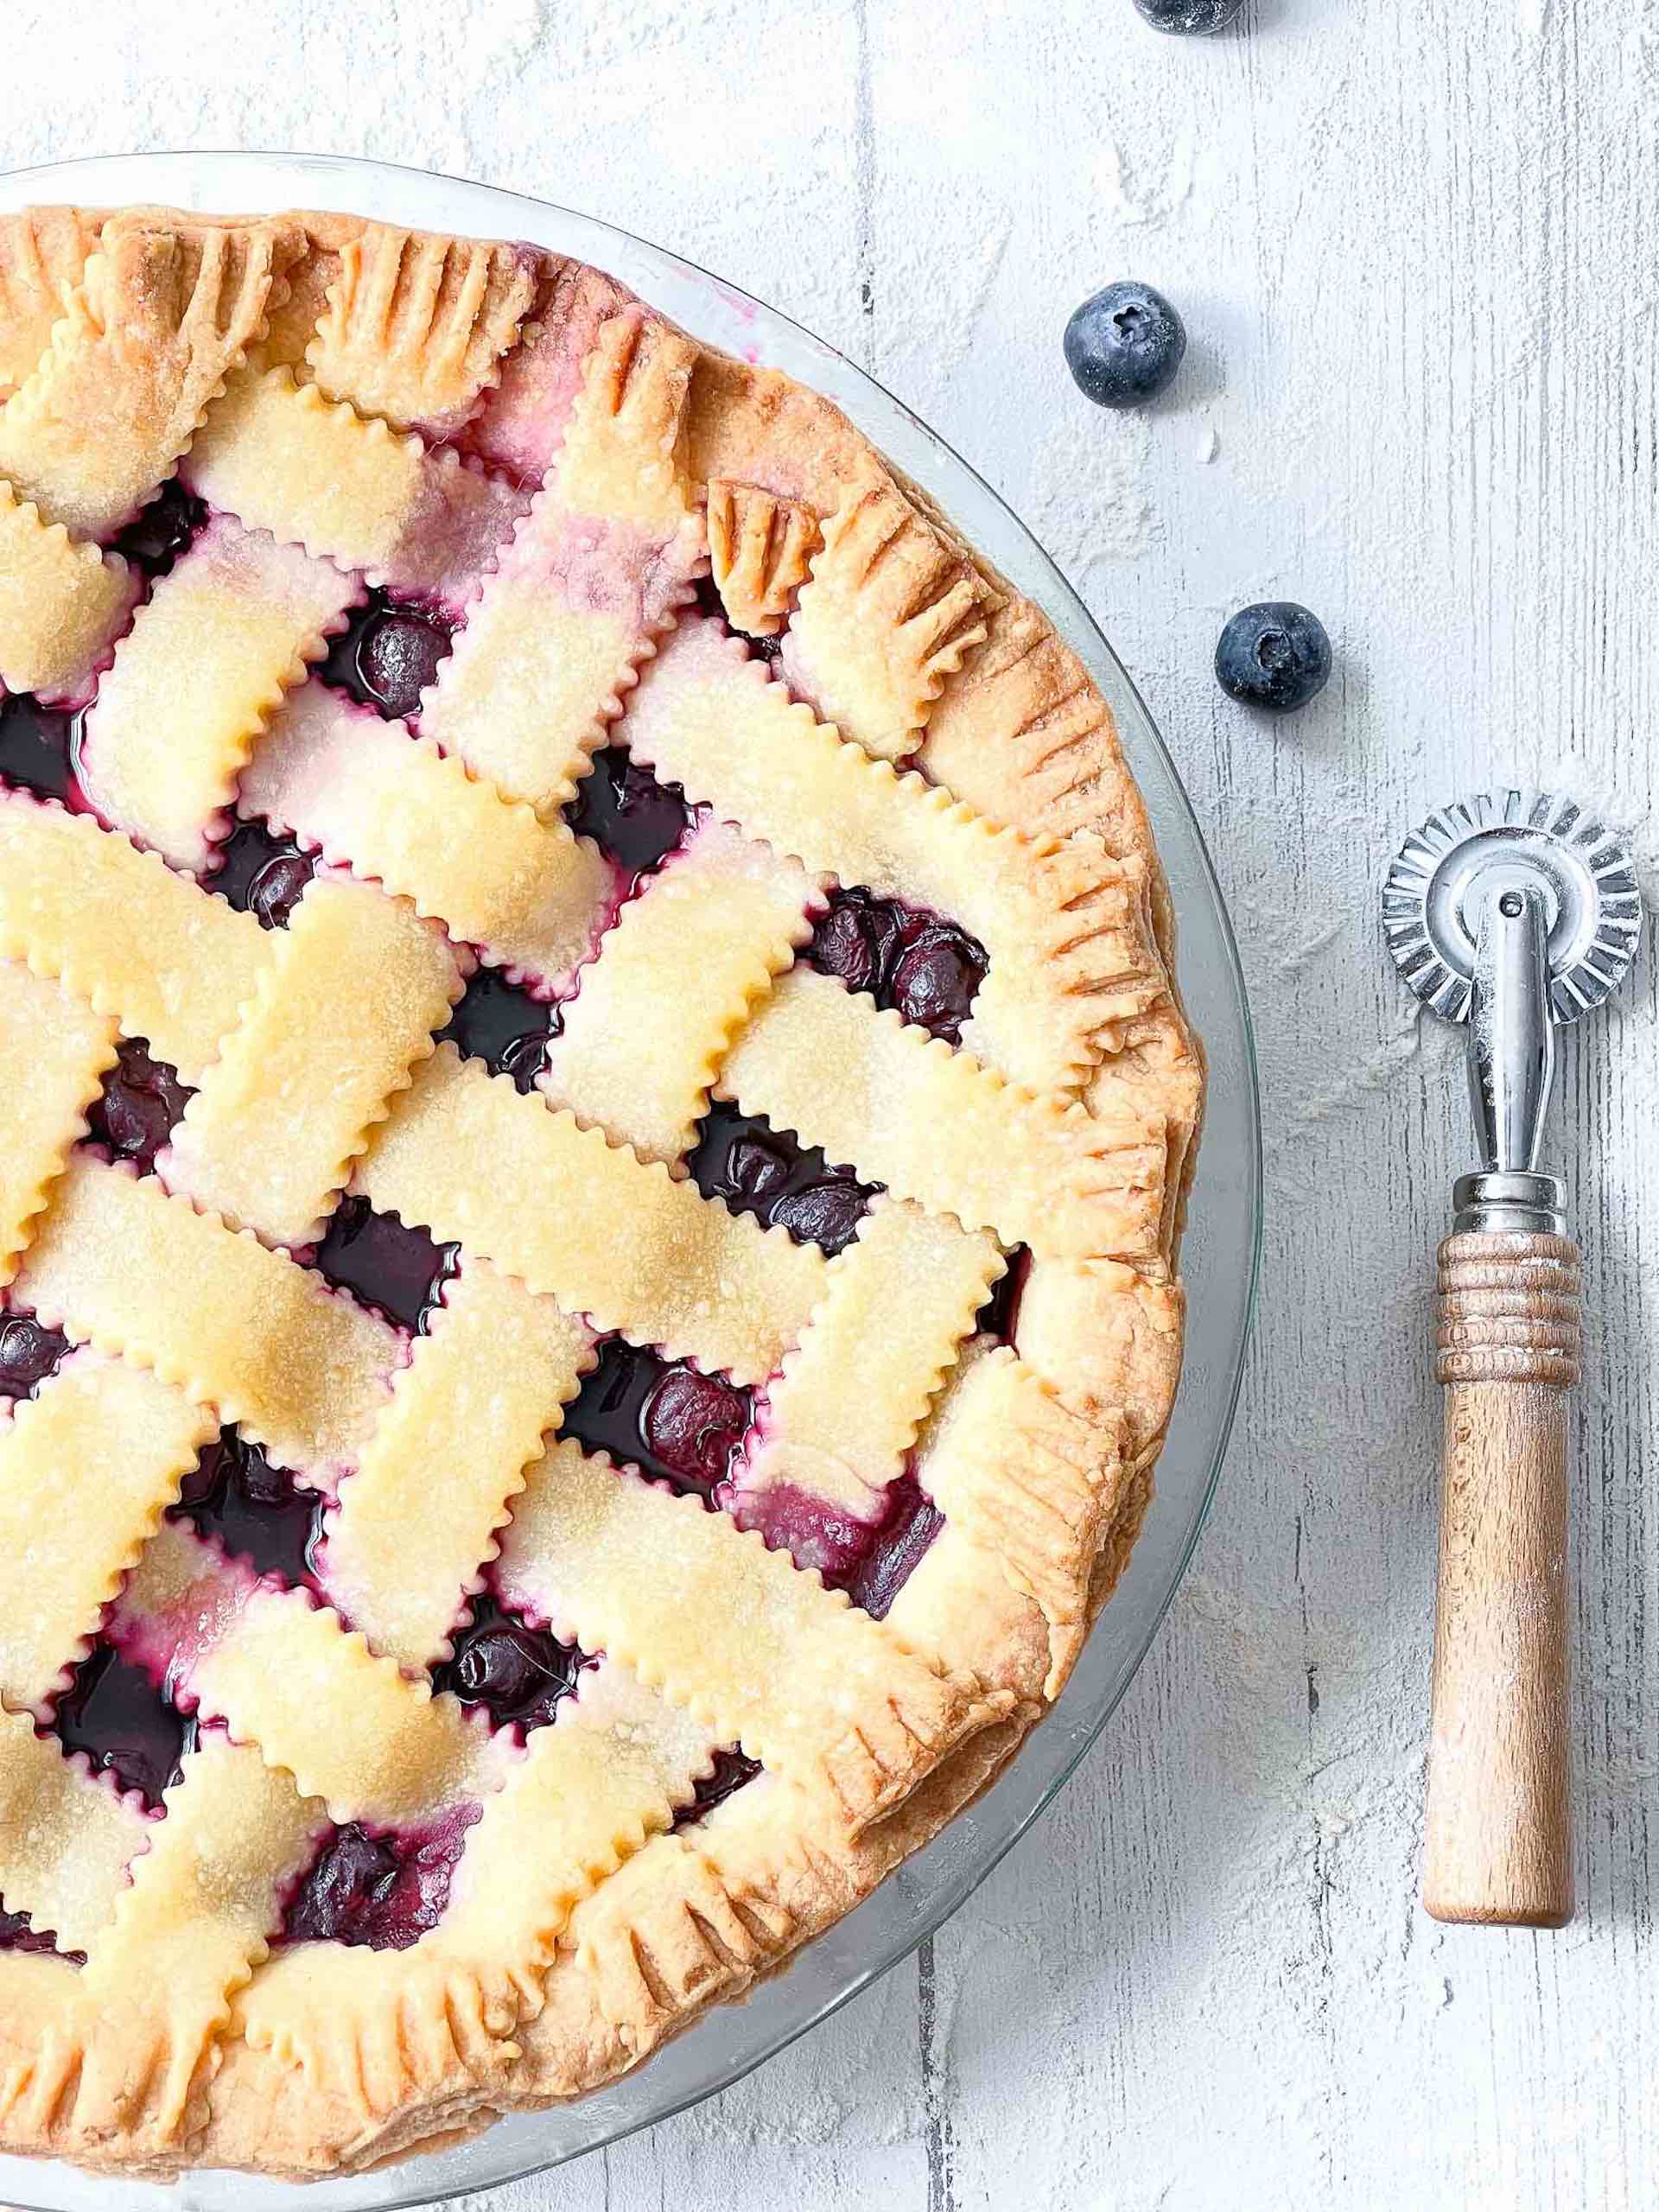
One of my all-time favorite vegan pie crust variations is lattice-style, and it’s elegant and eye-catching and elevates any pie to a higher dimension. After following our video tutorial or reading the step-by-step guide below, you will be more than ready to bake your pie using vegan pie crust.
Pie crusts are art! When you’re weaving a lattice pie dough over a fruit pie, you will feel like an artist making something exquisite and beautiful! I remember my grandmother effortlessly but carefully crisscrossing the strips of dough over the fresh fruit. She gently pinched off the edges of the dough and slid the pie into the oven. It was magic in my eyes!
Lattice pie crust is a pastry style that uses a crisscrossing pattern of strips on many foods, but generally as a pie top crust. The openings between the lattice strips allow fruit juices to evaporate and the steam to escape while cartelizing the filling! Delicious and gorgeous!
Riann’s Vegan Pie Crust Helpful Tips
Tried and true. There are ways Riann has learned to avoid common mistakes.
-
- Cold Butter: Your butter must be cold to the touch. You’re better off freezing and cold enough to cut into cubes. Take the frozen at the last minute before adding it to the food processor. Cold butter gives your dough body. If you use warm or melting butter, your dough be like batter! No!
- Flour: Don’t use the flour sparingly. Cover your rolling pin, so it doesn’t stick. Put it on top of the dough so it also won’t stick to the dough. In short, you don’t want this to stick! Liberally dust your baking preparation surface.
- Ice cold water: You’ll need water; adding cold water helps keep the butter cold. Even the pulsing of using it in the food processor heats it.
- Rolling out the dough: Use a lot of flour to prevent things from sticking or being tacky.
- Wrap the dough: Wrap the dough around your rolling pin. If you’ve used enough flour AND your butter is not breaking down, this will work pretty efficiently. However, do your best here. Wrapping the dough around the rolling pin takes practice.
- Roll the dough off the pin: Do this slowly so your dough sinks to the bottom of the pie pan. Don’t simply drape it over the top of the mini Dutch oven or pie pan. Let the center fall all the way down the bottom of the dish. Once you’ve laid this groundwork, you can work on the sides. Any patchwork in the dough is easier on the side than on the dead center.
- Continue to fit it to the dish: Continue to fit the dough to the inside walls of the plate until the entire inside surface is covered. If you need to patch, that’s okay.
I know all this cooking and rolling and wrapping seems like a lot, but it’s worth it! Professional bakes know this in key to making the perfect pit and now you know the trick as well. Enjoy!
How to Make Vegan Pie Crust
Ingredients
- 2 1/2 cup All-purpose flour and more for rolling
- 2/3 cup Vegetable shortening - chilled
- 6 tbsp Vegan stick butter - cubed and chilled
- 1/2 cup Ice cold water
- 1 tsp Sea salt
Instructions
- In a food processor, place 1⅔ cups of the flour and the salt. Pulse to combine. Spread the butter pats evenly on top of the flour mixture. Pulse until the butter is well combined with the flour and the dough starts to form clumps. There should be no dry flour remaining.
- Spread the mixture evenly in the bowl of the food processor and sprinkle the remaining 1 cup flour on top. Briefly pulse until the dough becomes crumbly.
- Transfer the dough to a large bowl and sprinkle the water and vinegar on top. Use a spatula to fold and press the dough until it comes together into a ball. Divide the ball in half and form each half into a 1-inch-thick disk. Wrap each disk tightly in plastic wrap and chill for at least 2 hours or up to 2 days.
- To roll out the dough: Place 1 disk of the chilled dough on a lightly floured surface. Dust the top with flour and use a rolling pin to roll it out into a large circle about ⅛-inch thick. If you invert your pie plate over the dough, the circle should be 1 inch larger than the edge of the pie plate on all sides. As you work, rotate the dough a quarter turn every few rolls to prevent it from sticking to your work surface. I also like to dust the top of the dough with flour and flip it over a few times during the rolling process.
- To transfer the rolled-out dough to your pie plate, roll the dough over the rolling pin and unroll it over the pie plate. Use your fingers to press it firmly into the bottom and up the sides of the plate. Trim the edges of the dough so that there is a ½-inch overhang on all sides of the pie plate. Loosely cover the dough with plastic wrap and chill while you roll out the top crust.
- Repeat the rolling process with the remaining dough disk, rolling it out into a large, ⅛-inch-thick circle.

0 Comments