How to Make Lattice Pie Crust (step-by-step guide)
Create a stunning vegan lattice pie crust with confidence! Follow our video tutorial and/or our written guide below. Enjoy!
![]()
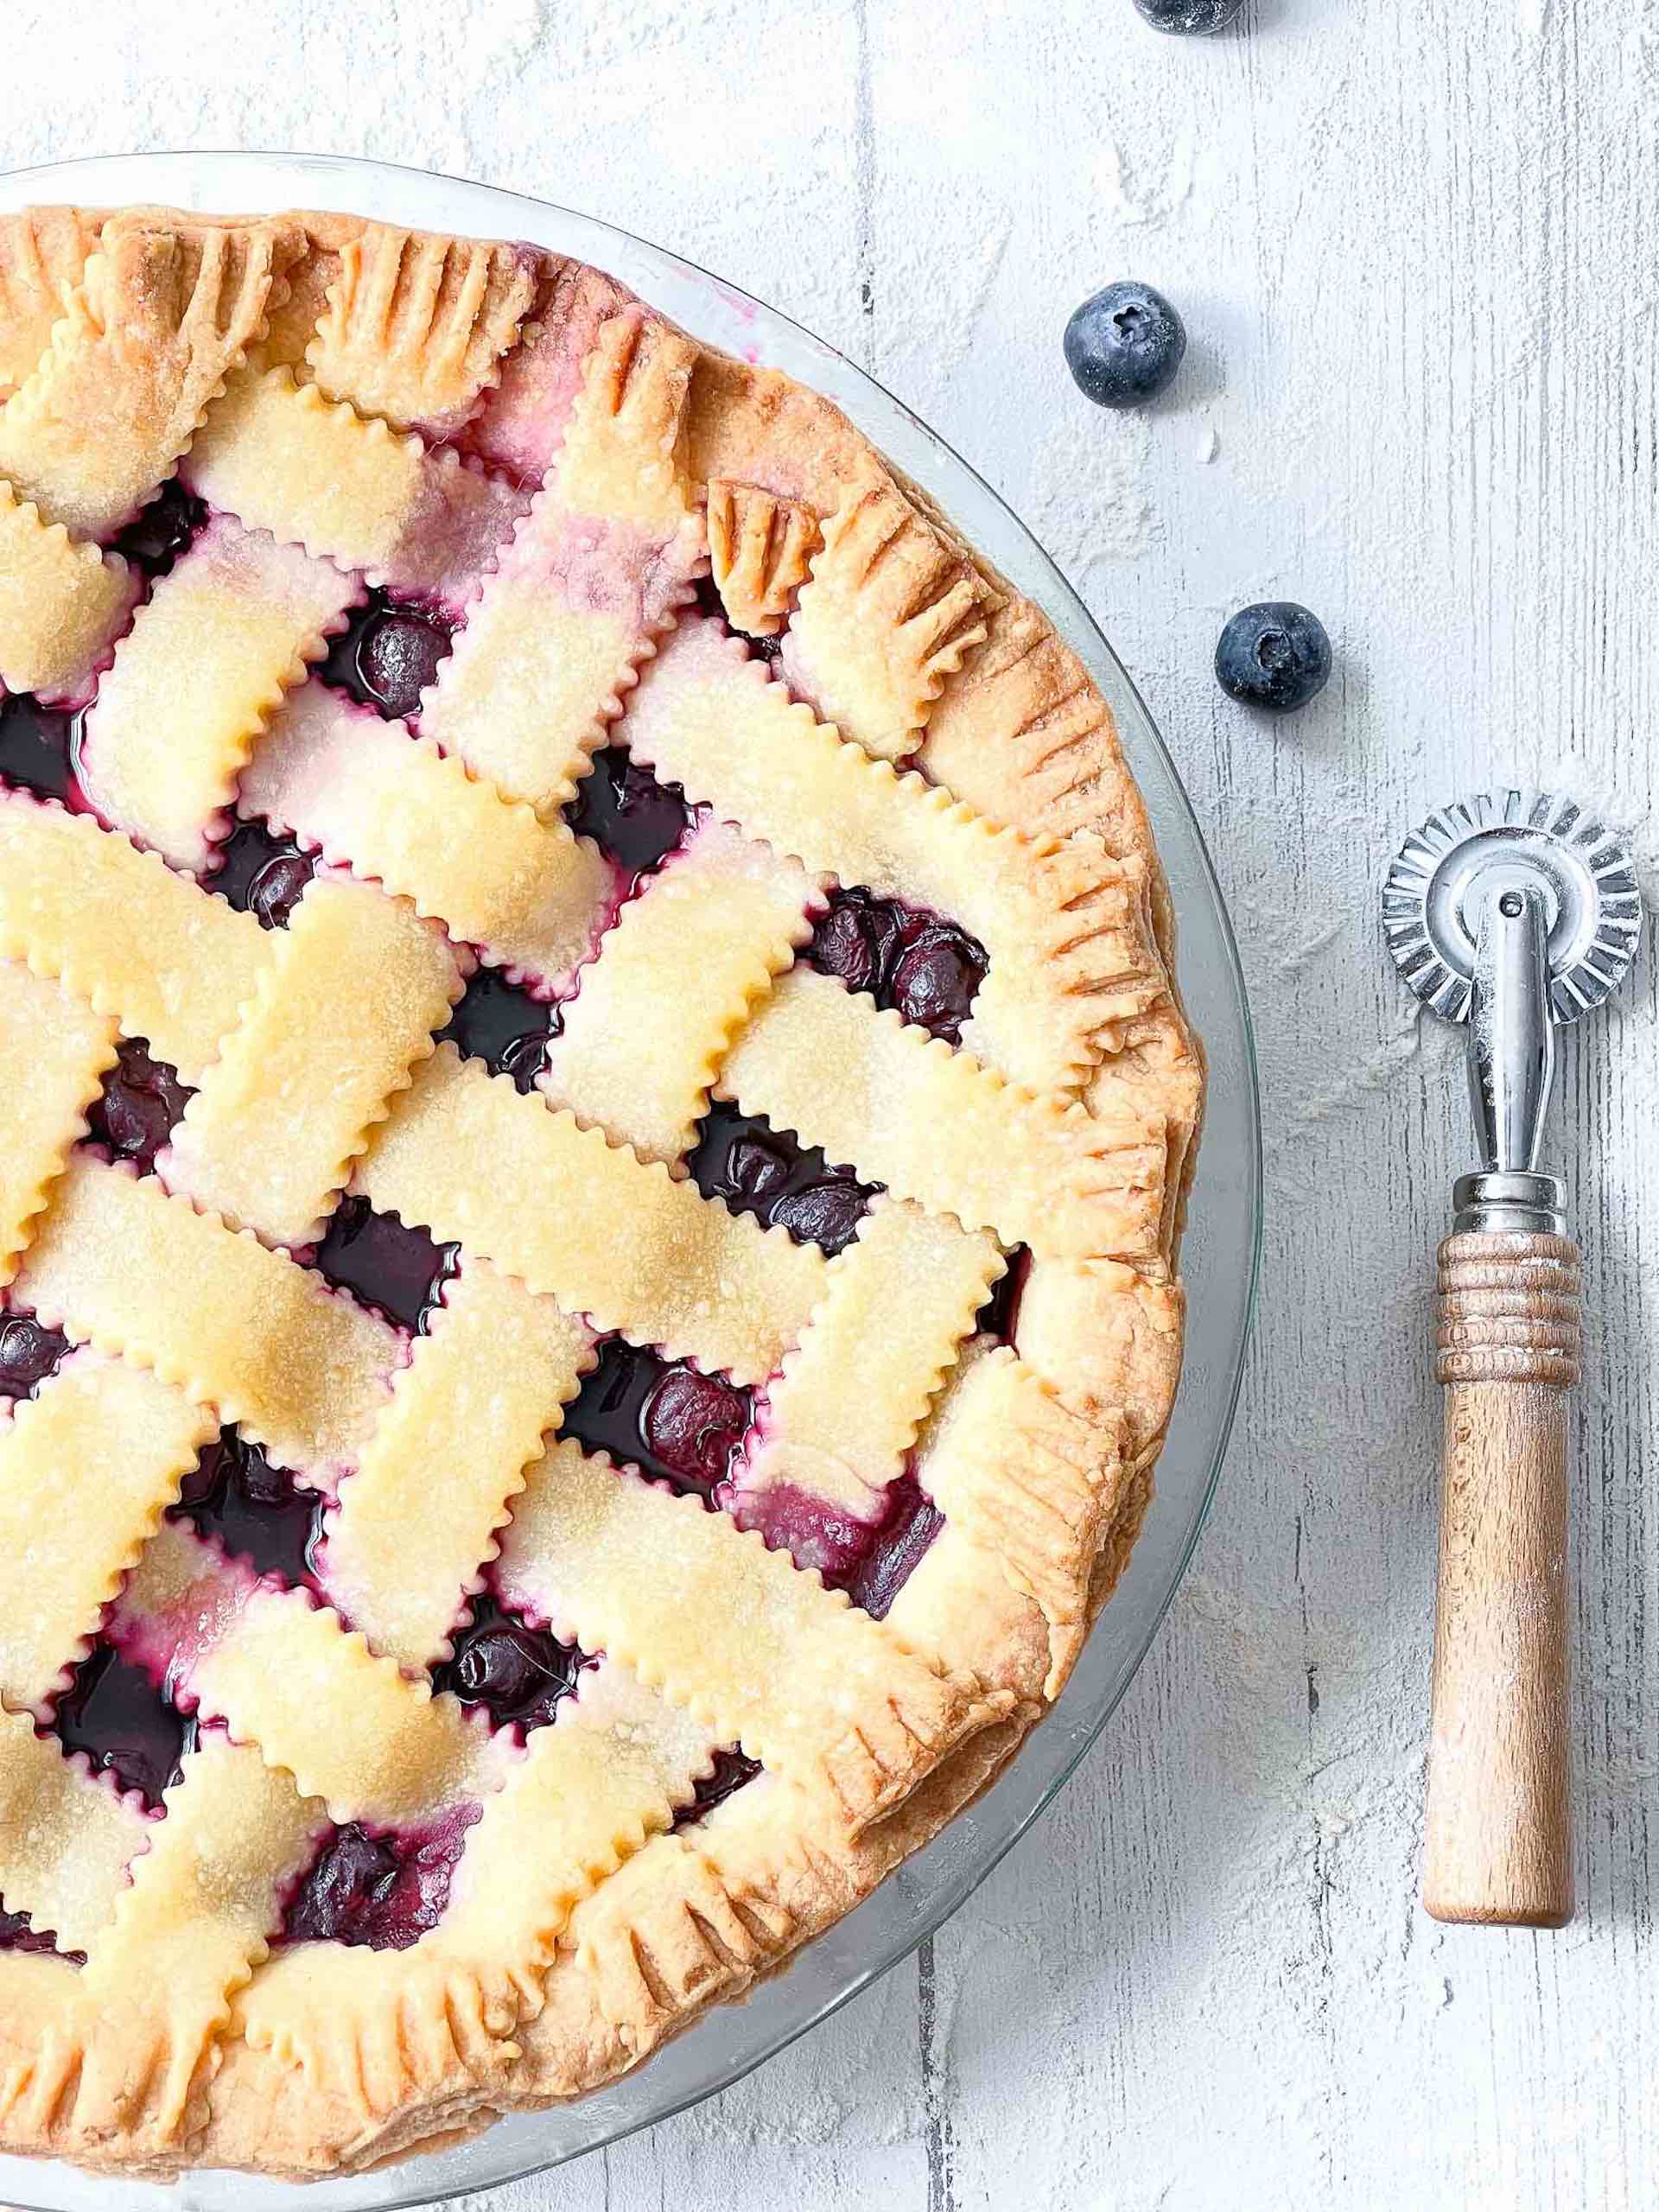
Pies are my favorite dessert. I can’t think of a pie I don’t like! They are just so, so, so good, and they’re rewarding. Making a ‘from-scratch’ homemade pie requires precision and patience, but once you’re done, it’s doubly satisfying because you know the time and effort that went into making your vegan lattice pie crust.
One of my all-time favorite vegan pie crust variations is lattice-style, and it’s elegant and eye-catching and elevates any pie to a higher dimension. After following our video tutorial or reading the step-by-step guide below, you will be more than ready to bake your pie using vegan pie crust.
The key to making any great pie is the pie dough. We make our own vegan pie dough which is nearly foolproof! It makes a light, butter, flaky pie crust that works for any pie – from chocolate coconut pie, to mini Dutch oven pies, to lattice blueberry pie. A good vegan pie dough is easy to achieve and well within the reach of any vegan home baker.
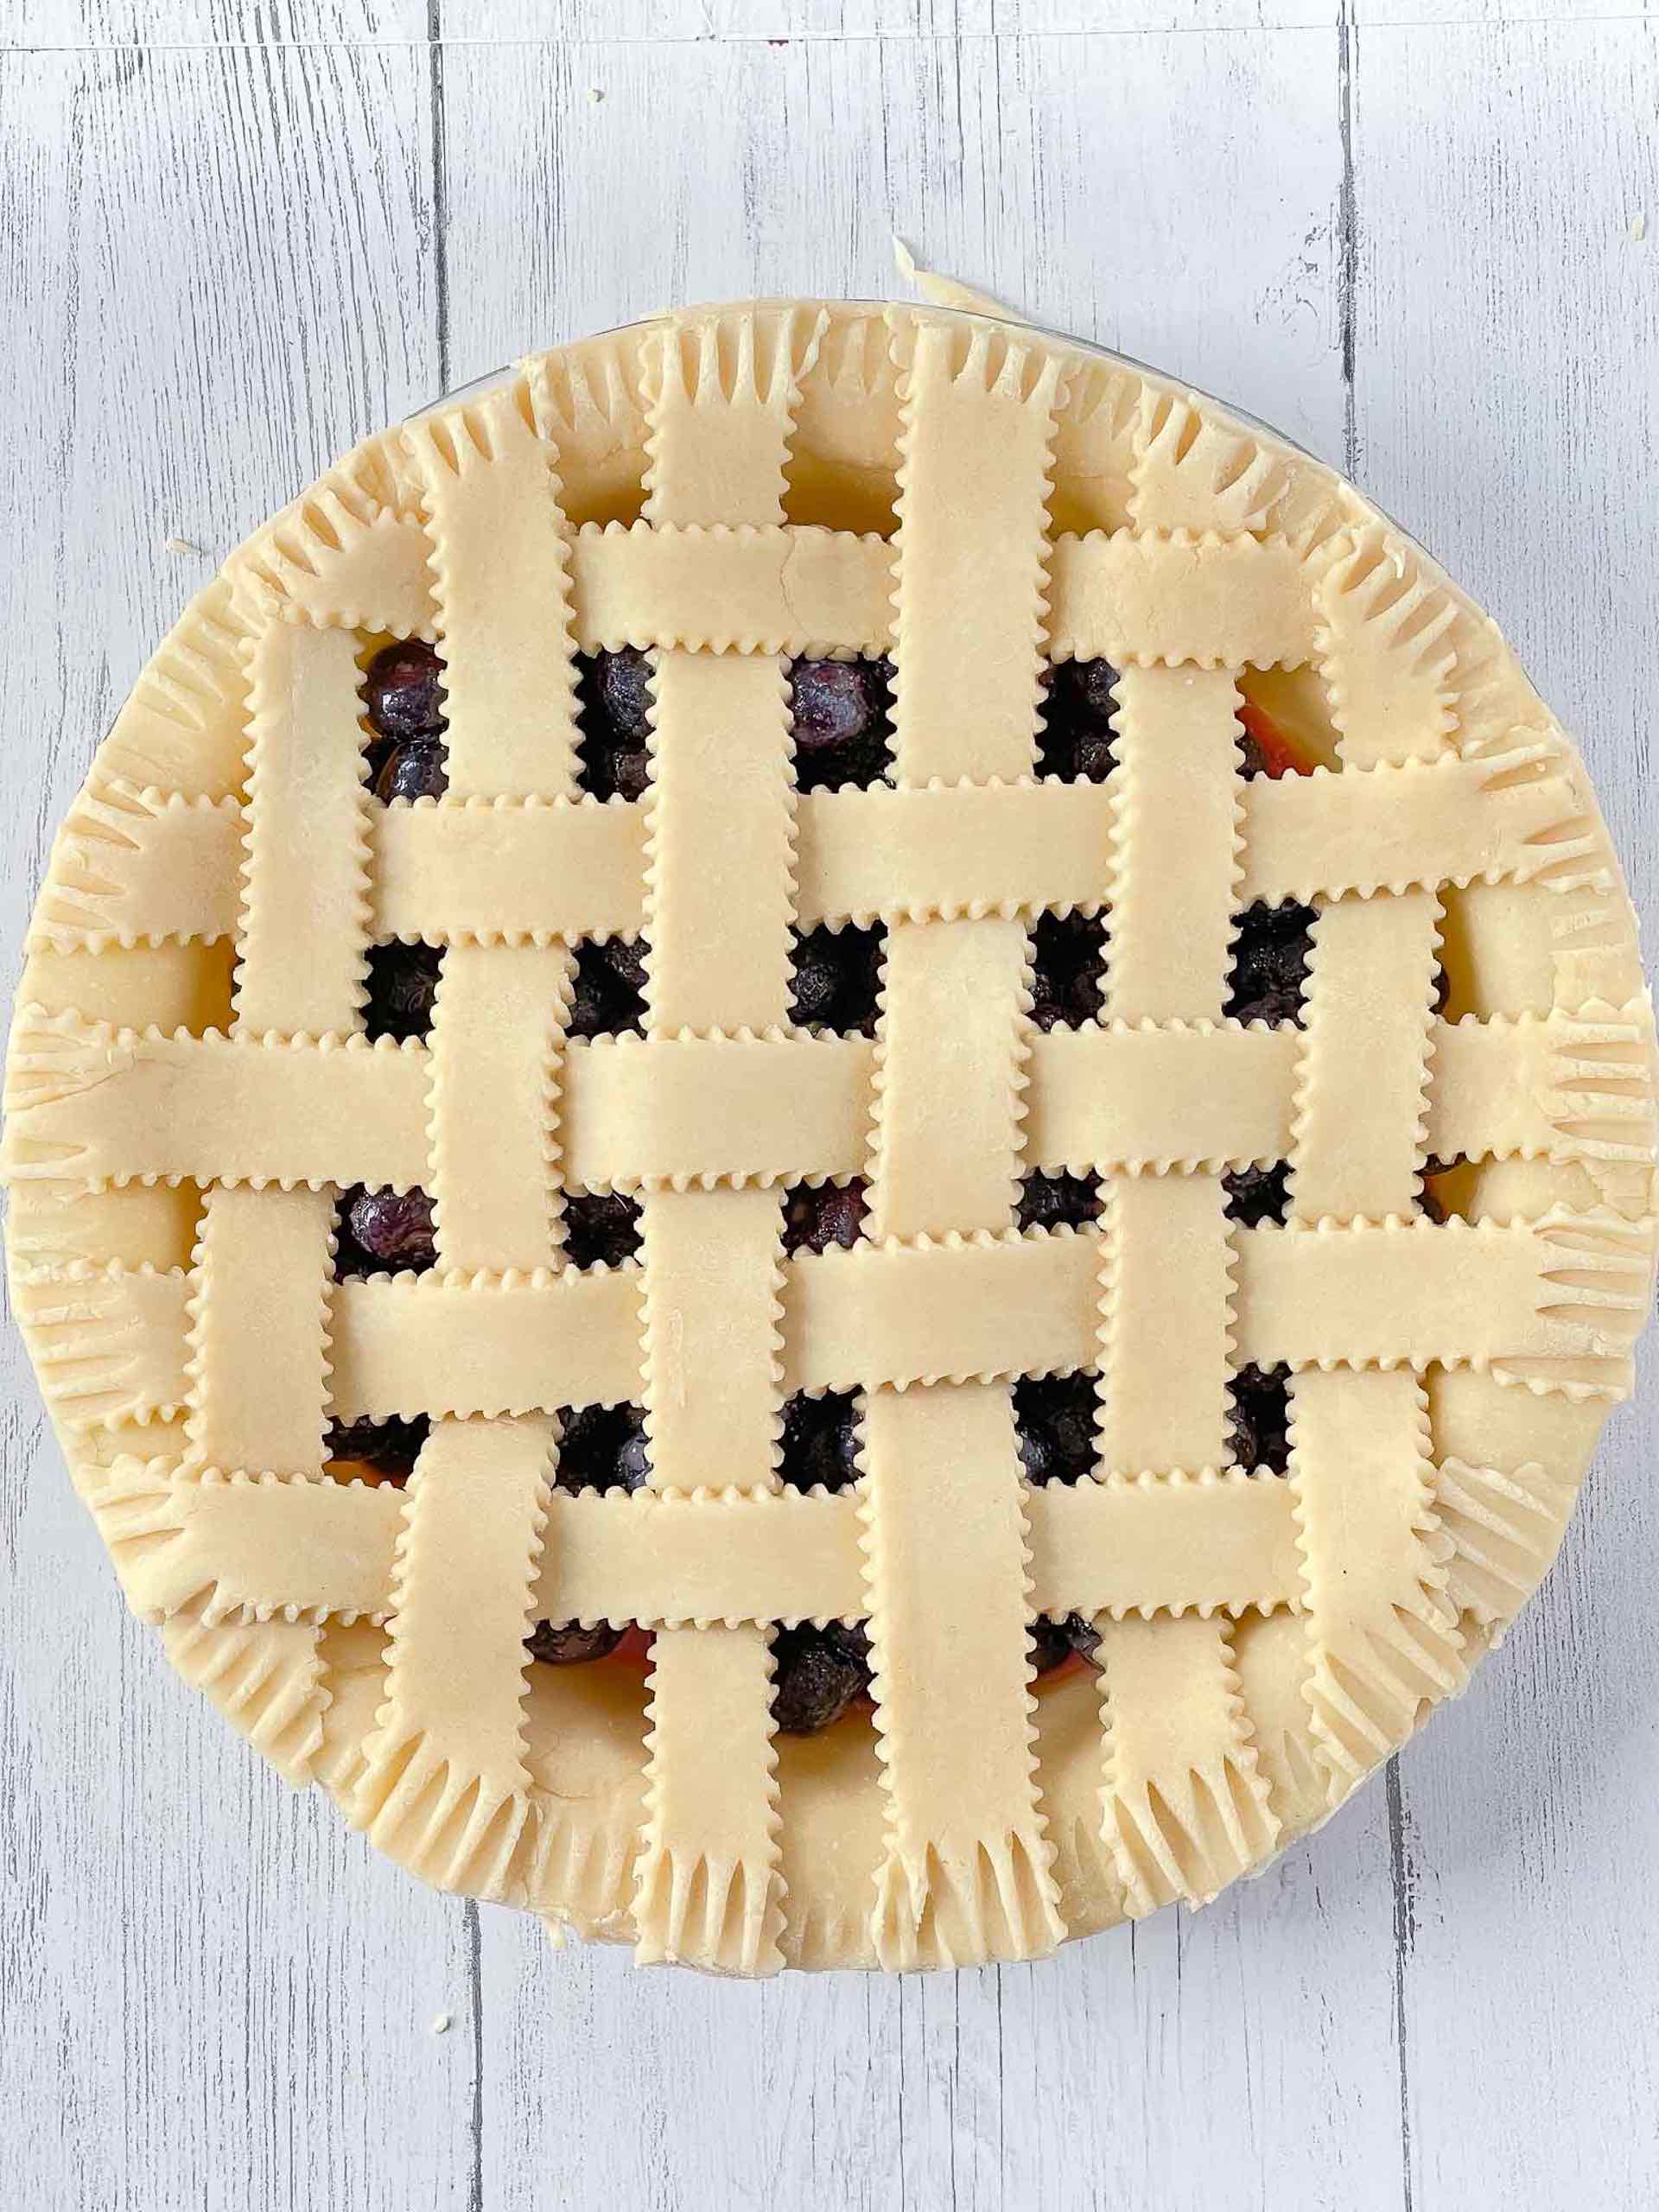
Pie crusts are art! When you’re weaving a lattice pie dough over a fruit pie, you will feel like an artist making something exquisite and beautiful! I remember my grandmother effortlessly but carefully crisscrossing the strips of dough over the fresh fruit. She gently pinched off the edges of the dough and slid the pie into the oven. It was magic in my eyes!
What is Lattice Pie Dough
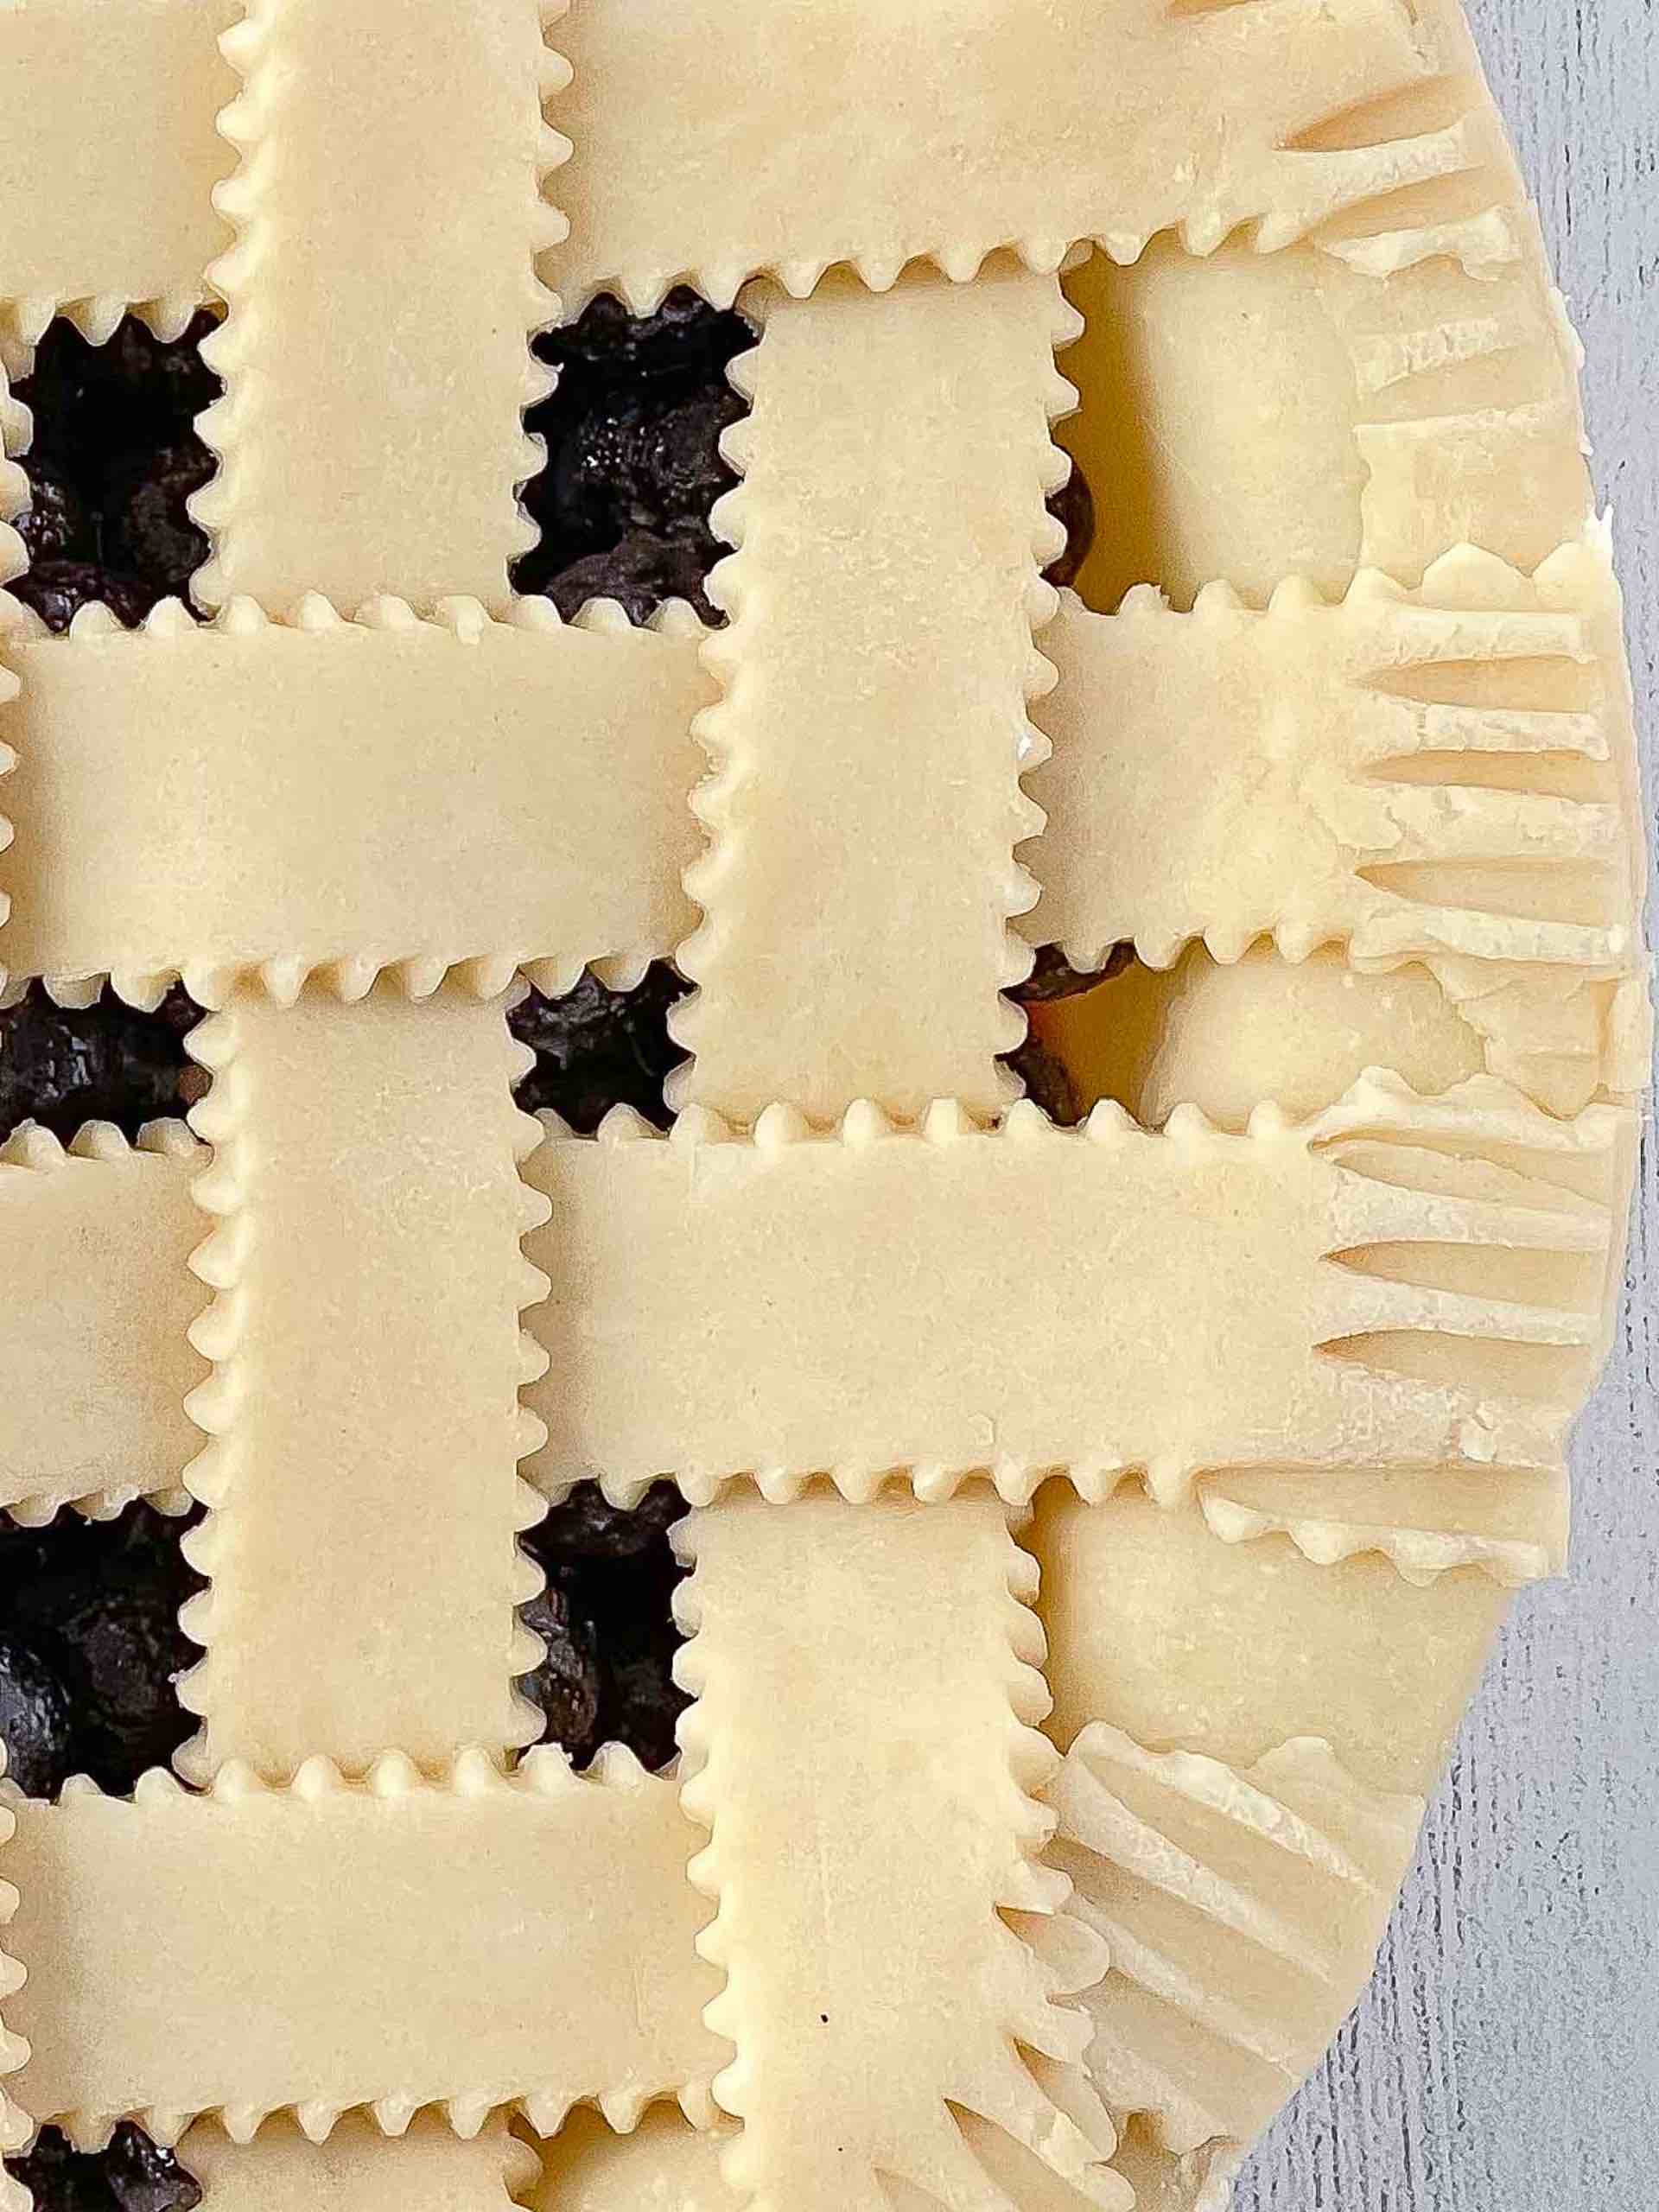
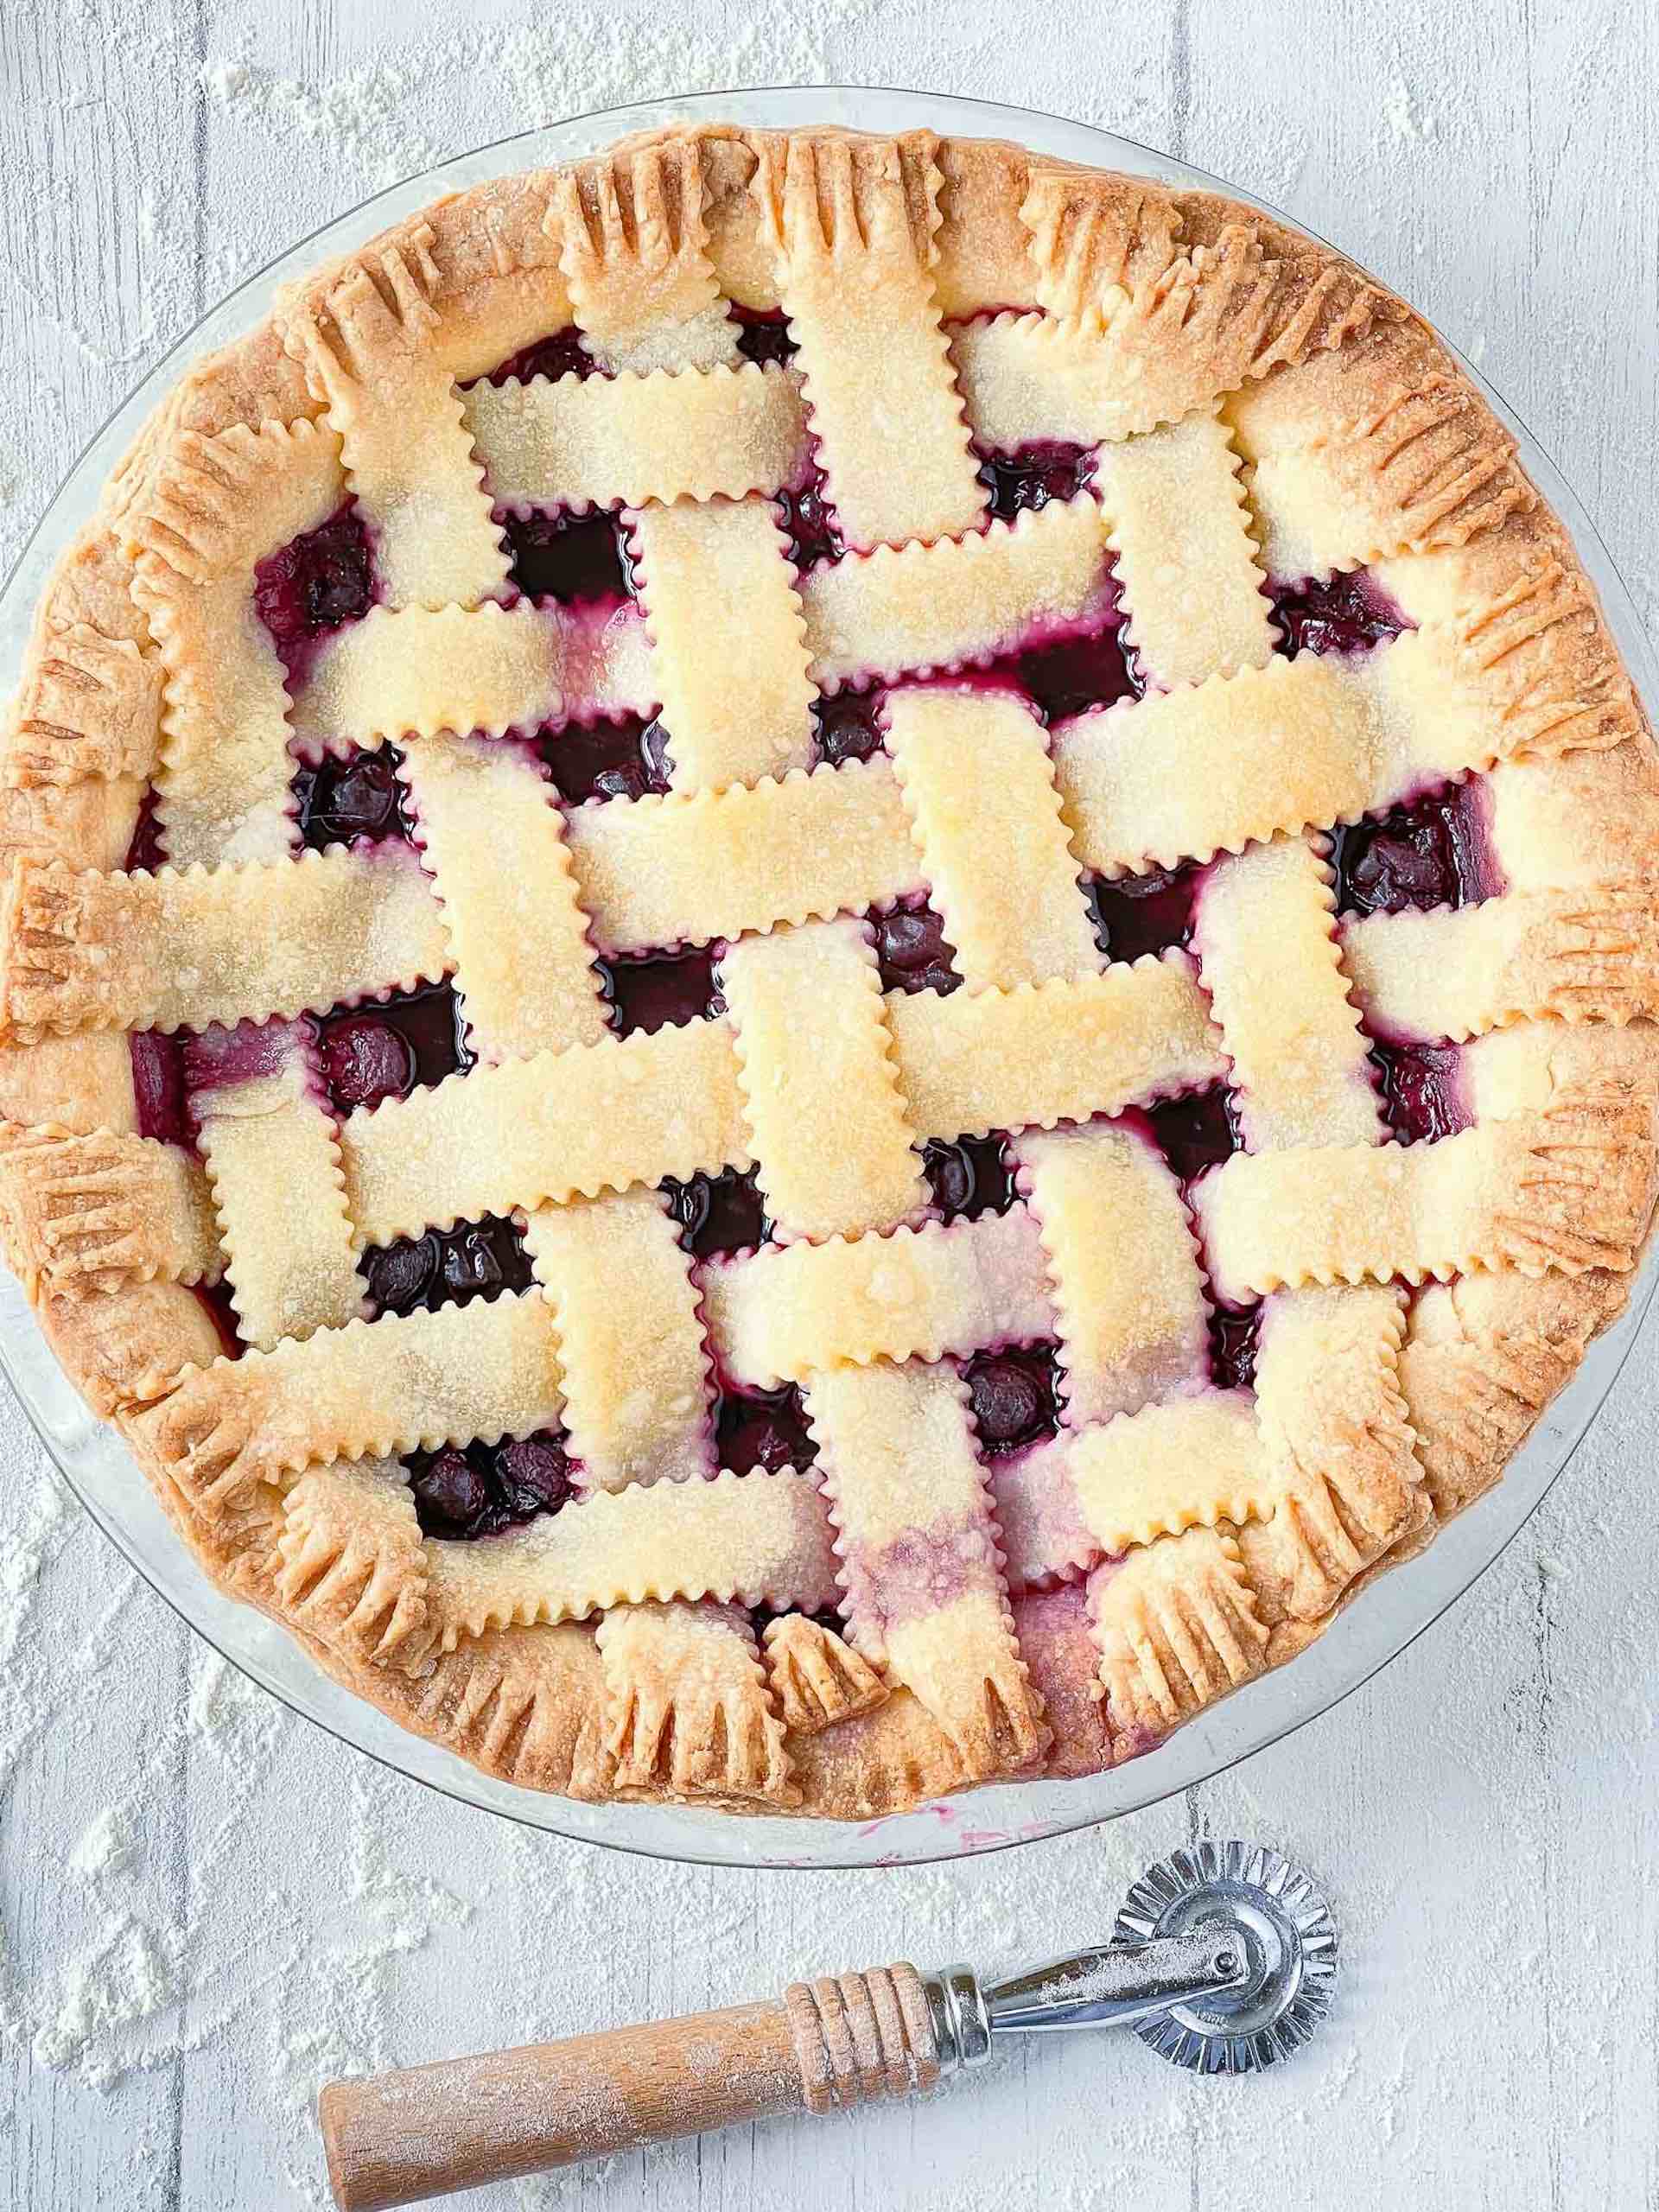
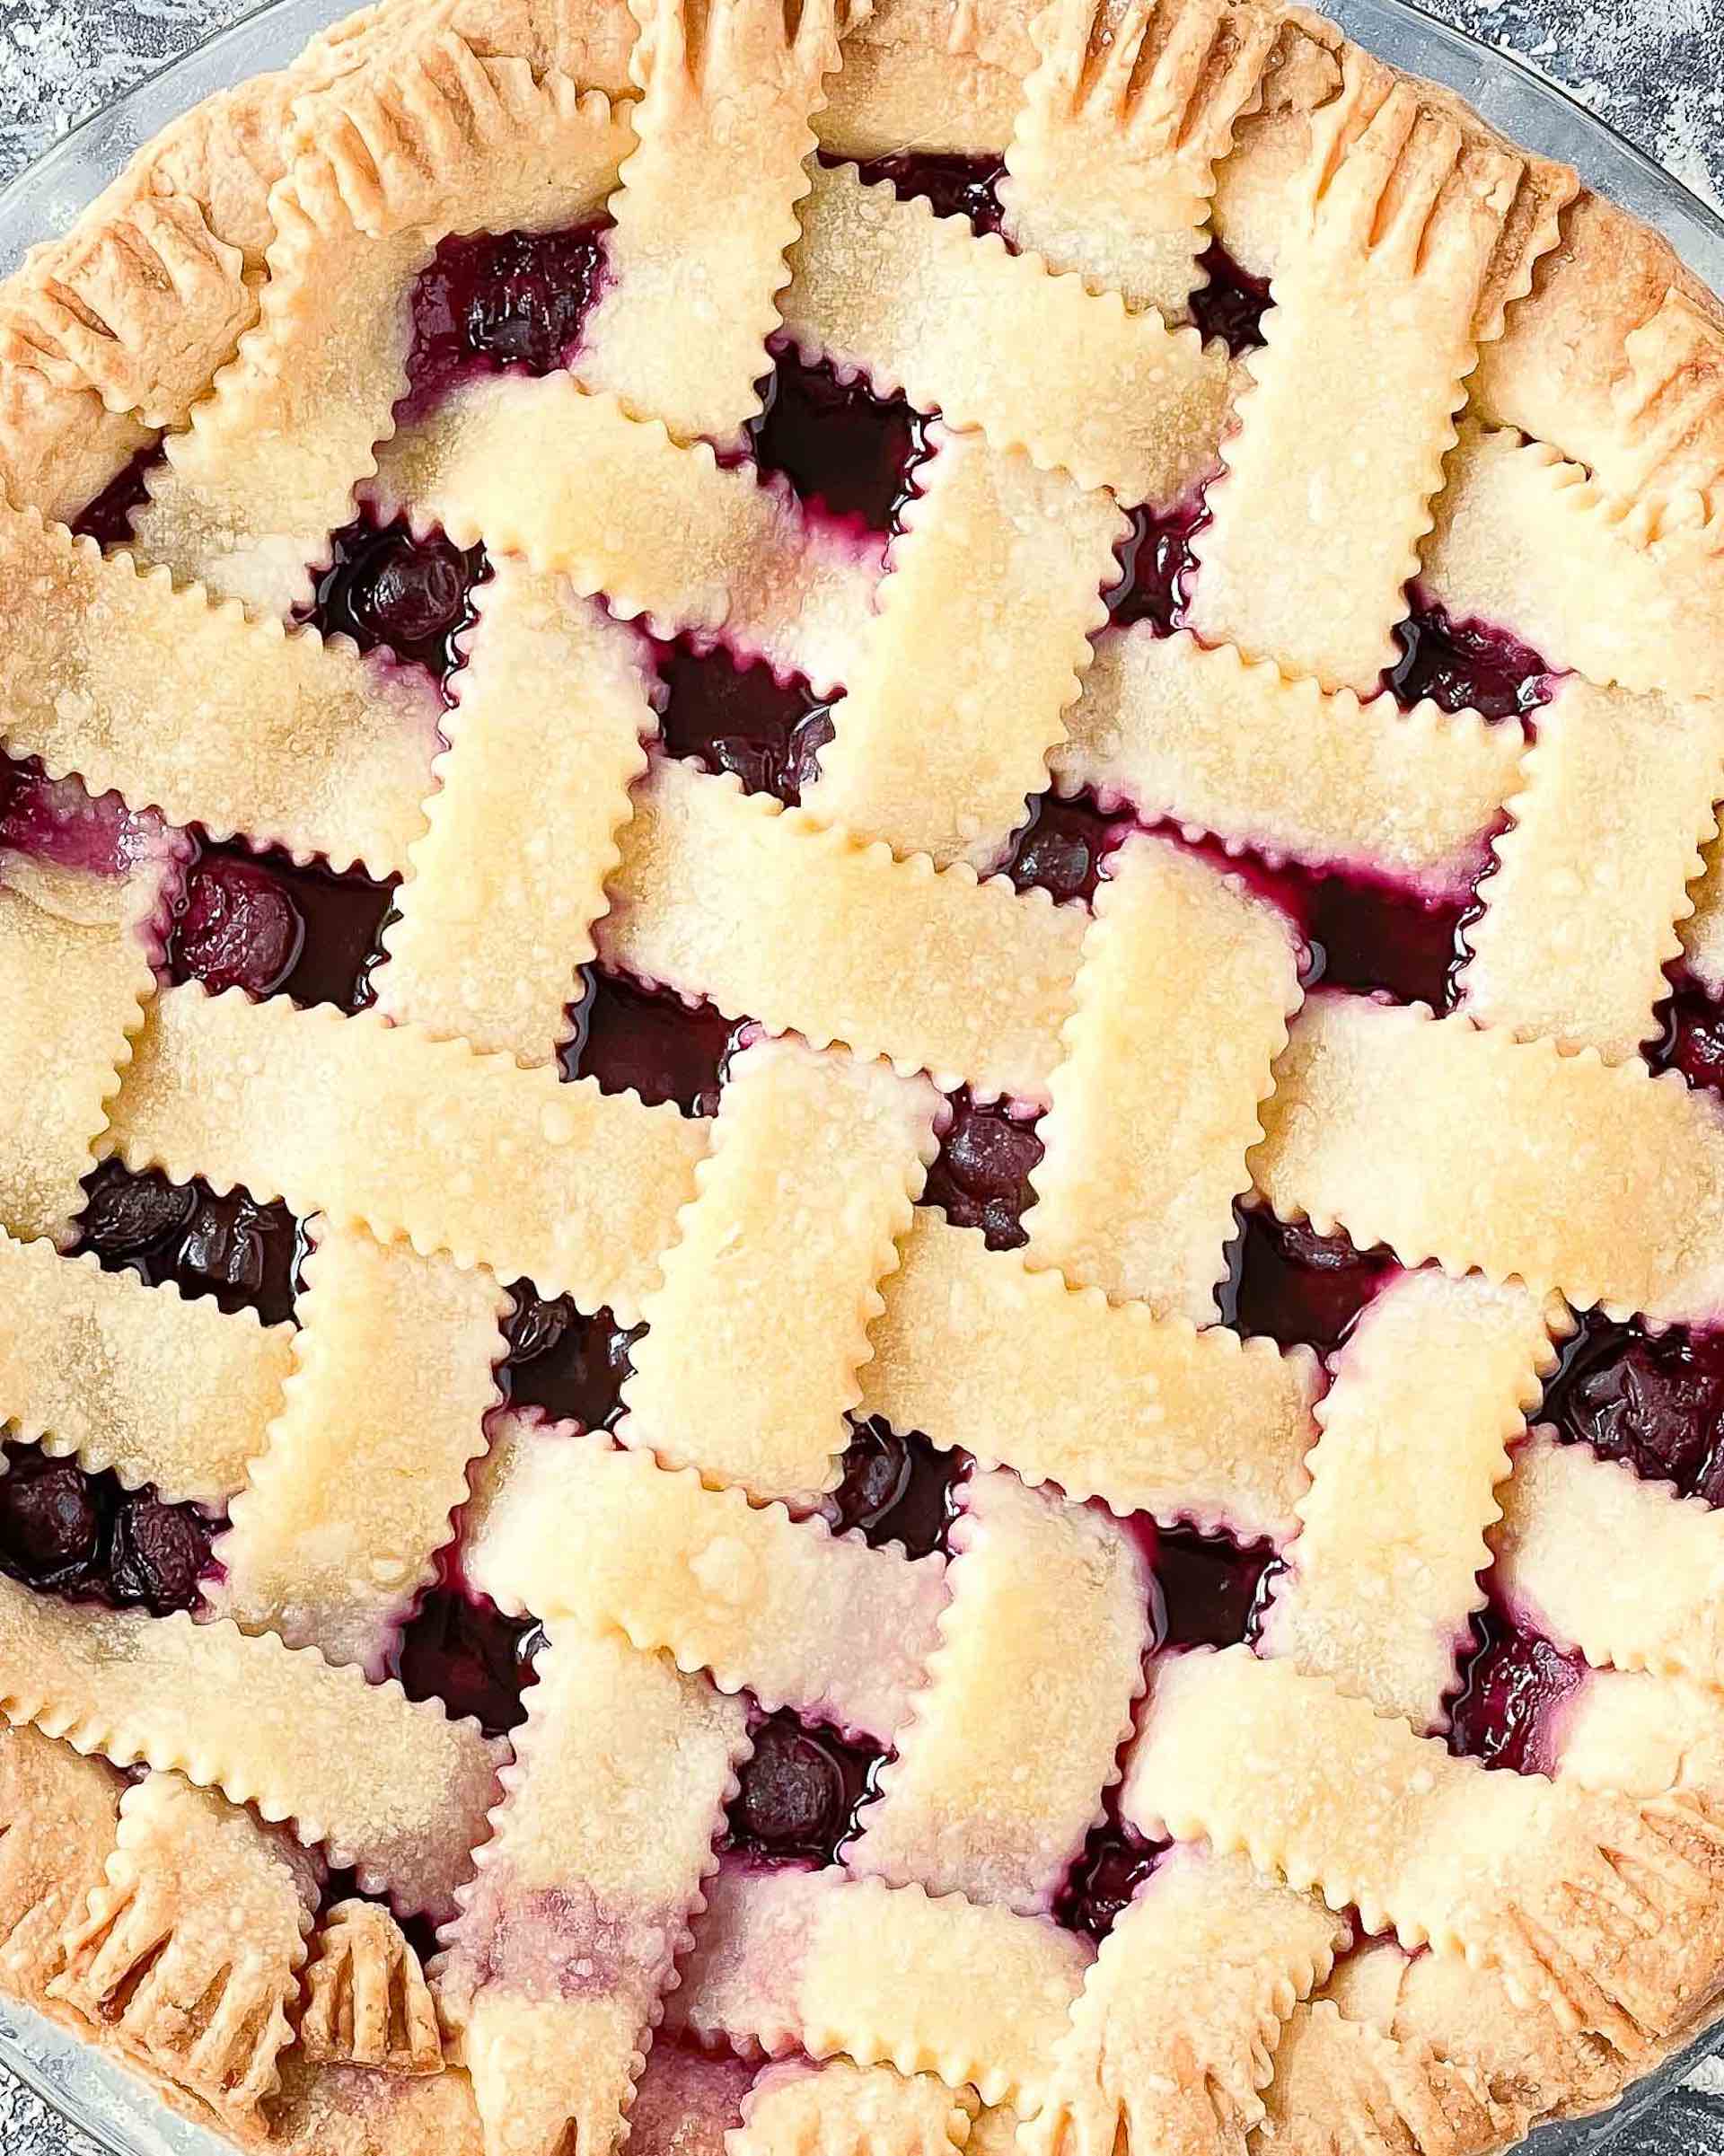
Lattice pie crust is a pastry style that uses a crisscrossing pattern of strips on many foods, but generally as a pie top crust. The openings between the lattice strips allow fruit juices to evaporate and the steam to escape while cartelizing the filling! Delicious and gorgeous!
The only difference between vegan and classic pie crust is the butter. You can confidently swap out regular butter sticks for Earth Balance Vegan Butter Sticks. Most vegan bakers I know use these vegan butter sticks; they are reliable and taste great! We also use our homemade vegan butter.
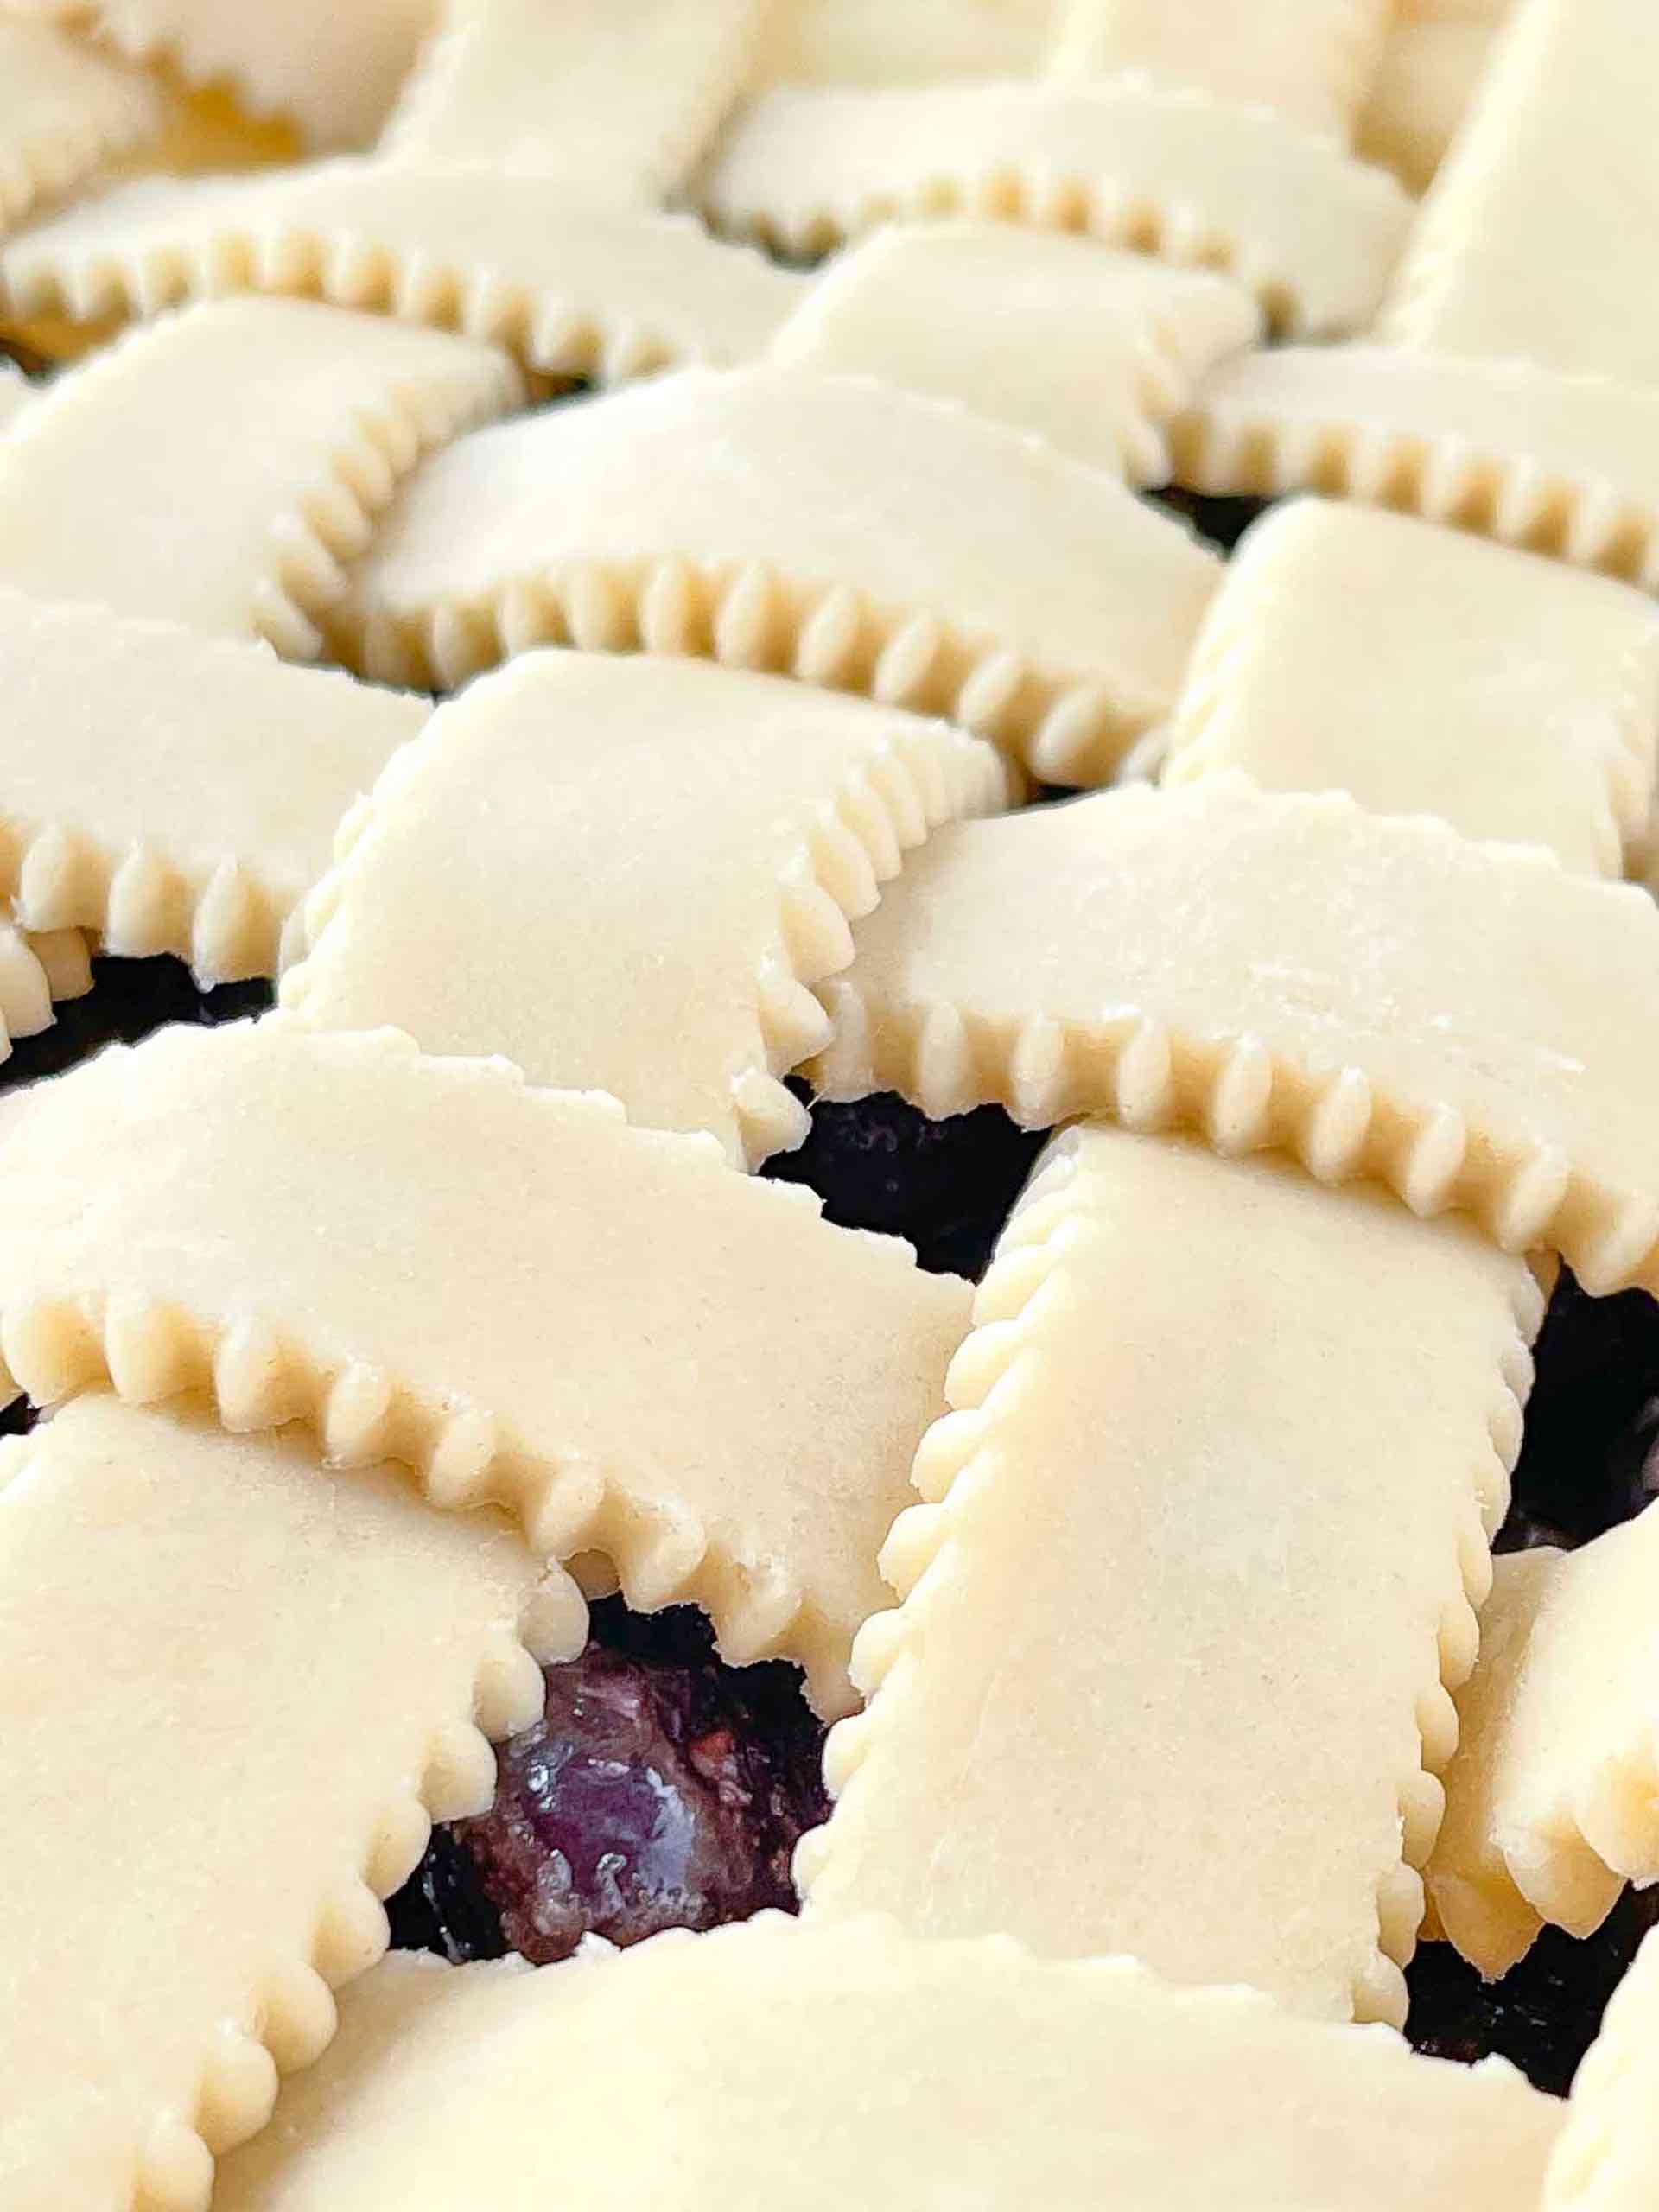
Start with Great Pie Dough for Your Lattice Pie Crust
Lattice won’t work unless you have a good solid pie dough. I recommend using our homemade pie dough, made with butter and shortening. This combination maintains the butter flavor, and the shortening provides stability. Please don’t skimp on your pie dough because it can affect the quality of your lattice.

Pie Crust Frequently Asked Questions
Everyone has questions about how to make pie dough!
-
- Why is my pie dough tough? Your pie dough will be tough if you don’t use enough fat (butter or shorting). Tough pie dough can also be the result of overworking your dough.
- Why is my pie dough dry and cracking on the edges? Your pie dough must be kept as cold as possible to prevent cracking on the edges. As such, use enough ice water when making your pie dough. If you’re already rolling out your dough and it’s cracking on the edges, dip your fingers in ice-cold water and crimp the cracked edges. Wait a minute or so, and complete rolling out your dough.
- Why is my pie dough falling apart and crumbling when rolling it out? Add more ice-cold water by sprinkling it on the edges and onto the crumbly pieces. The water must be ice-cold. Wait a minute and continue to roll out your dough.
- I don’t have enough pie dough – What do I do? Roll out your dough to 13” and about 1/8” thick. I often make a double batch to ensure I have enough dough for the overhang and the pretty lattice or classic topping.
How to Make Lattice Pie Crust
There are many ways to crimp the edges of your pie dough before baking. We often use the fork crimp, the easiest of all the crimps. Press the tines of your fork on the edges of your vegan pie dough. This will create small indentations. Rotate the pie as you do this until you’ve completed the pattern around your pie. There are many other crimping options, such as the crosshatch, citrus reamer crimp, classic crimp, and cookie cutter crimp, to name a few.
-
- Transfer to a baking surface – Dump your crumbly mixture to a baking surface covered in flour (don’t skimp on the flour). You will need the flour! Be sure your dough is crumbly and not over-processed.
- Form into a ball – Form the ball in your hands as quickly as possible. You don’t want the butter to melt from the heat of your hands or be over-handled; otherwise, your dough will be tough and chewy.
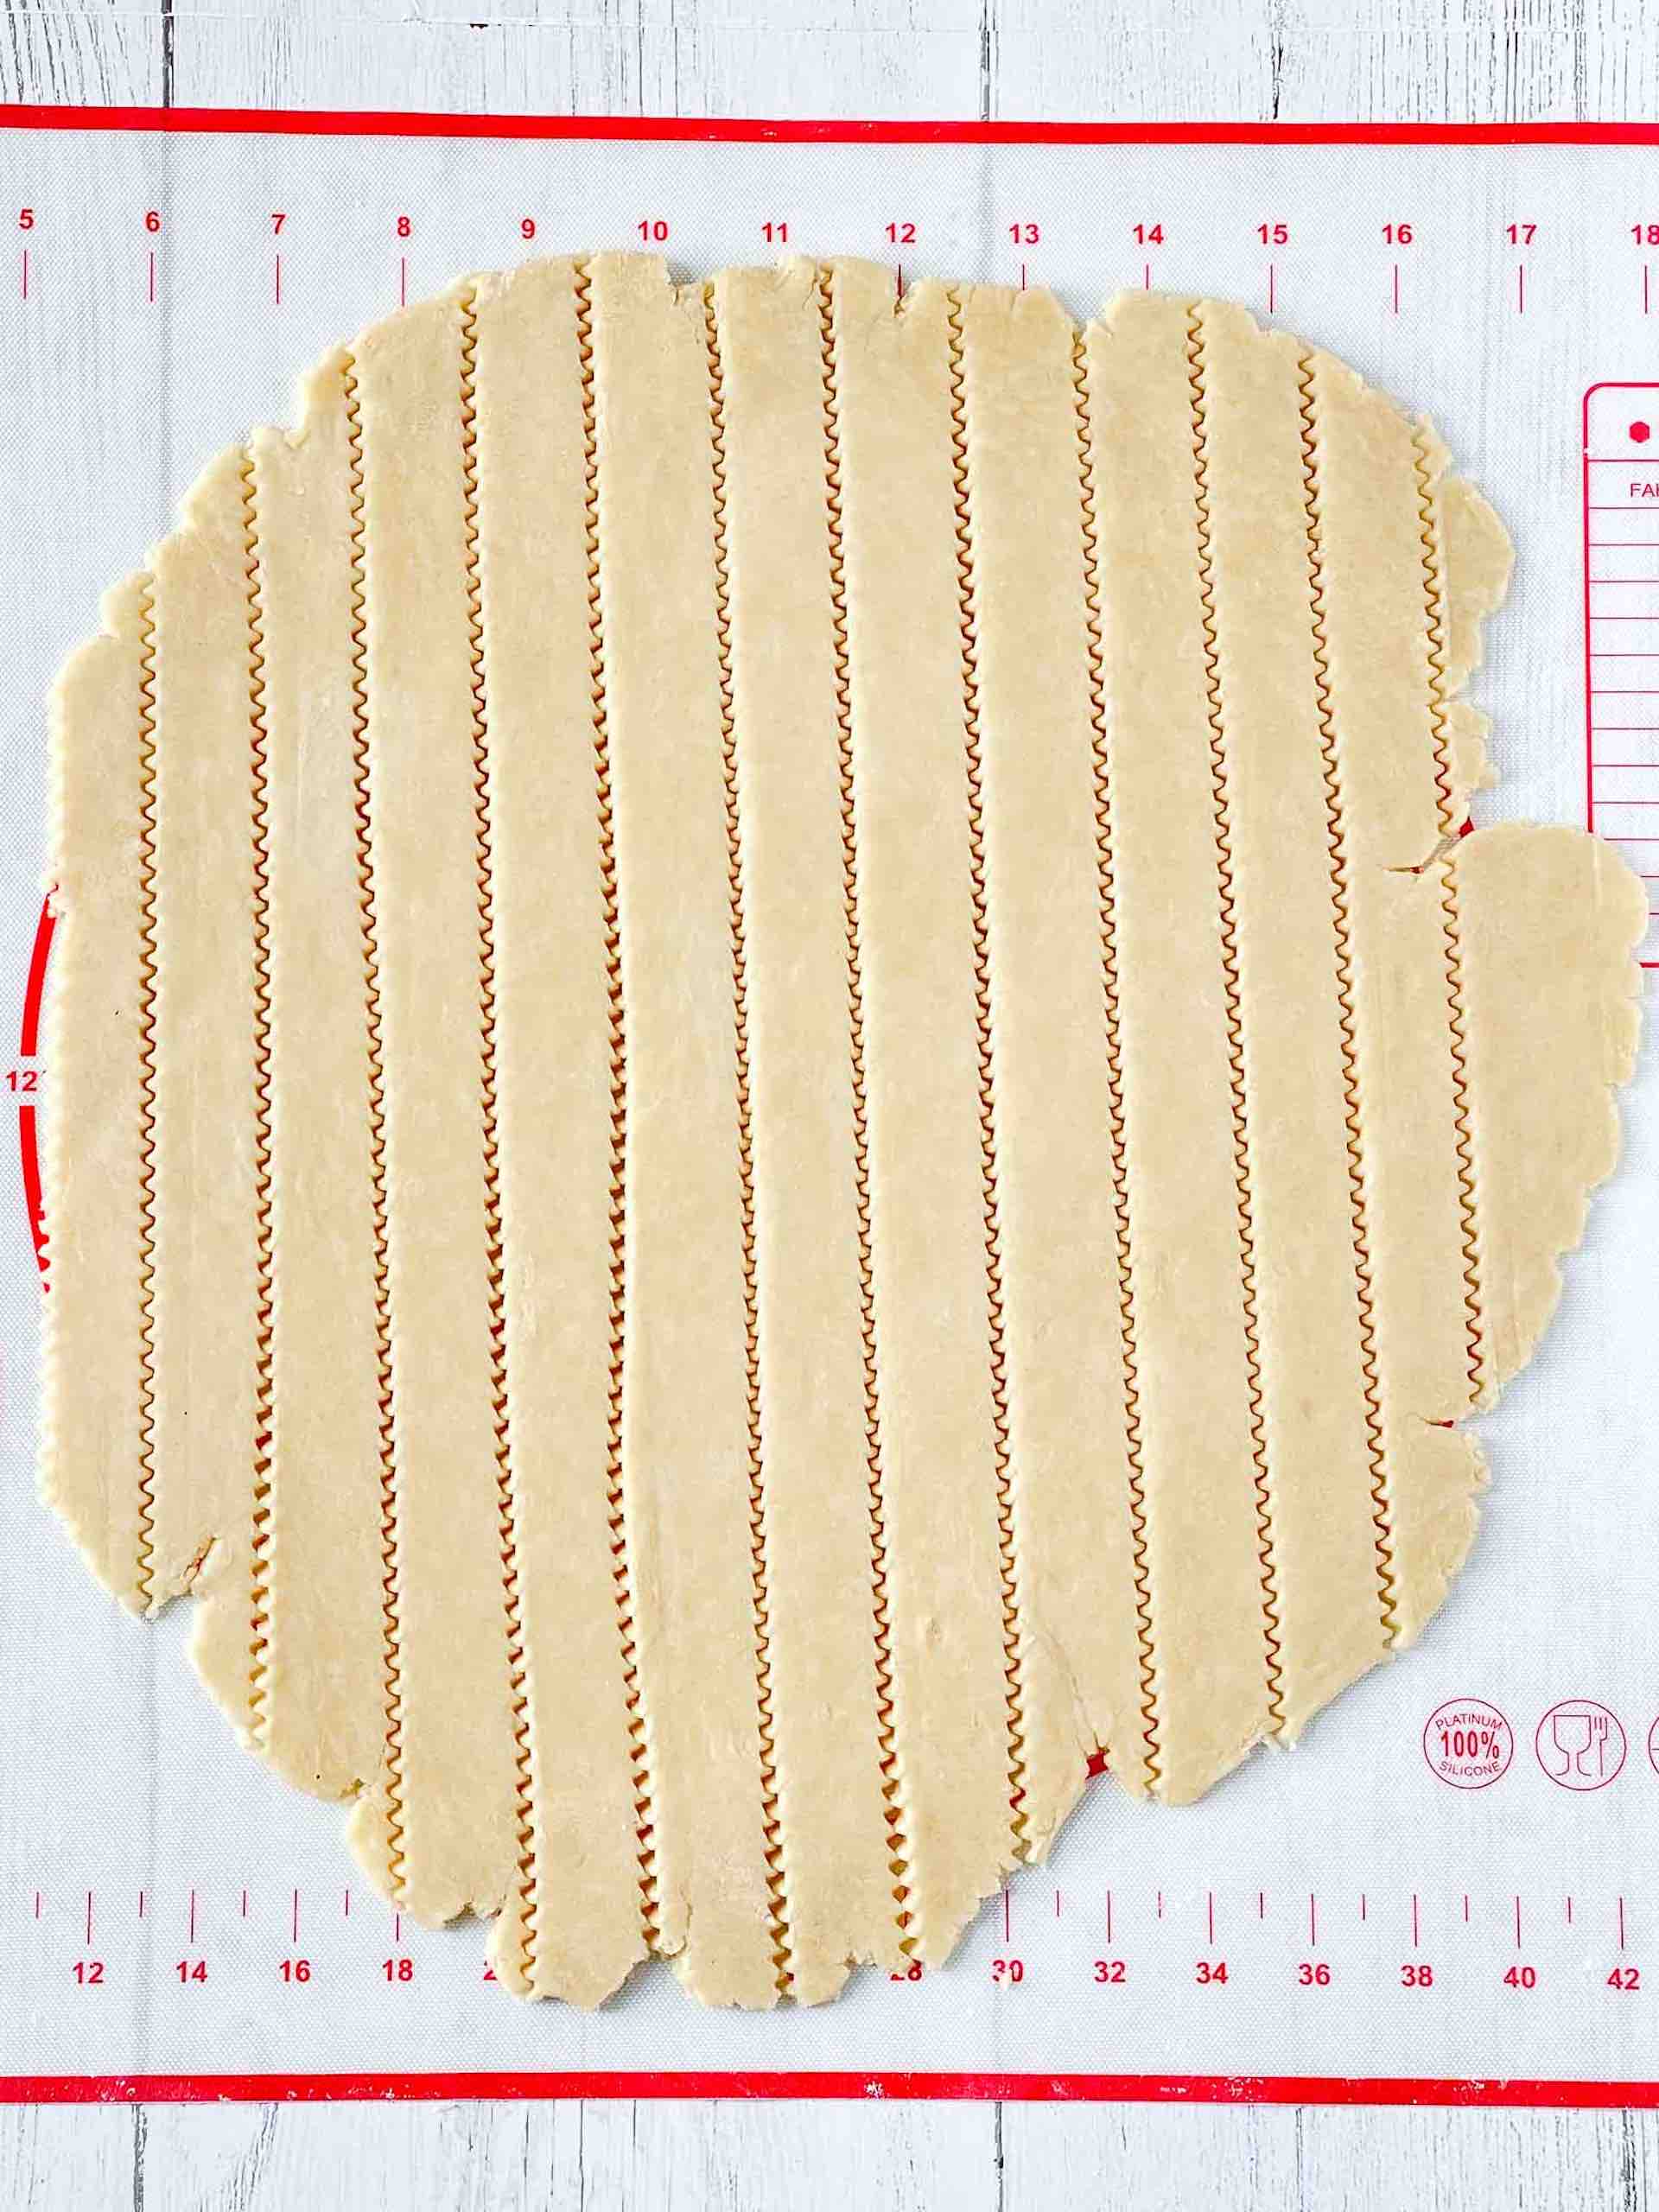
- On a lightly floured surface, roll out pie dough into an 11-inch to 13-inch circle, depending on your intended pie pan. Cut the circle into 1/2-inch wide strips.
- Add your filling of choice – Add any filling you’d like here. Heads up: fillings differ in how they cook. For example, a cherry pie has particular filling instructions.
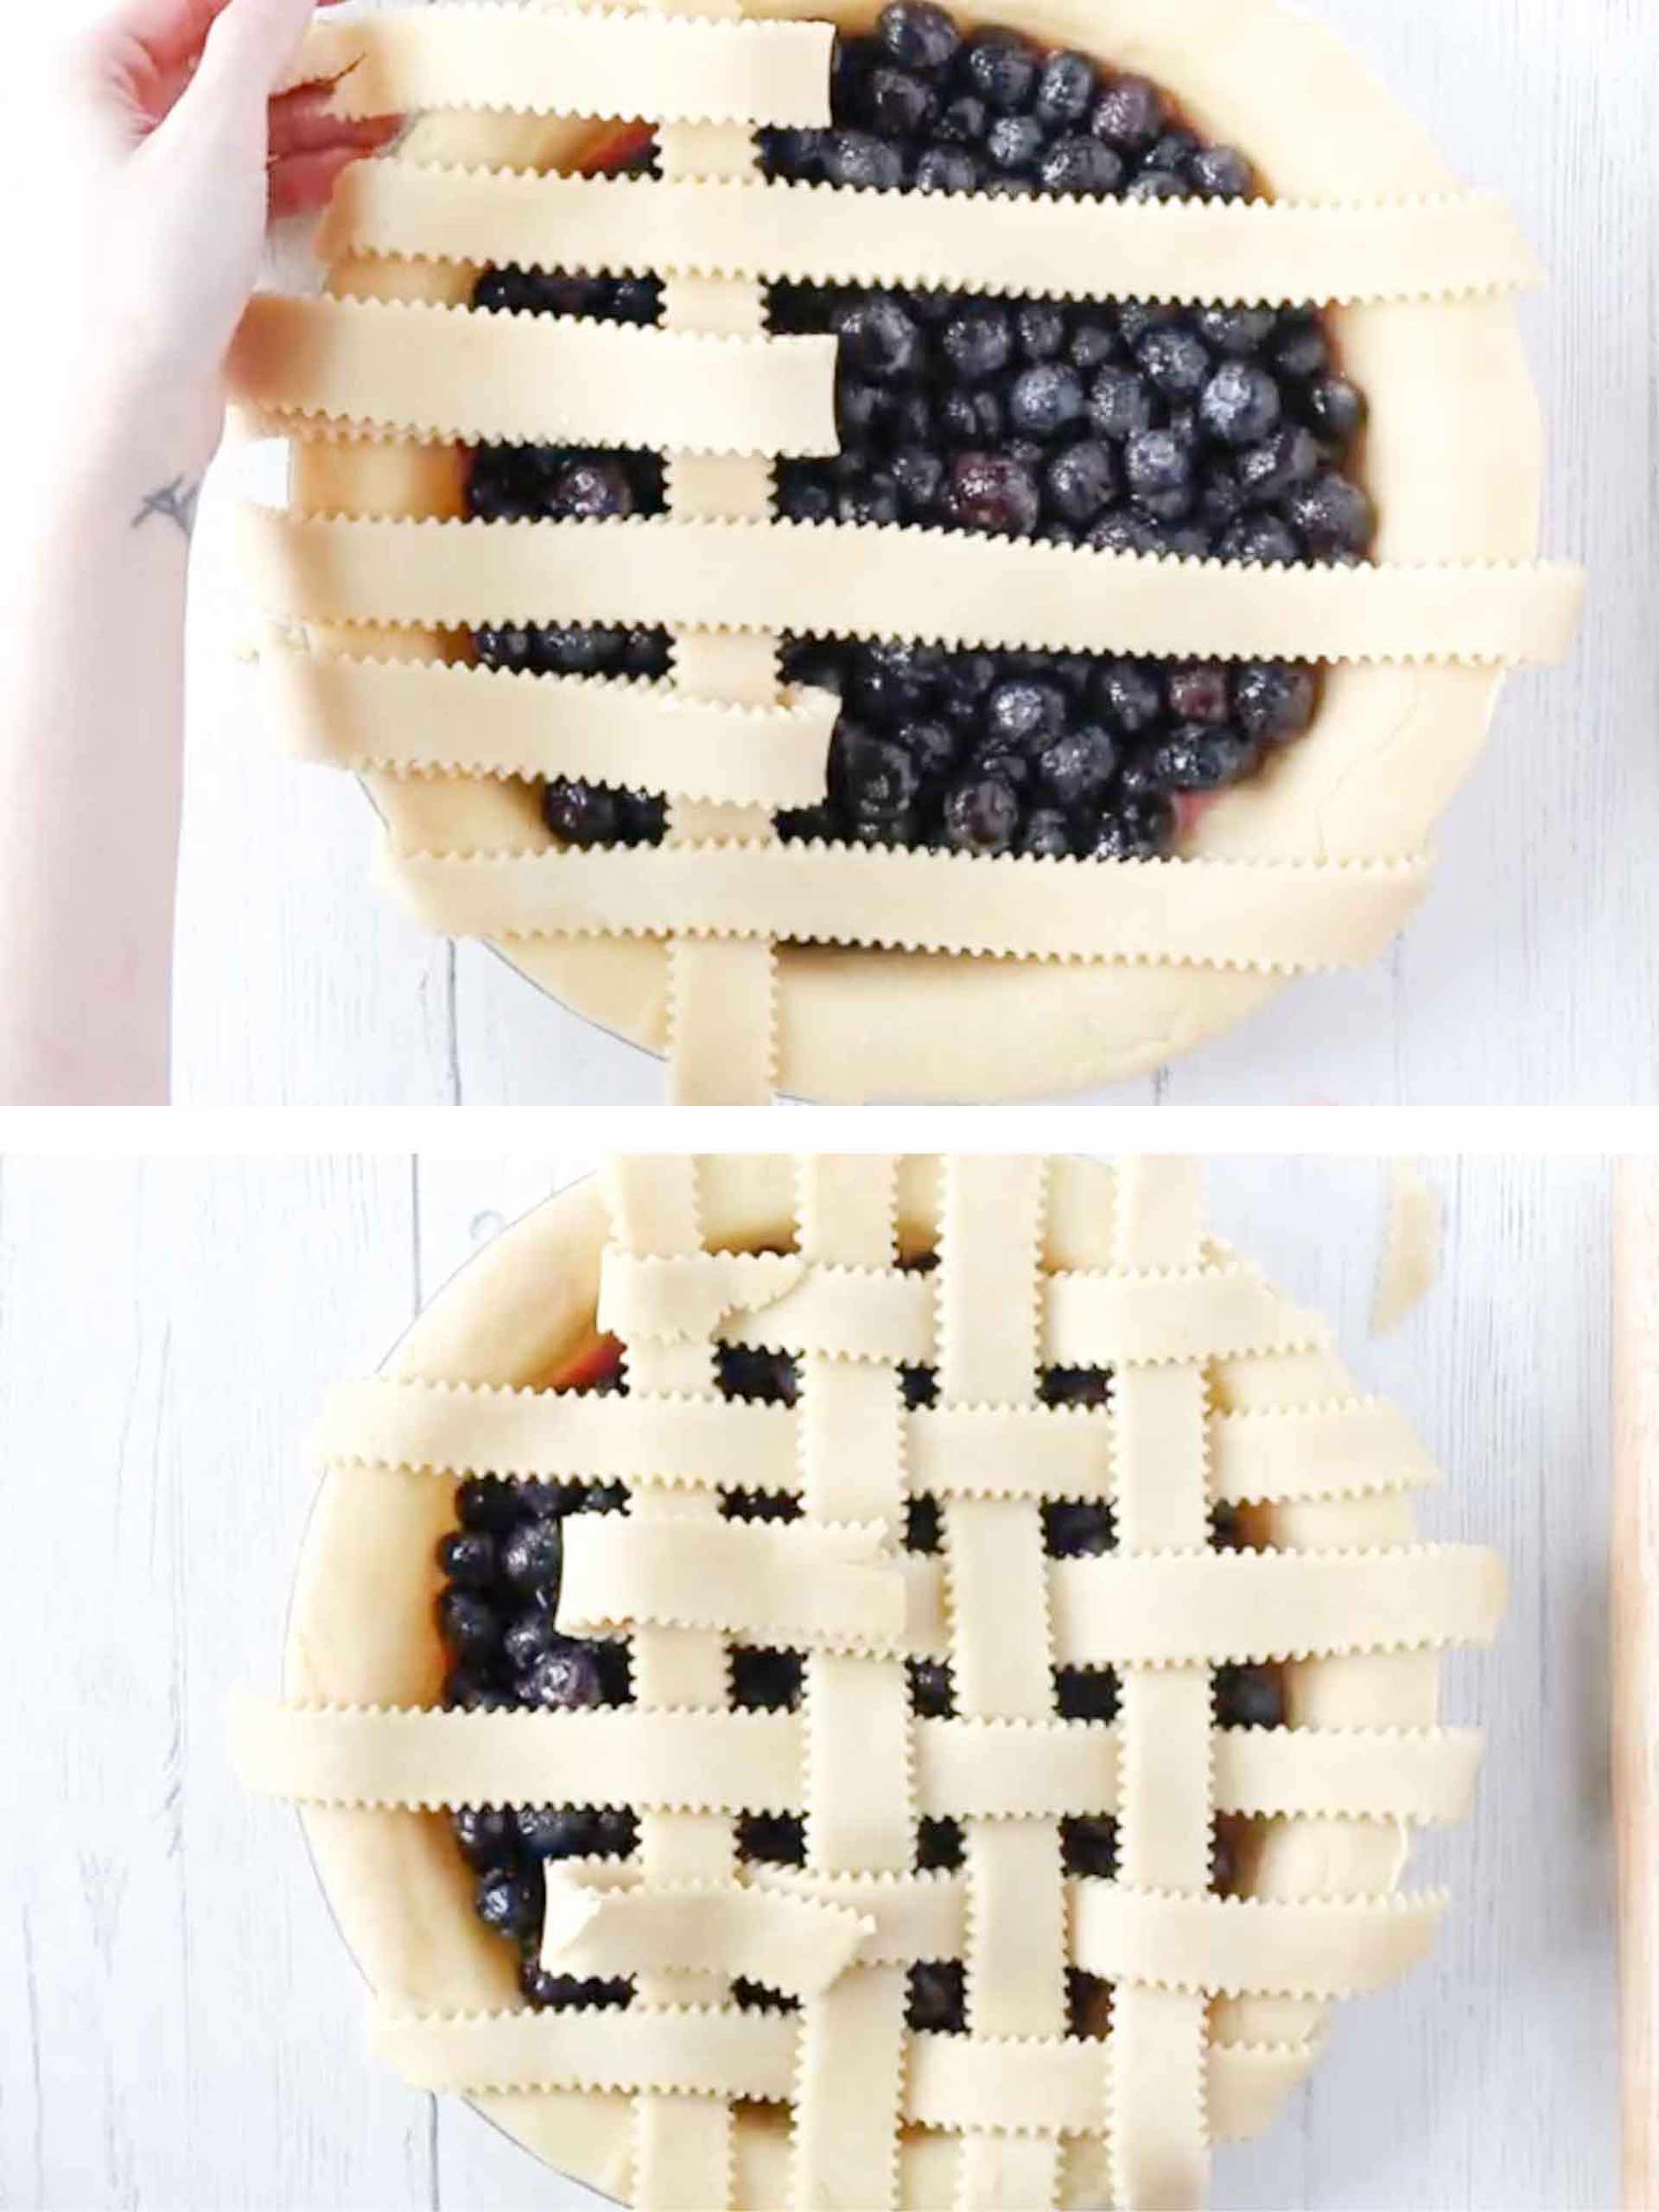
- Lay four-six dough strips over the filled pie parallel to each other and evenly spaced. Use longer strips towards the center and shorter pieces toward the edges.
- Fold back the second, fourth, and sixth strips towards you. Lay a shorter strip of dough perpendicular to the other strips.
- Unfold the second, fourth, and sixth strips over the new strip.
- Fold back the first, third, and fifth strips towards you. Lay another strip of dough across the pie. Unfold the first, third, and fifth strips over the new strip.
- Repeat steps 3 through 6 until the filling is covered with a complete lattice!
- Trim overhanging dough strips. Time the overhanging dough strips. This is your chance to ‘clean up’ the look of your pie.
- Crimp edges with a fork.
- Refrigerate dough for at least 20 minutes, or freeze for later use.
Tips for Successfully Making Vegan Pie Dough
-
- Keep the dough cold when rolling out your pie dough. Warm pie dough won’t work. If your dough gets too warm when rolling it out, refrigerate it for 20-30 minutes.
- Stay confident. Making a beautiful pie takes practice; even your first efforts will be beautiful. Just keep trying.
- Roll the lattice evenly. We use a ruler to keep the strips all as even as possible – a pastry roller with crimped edges makes the strips really elegant.
Homemade Pie Recipes for Your Lattice Pie Crust
- Homemade Blueberry Pie
- Homemade Classic Apple Pie
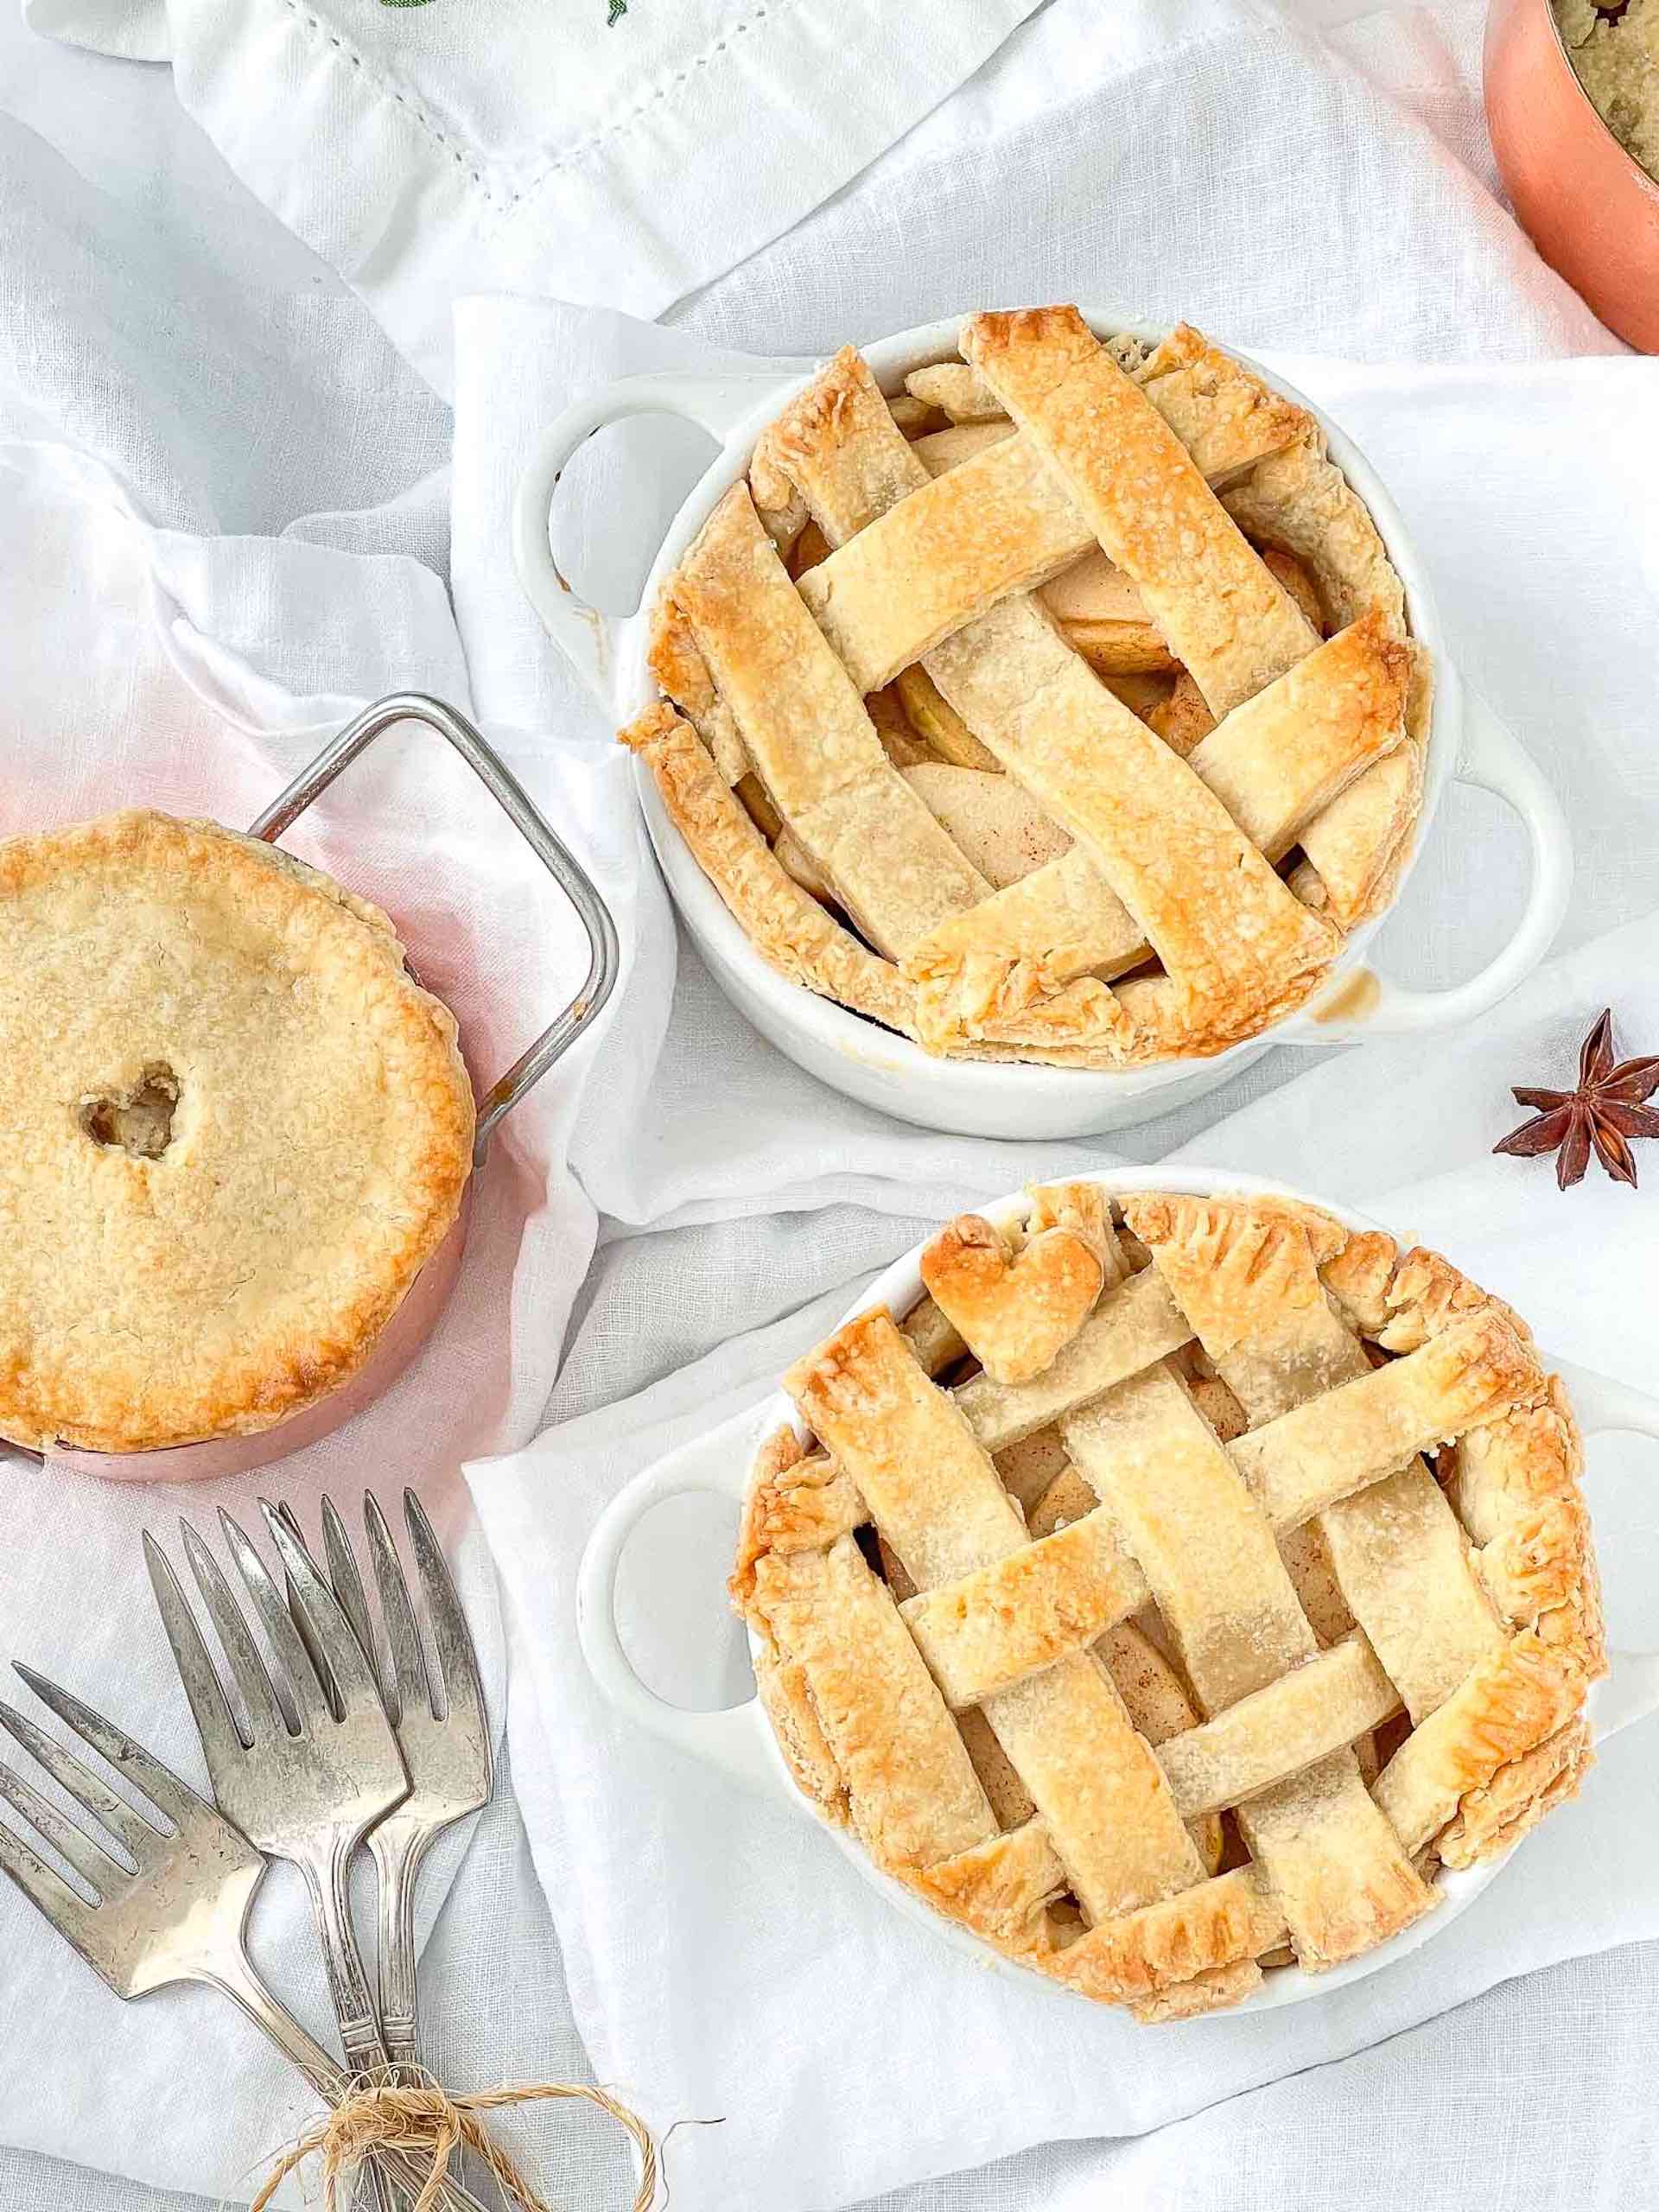
- Apple Pie in Mini Dutch Oven
If you want to lattice a pie, please let me know in the comments below. Enjoy!
How to Make Lattice Pie Crust
Equipment
- Rolling Pin
- Pastry roller or sharp knife
- Ruler or try to eyeball it!
- Pastry brush
Ingredients
- Homemade Pie Crust
- All purpose flour for work surface
- Milk wash
- Coarse sugar for spinkling on crust
Instructions
- After you roll out the bottom crust and fill your pie, it’s time to start cutting out the lattice strips. On a lightly floured surface with a floured rolling pin, roll out top pie crust into a 13-inch circle. It’s ok if it’s not a perfect circle, as long as it’s 13 inches in diameter
- Cut dough into strips. To keep things simple, I recommend 12 1-inch strips.
- Lay 6 - 8 strips vertically and evenly spaced on top of the filled pie. Use the longer strips in the center of the pie and the shorter strips on the ends.
- Fold every other strip (3 or 4 in total) all the way back so they’re almost falling off of the pie. Lay one of the 6 - 8 unused strips perpendicular on top. Unfold the 3 vertical strips back so they lay over the perpendicular strip. You have 5 strips left.
- Fold the other 3 vertical strips back. Lay one of the 5 unused strips perpendicular on top. Unfold the 3 vertical strips back so they lay over the perpendicular strip. You’re now beginning to see the beautiful woven pattern!
- Repeat with last 4 strips, weaving the strips over and under one another.
- Fold the excess dough that lays over the edges of the pie back and pinch them with the bottom pie crust to seal. Flute the edges of the pie, then brush with egg wash and sprinkle with a little coarse sugar. This adds a lovely sparkle and crunch!
- Refrigerate unbaked pie for 30 minutes prior to baking. This is an often overlooked step, but cold dough is guaranteed to hold the lattice shape.Bake the pie as directed in your recipe. I r

0 Comments