Coconut Whipped Cream
With its light and billowy texture and subtly sweet flavor, this dairy-free coconut whipped cream is the perfect topping for pies, fruit, and sundaes!
![]()

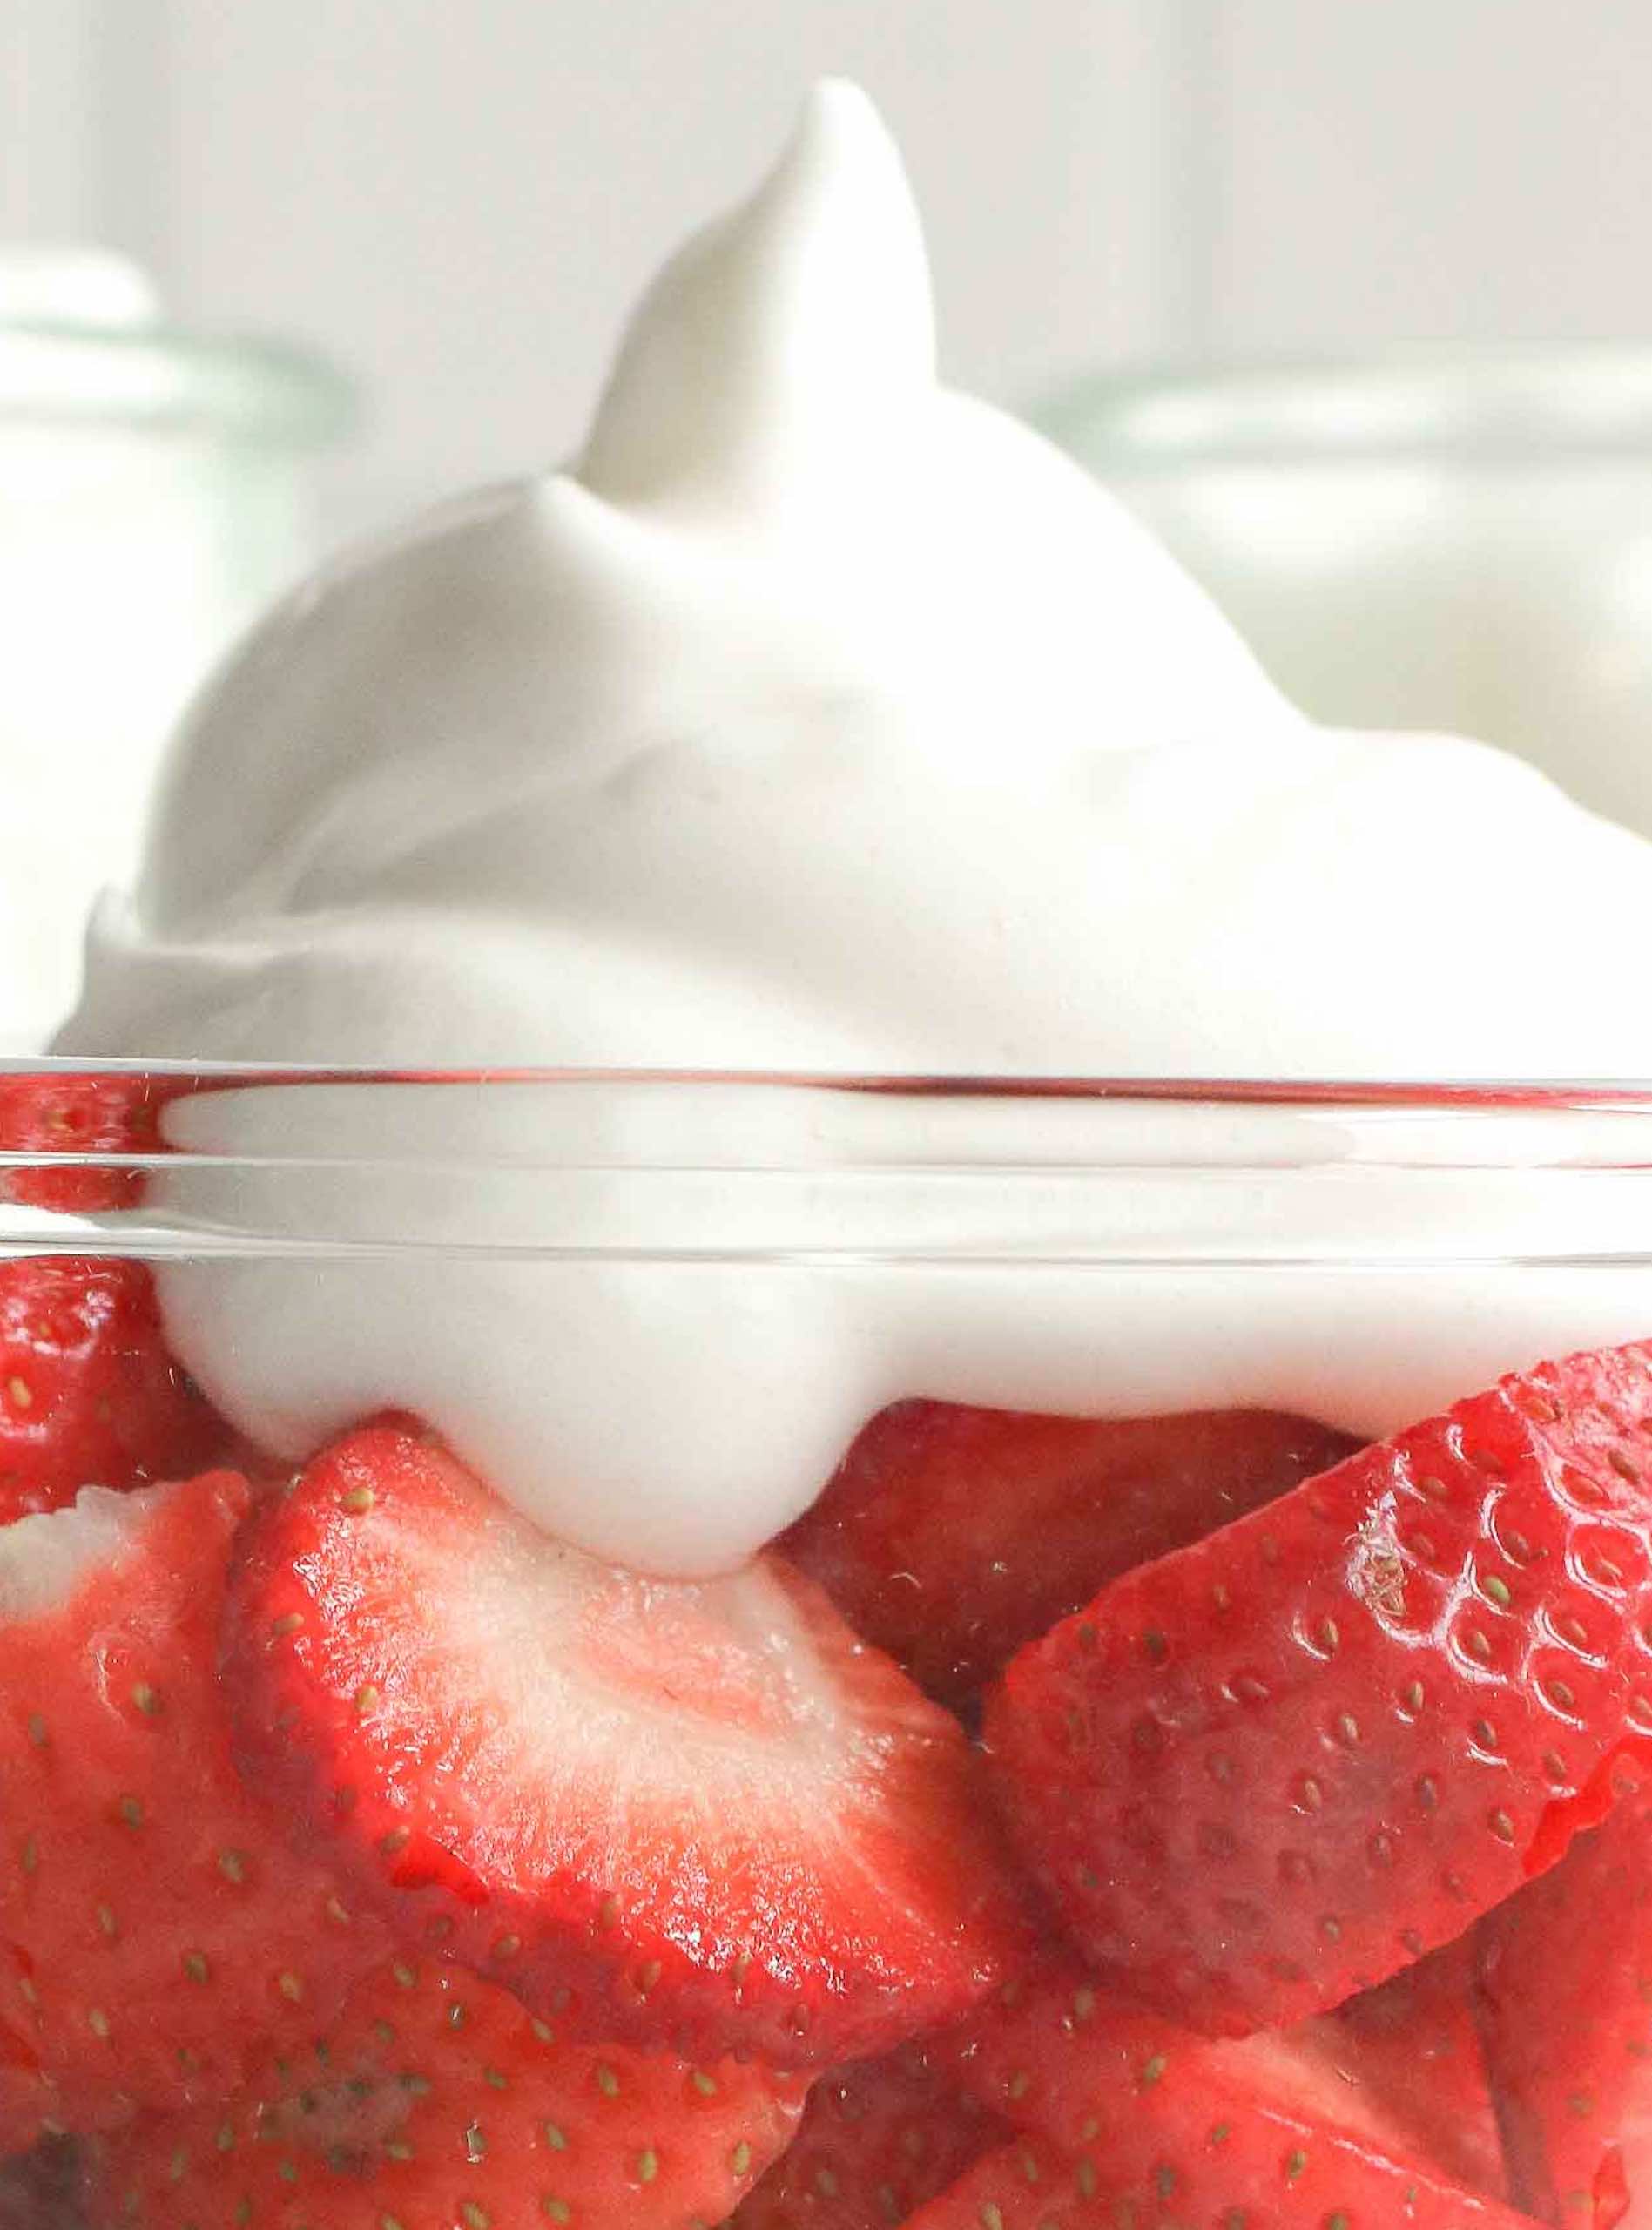
Homemade coconut whipped cream whips up quickly and easily, gives the classic ‘heavy cream’ version a real run for its Monday. Our recipe is a dairy-free, vegan-friendly version. Just swap a good quality full-fat coconut milk or coconut cream in its place and whip it into soft peaks!
Coconut whipped cream is a tasty whipped topping and is a perfect garnish for desserts and with fresh fruit. However, making homemade coconut whipped cream can be tricky. Read the post below about these nuances and how you can easily navigate them.
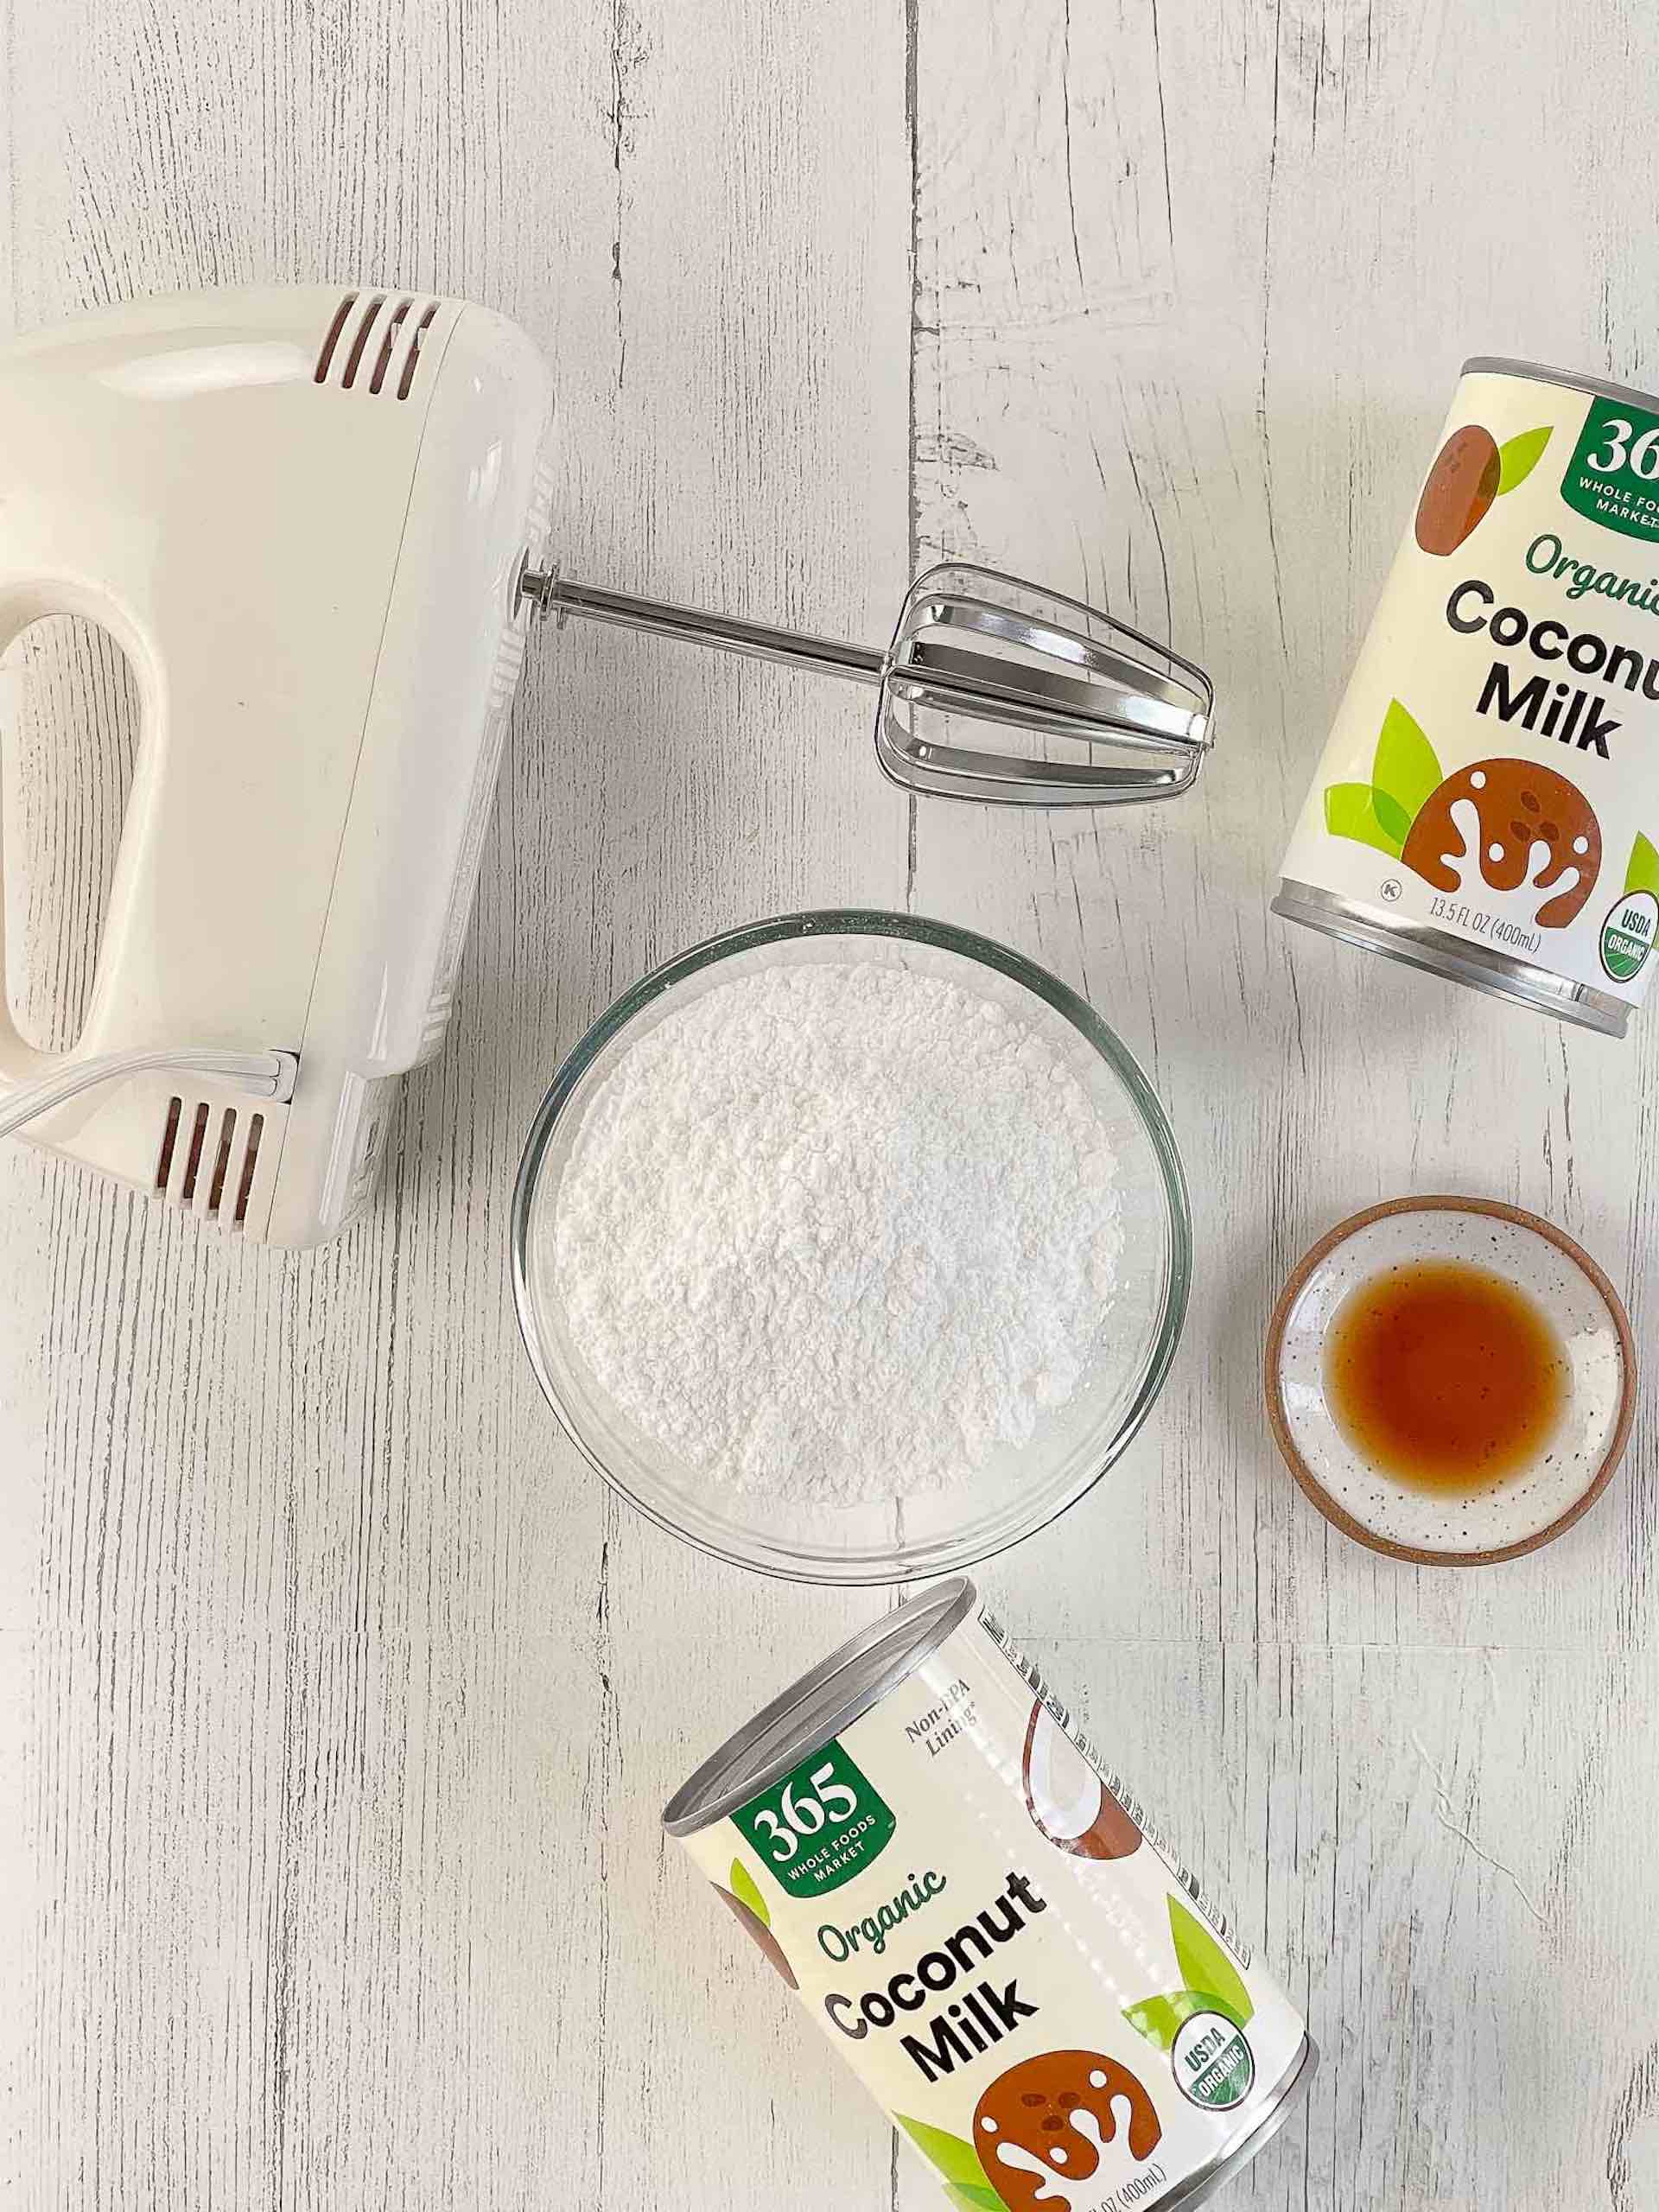
Coconut Whipped Cream Ingredients
These three ingredients go together super fast and make an excellent final product.
- Coconut Milk – Coconut whipped cream is the dairy-free answer to classic whipped cream, and it’s made from the hard coconut cream that gets separated from the water in a can of full-fat coconut milk. Coconut cream will form incredible soft peaks when blended with a hand mixer, just like classic whipped cream.
- Powdered Sugar – Powdered sugar adds sweetness. To keep your coconut whipped cream firm and making soft peaks, we use powdered sugar, not a liquid sweetener such as honey or maple syrup.
- Vanilla – Using pure vanilla extract alongside the powdered sugar is the key to a rich and delicious final product.
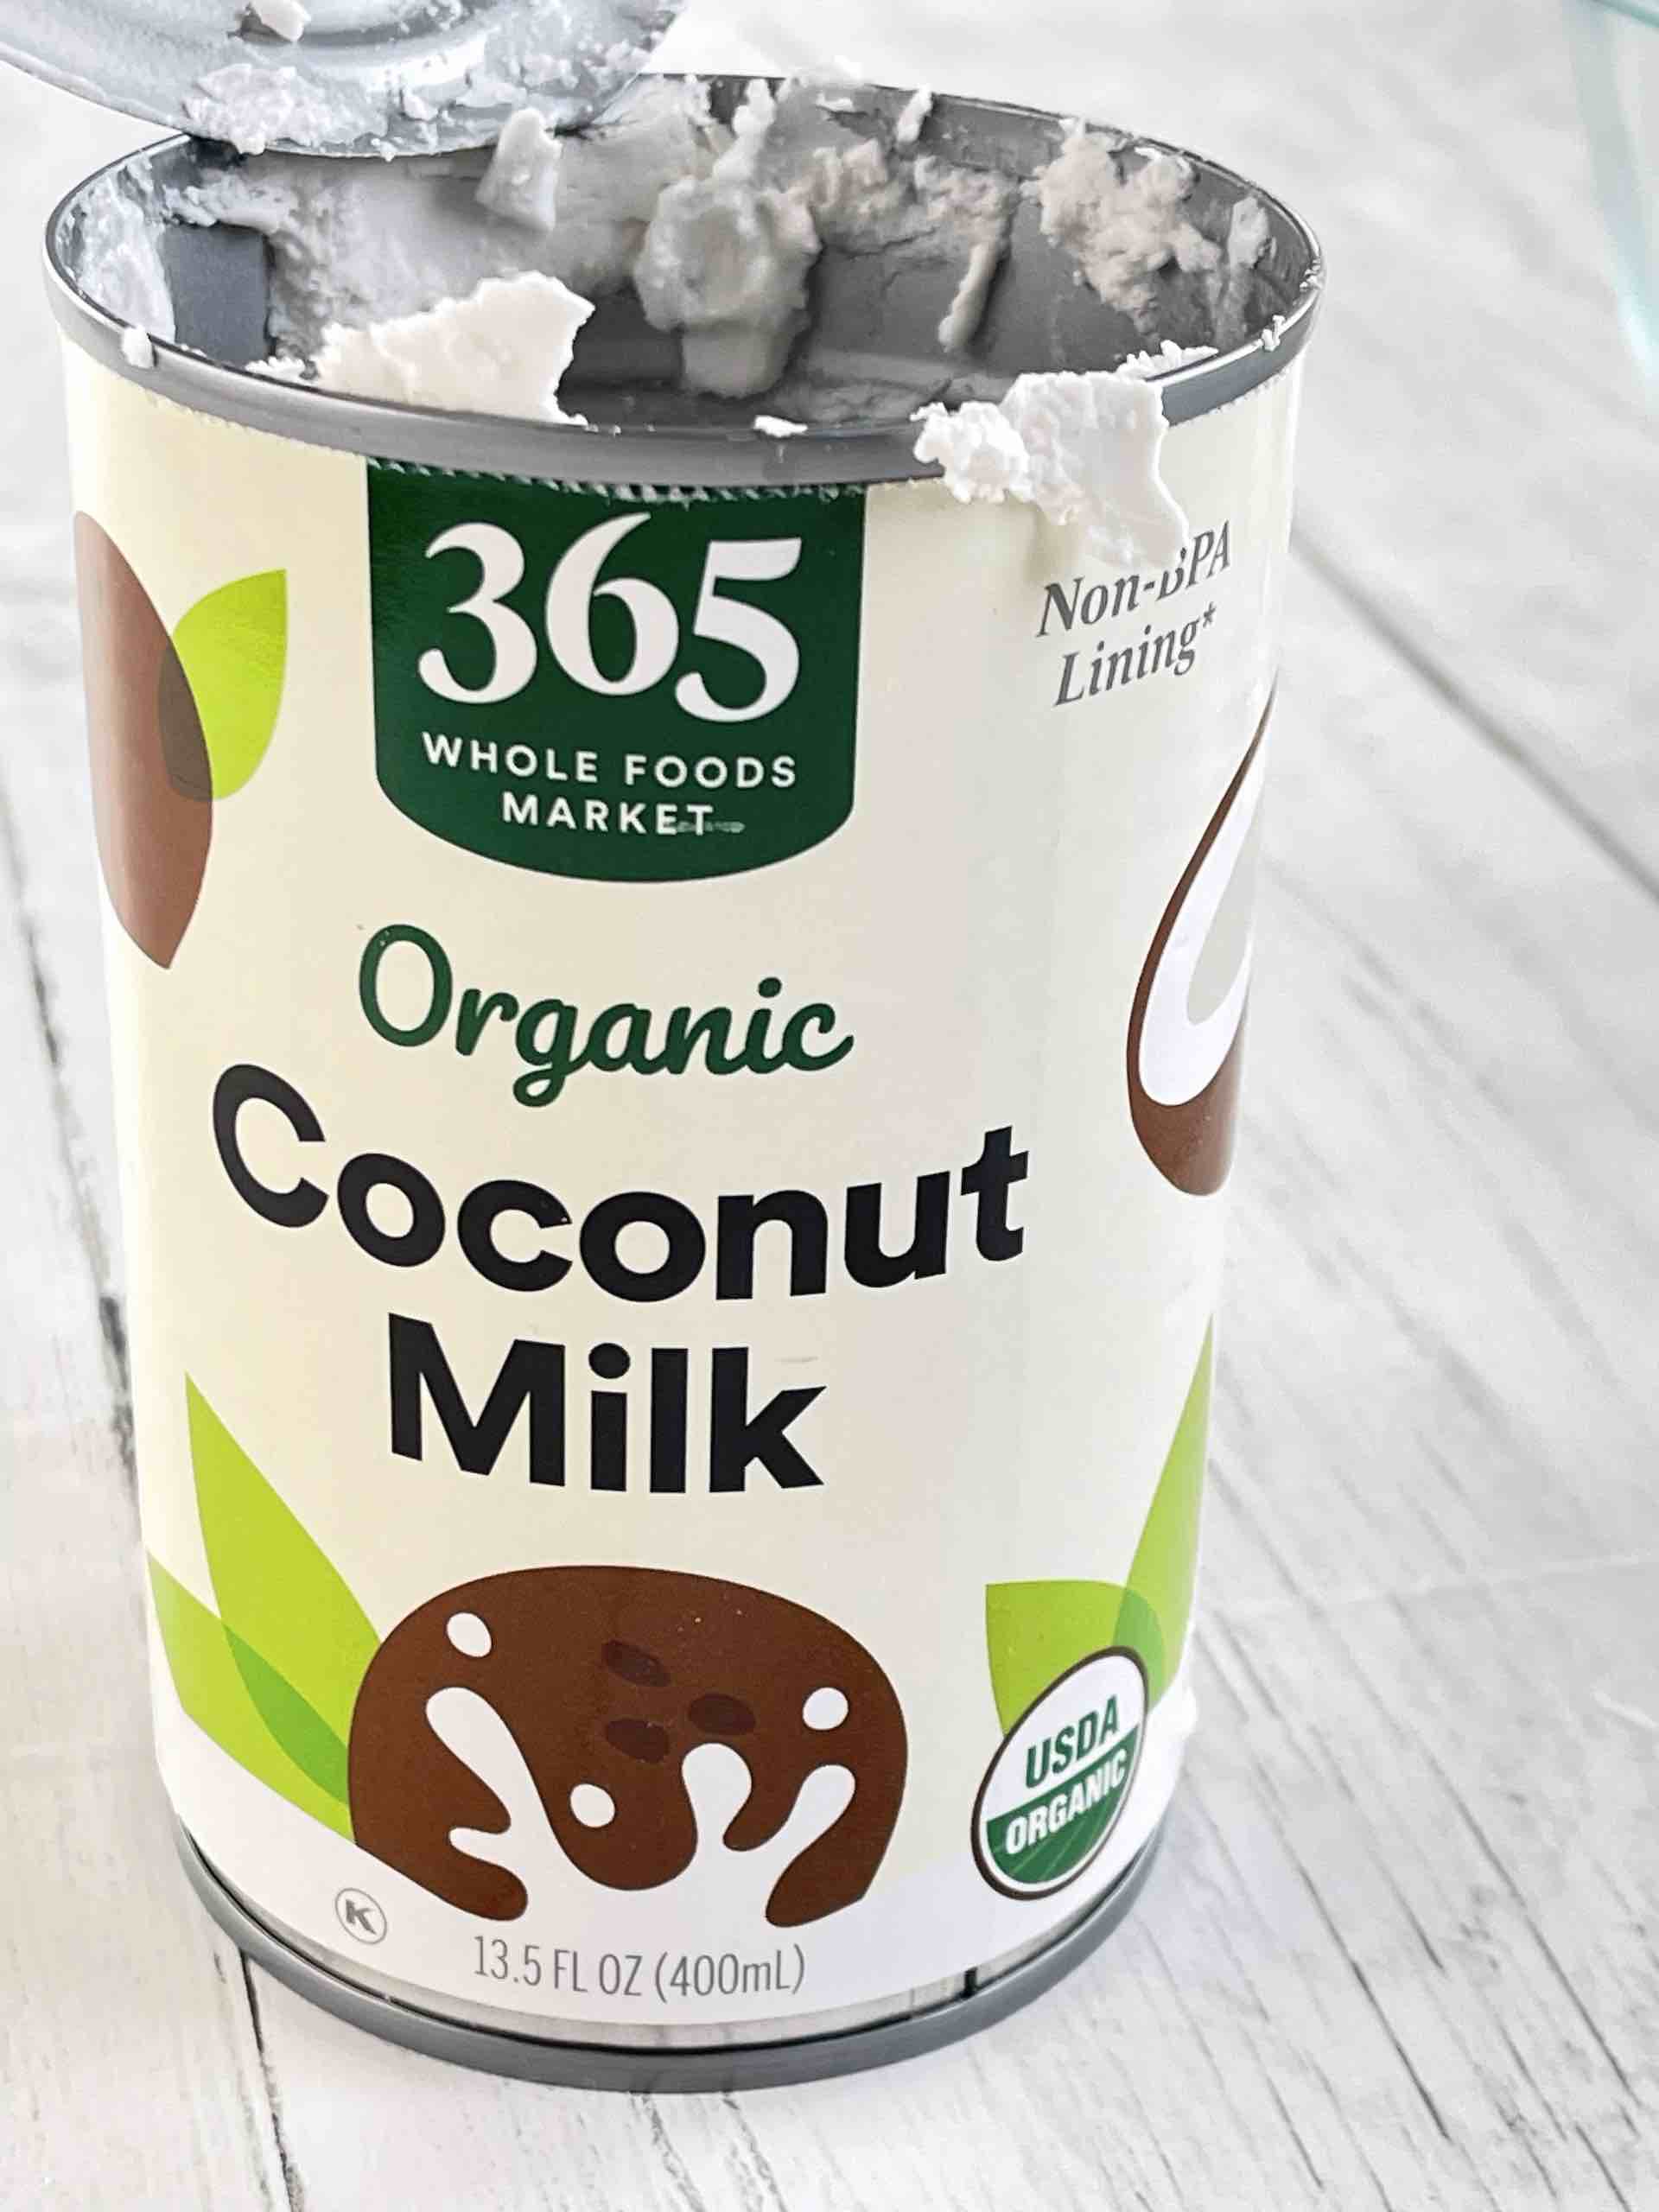
How To Make Coconut-Whipped Cream
Just three ingredients and a hand mixer, and you’ll have billowy whipped cream in five minutes. This can be a bit tricky, so follow this tutorial closely!
Chill the coconut milk – I chill my cans of coconut milk overnight. The cream will harden, separate from the water, and usually rise to the top of the can. I chill an extra can just in case I need it!
Chill the mixing bowl – This is where we get into the details! The point is to keep everything chilled. Your unchilled bowl can warm things up too much. Chill the bowl for at least 30 minutes.
Scoop out the coconut cream – Using a spoon, scoop out the hardened coconut cream from the can. Drop it into your chilled bowl. Save the liquid for another use.
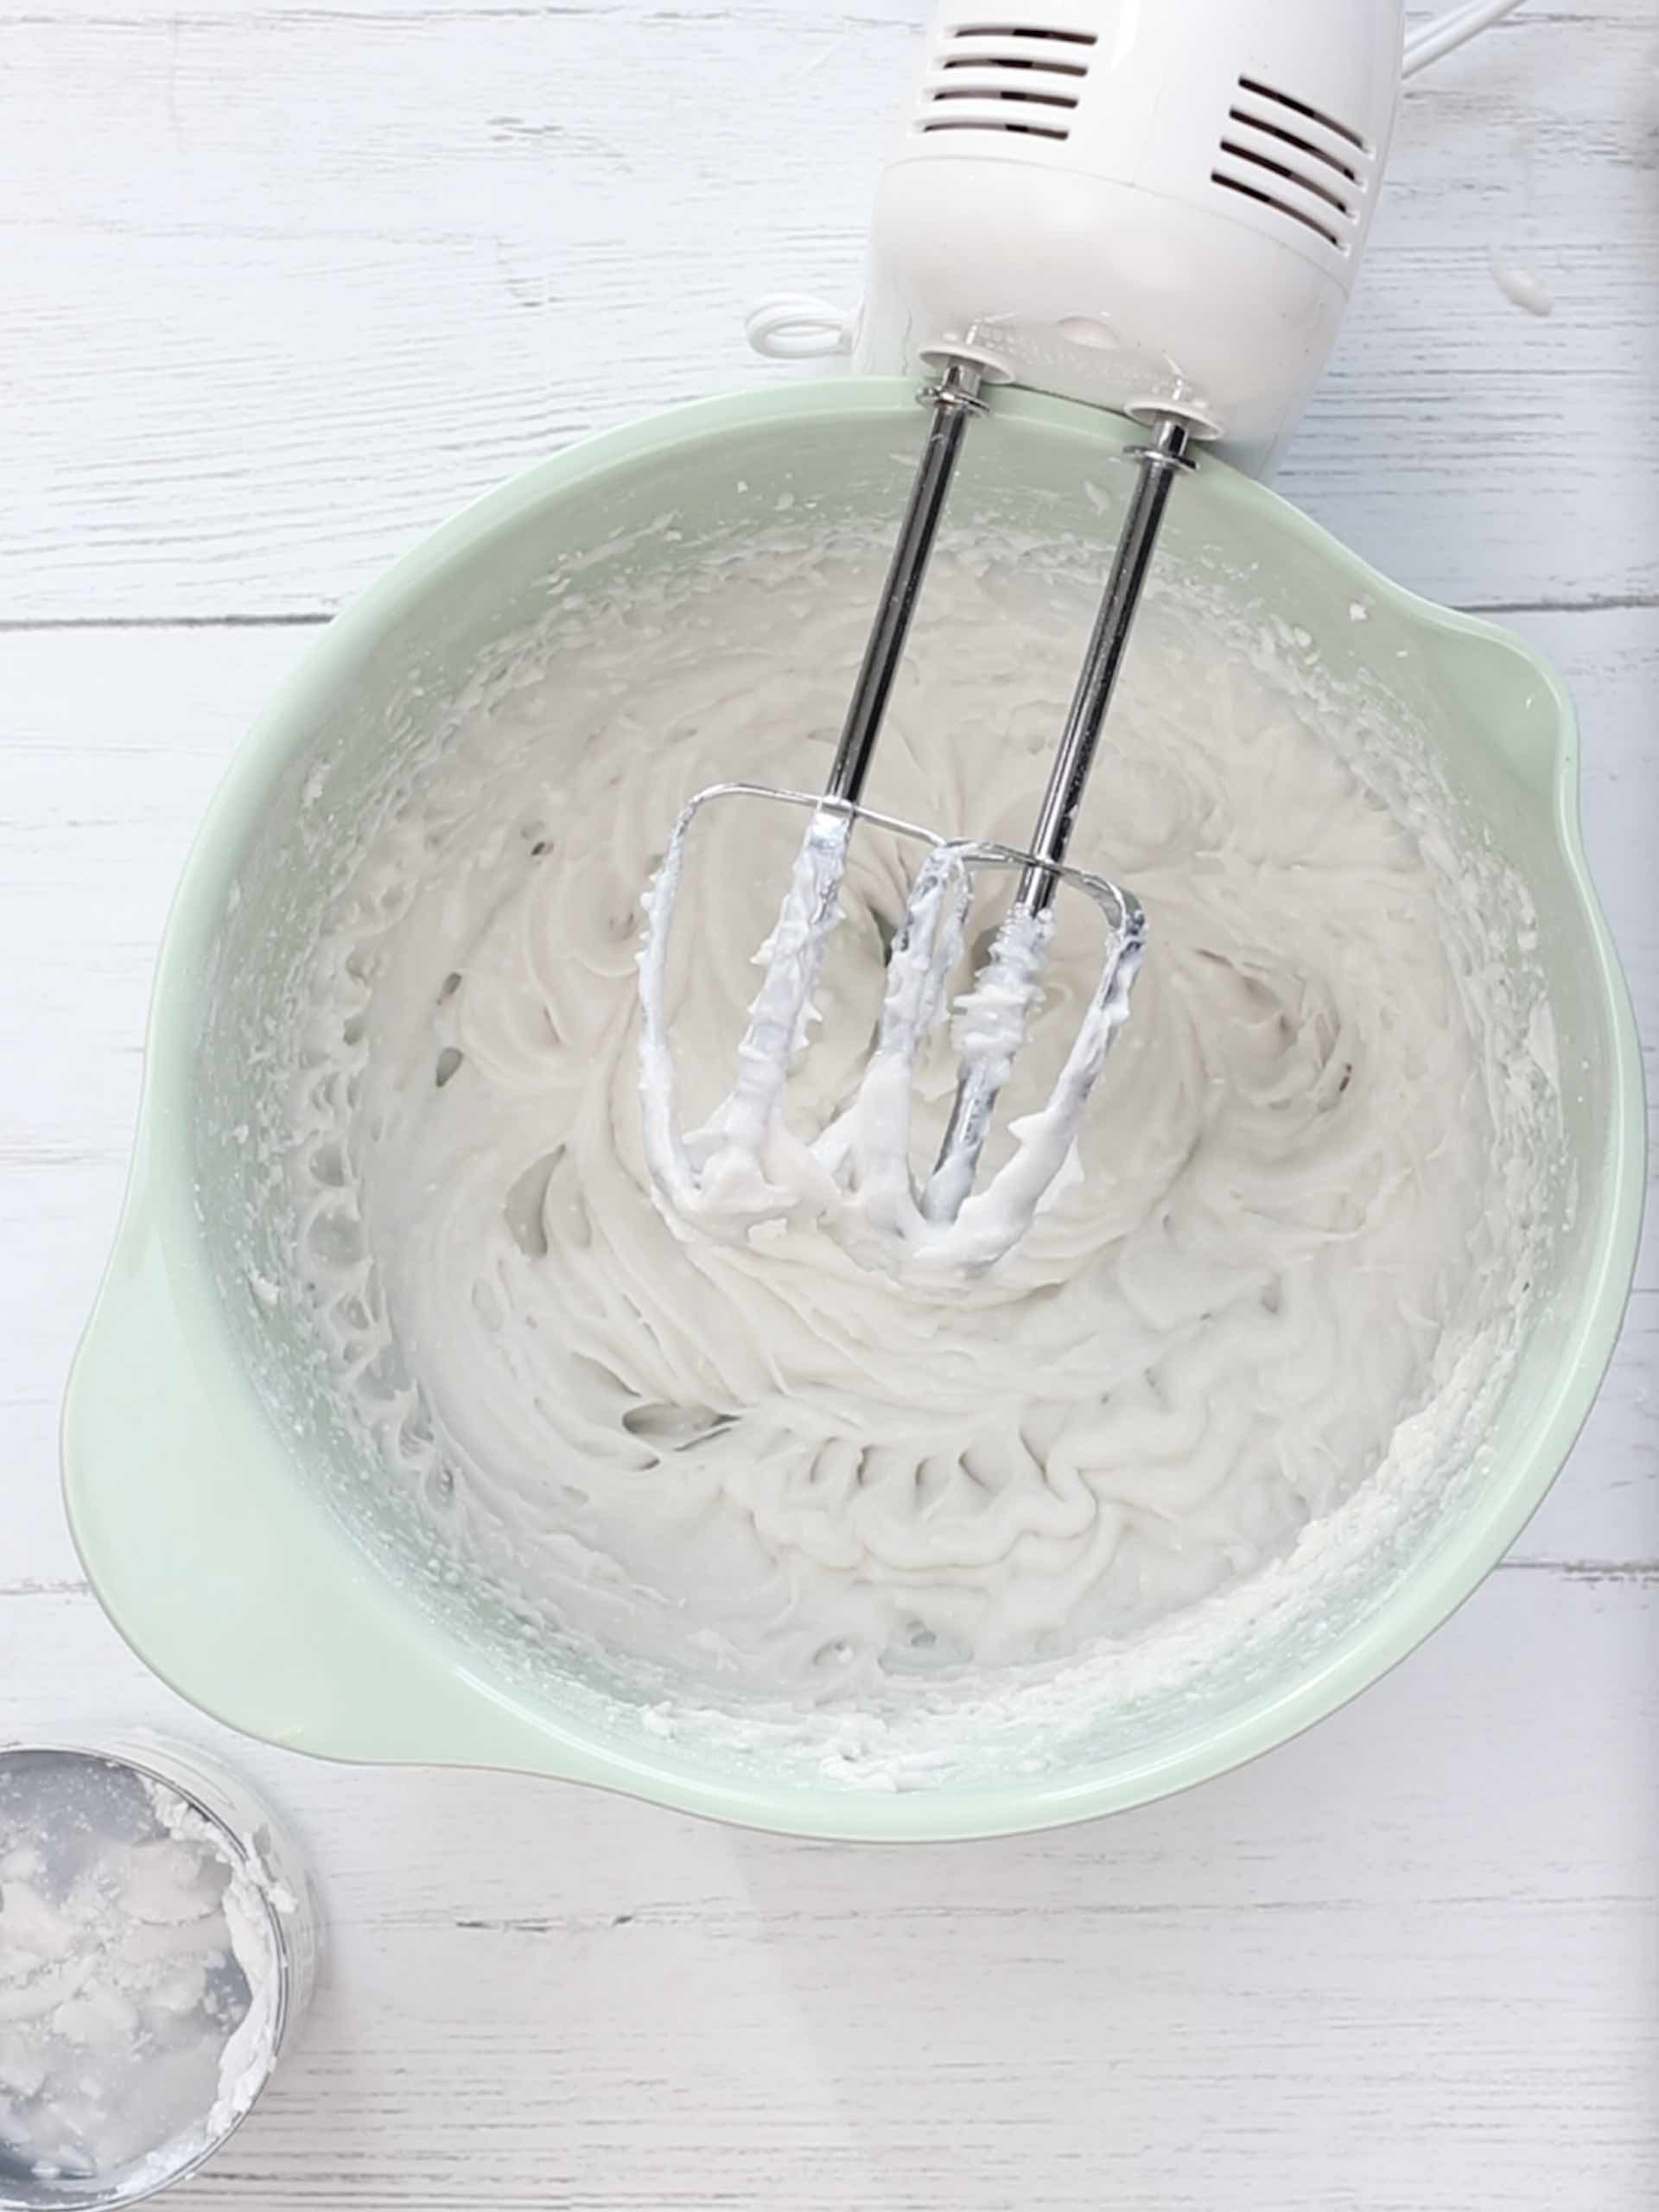
With your hand mixer, blend the coconut cream for at least one minute or until you can see the soft peaks.
Add a sweetener – Add a sweetener and vanilla to taste, but don’t remember your coconut whipped cream needs to remain cold and firm. Liquid sweeteners like maple syrup or honey can make your whipped cream too thin to stiffen and make peaks.
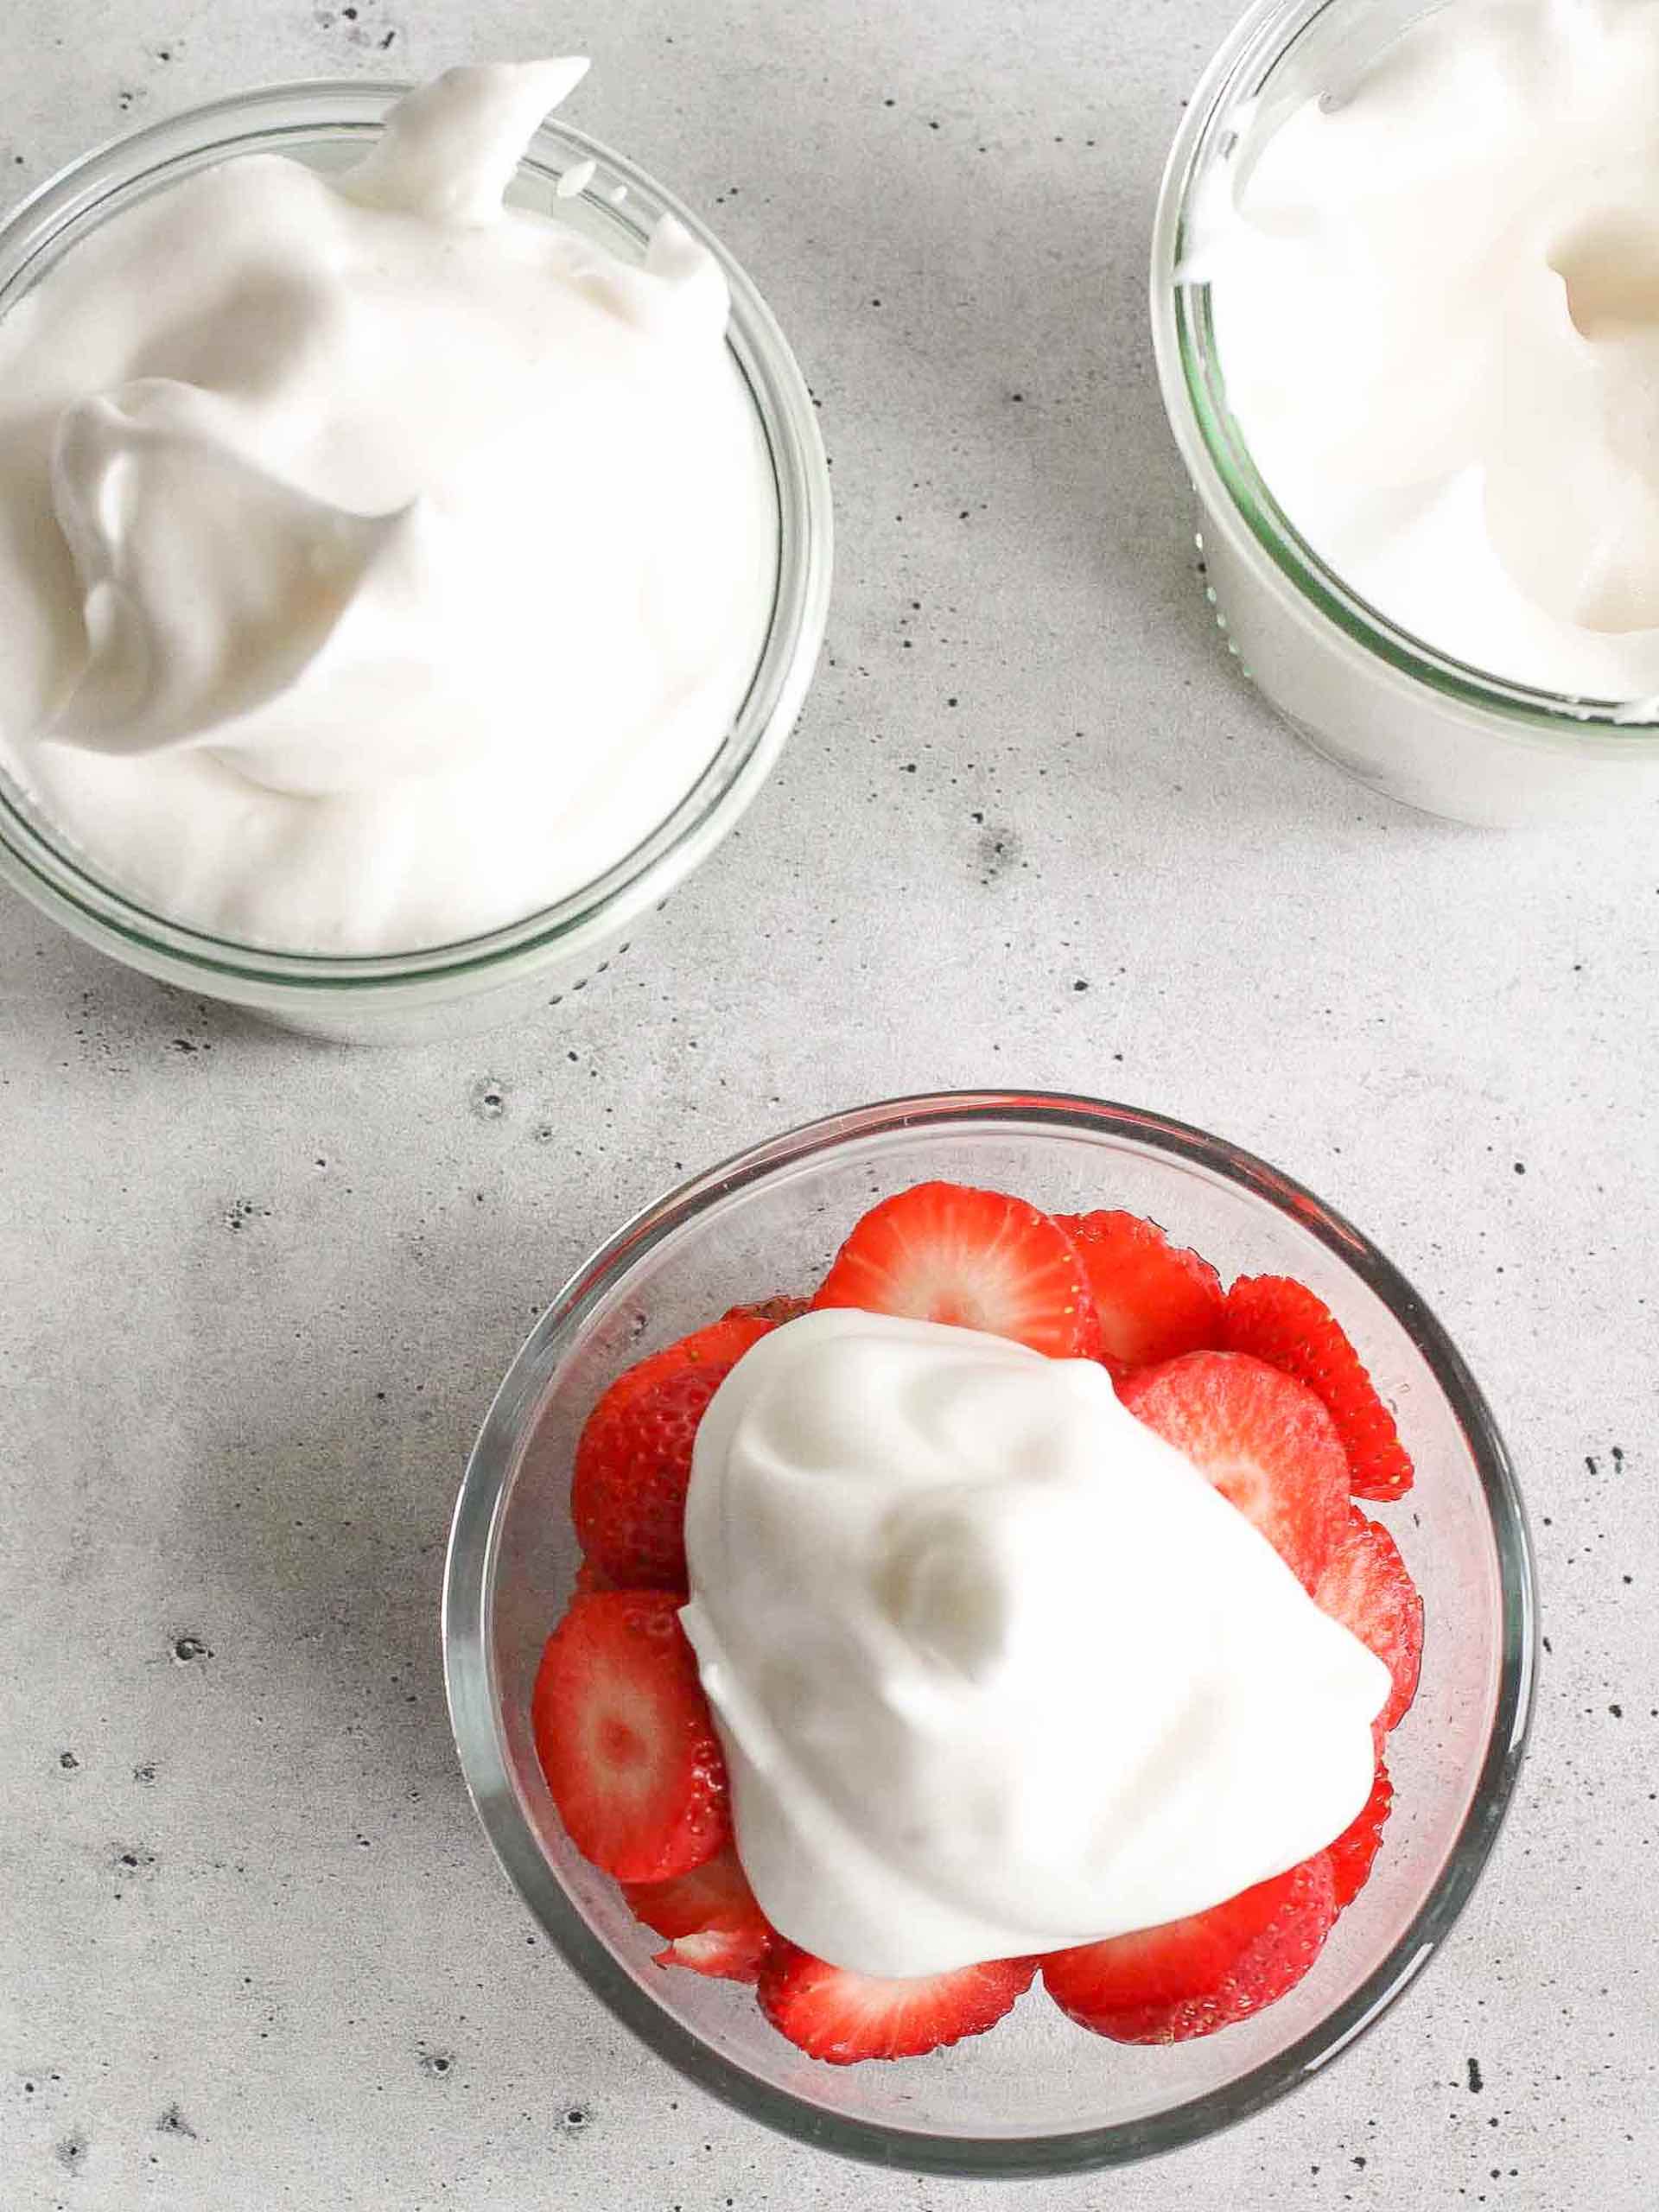
Tips and Tricks for Making the Best Coconut-Whipped Cream
These are just a few essential tips to make your whipped cream the best it can be!
- Full-fat coconut milk! Full-fat coconut milk is the heart of this whipped cream. Light or low-fat versions won’t work. Stick with the full-fat milk you can buy in the can.
- Chill the cans ahead of time! Chill the cans for at least a day ahead of time. It’s critical the full-fat coconut milk is thoroughly chilled and has completely hardened and separated from the liquid in the can.
- Add the sweetener at the end – Don’t add the sweetener until you’ve whipped your cream and can see the consistency. If your whipped cream is soft, don’t add a liquid sweetener like maple syrup or honey. Instead, add powdered sugar to maintain firmness.
- Make a day ahead of use – You can make your coconut whipped cream a day before and refrigerate it overnight. The next day, stir it and serve it cold.
- Keep it cold – The Achilles heel of any whipped cream is heat. Keep everything cold when you’re making it, and refrigerate it in a sealed container.

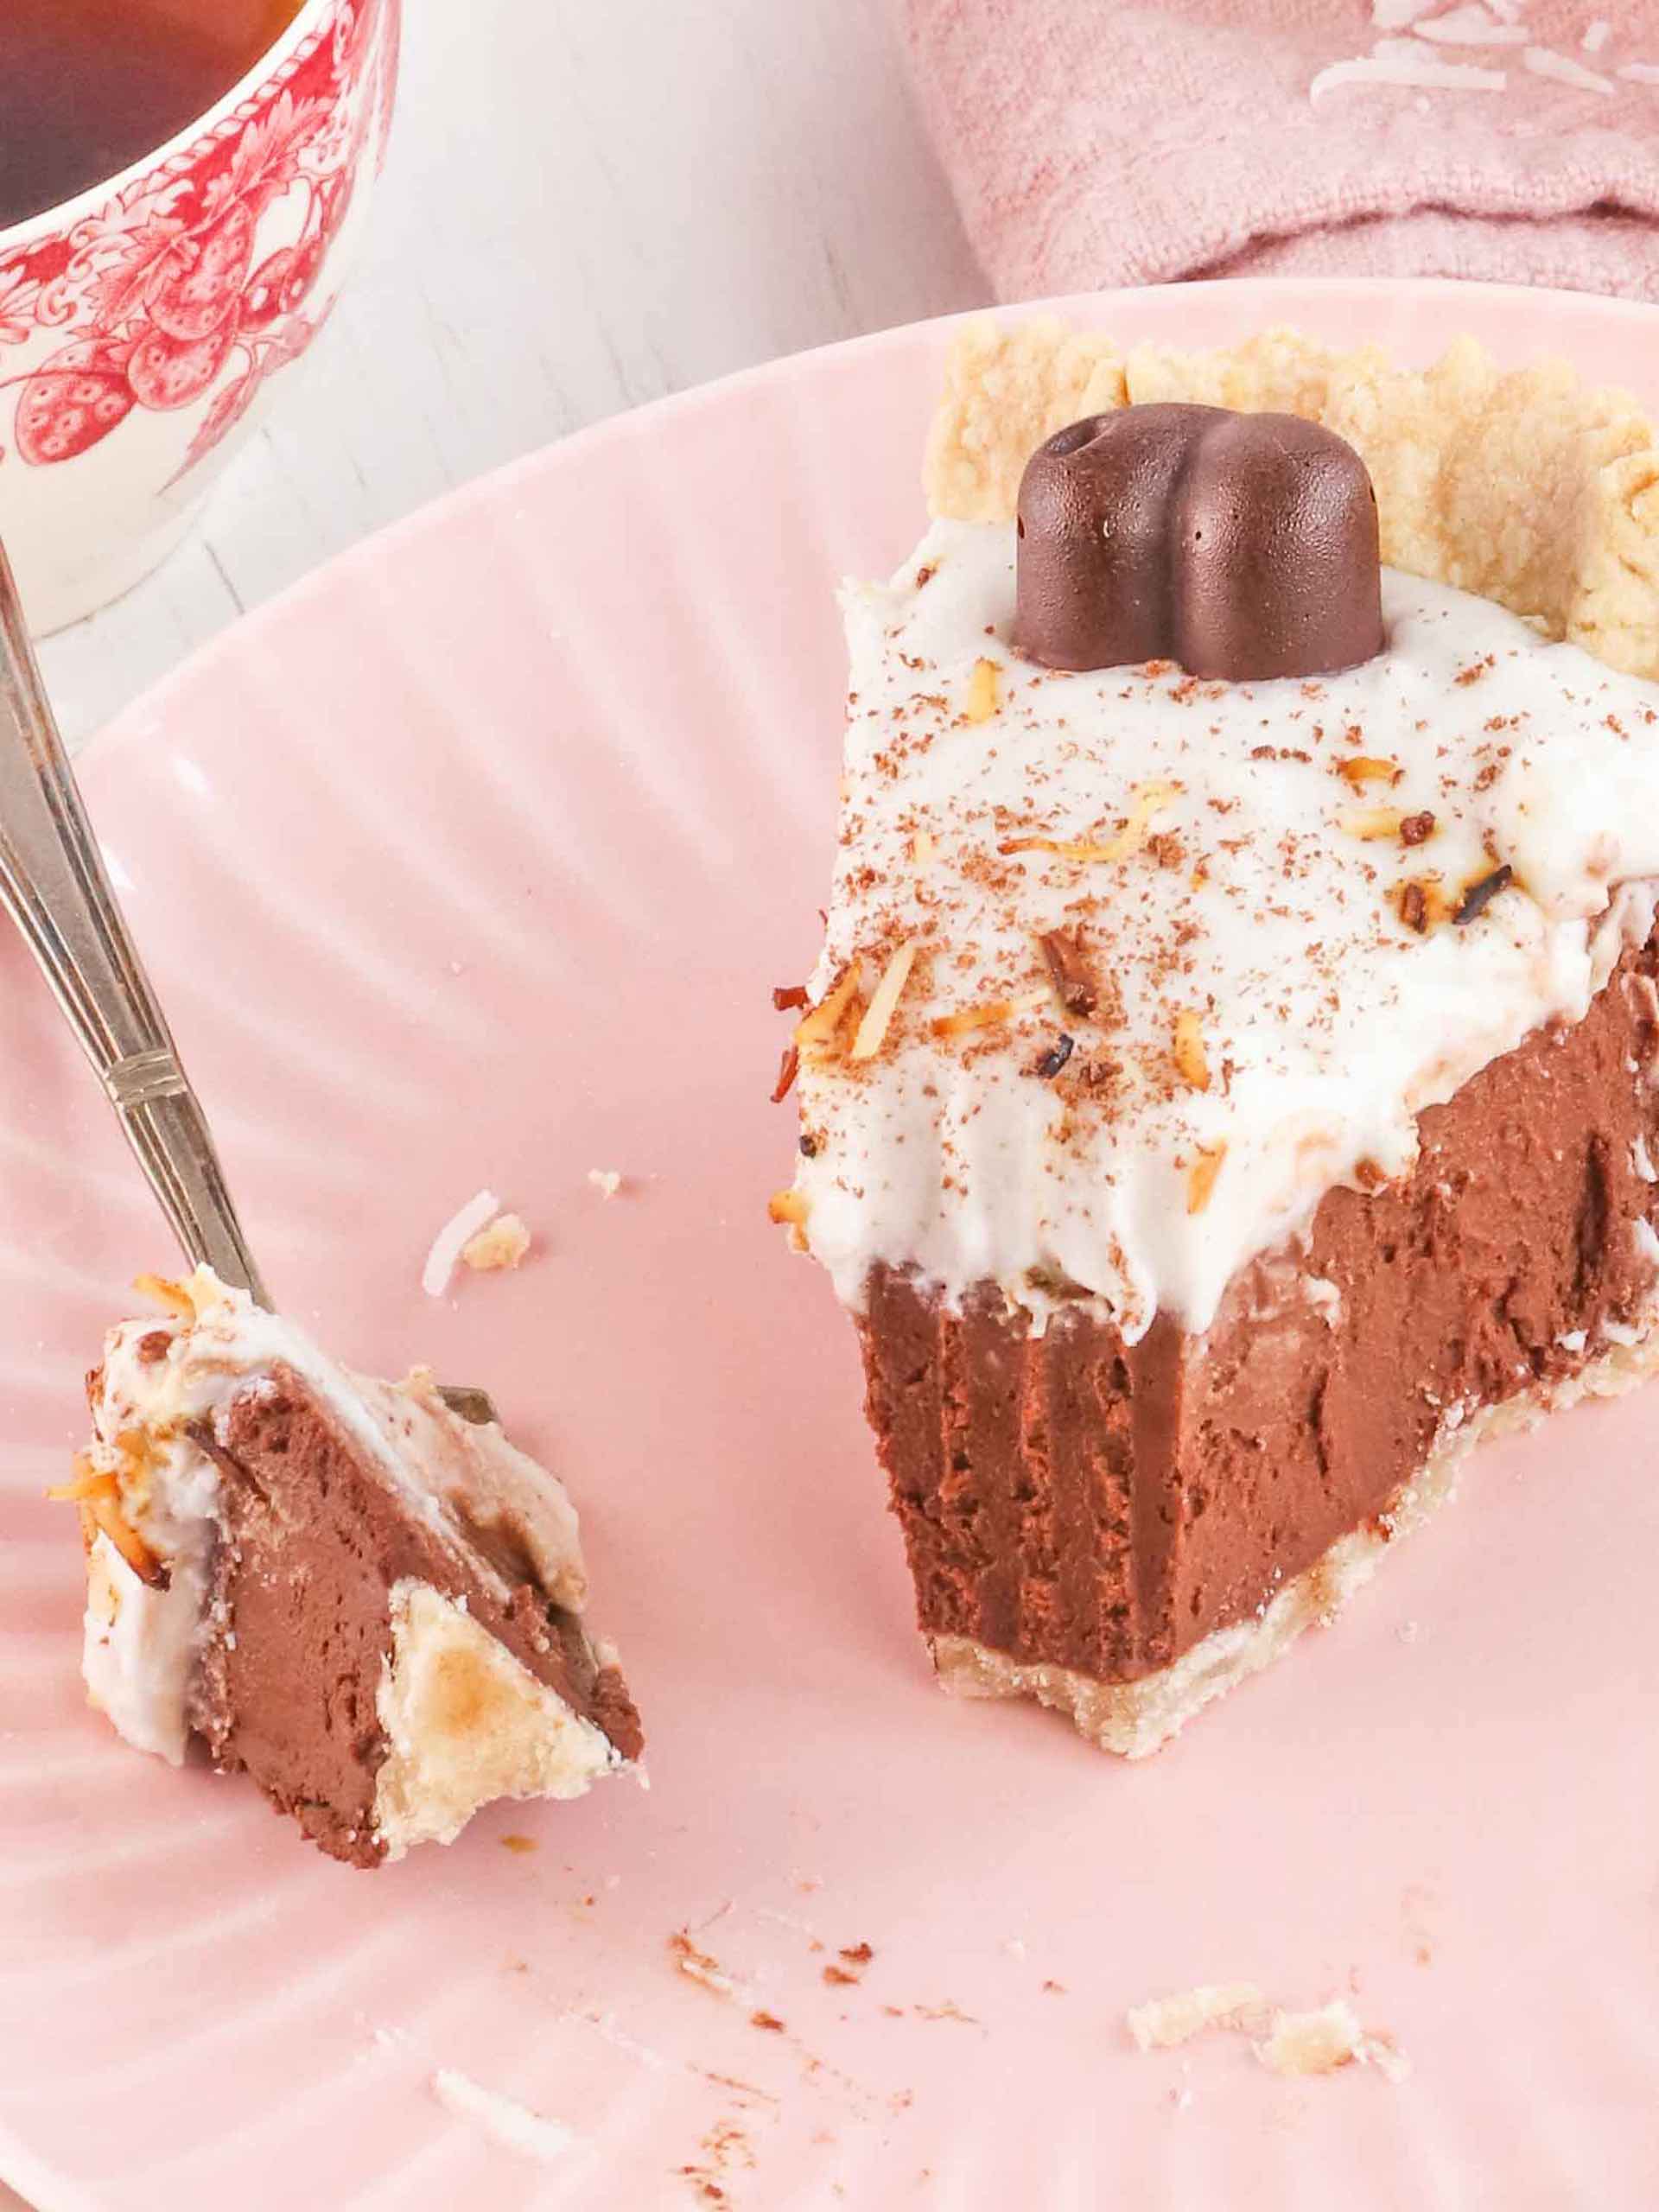
How to Use Your Coconut-Whipped Cream
So many uses for desserts and fresh fruits!
-
- Chocolate Coconut Cream Pie
- On Fresh Fruit
- Blackberry Peach Cobbler
If you decide to try this recipe, let me know in the comments below.

Coconut Whipped Cream
Equipment
- 1 Hand mixer
Ingredients
- 2 cans Full-fat coconut cream, chilled 24 hours
- 2 cup Powdered sugar, to taste
- 1 tbsp Vanilla extract
Instructions
- Chill the coconut milk – I chill my cans of coconut milk overnight. The cream will harden, separate from the water, and usually rise to the top of the can. I chill an extra can just in case I need it!
- Chill the mixing bowl – This is where we get into the details! The point is to keep everything chilled. Your unchilled bowl can warm things up too much. Chill the bowl for at least 30 minutes.
- Scoop out the coconut cream – Using a spoon, scoop out the hardened coconut cream from the can. Drop it into your chilled bowl. Save the liquid for another use.
- With your hand mixer, blend the coconut cream for at least one minute or until you can see the soft peaks.
- Add a sweetener – Add a sweetener and vanilla to taste, but don’t remember your coconut whipped cream needs to remain cold and firm. Liquid sweeteners like maple syrup or honey can make your whipped cream too thin to stiffen and make peaks.

0 Comments