Basil Fried Rice
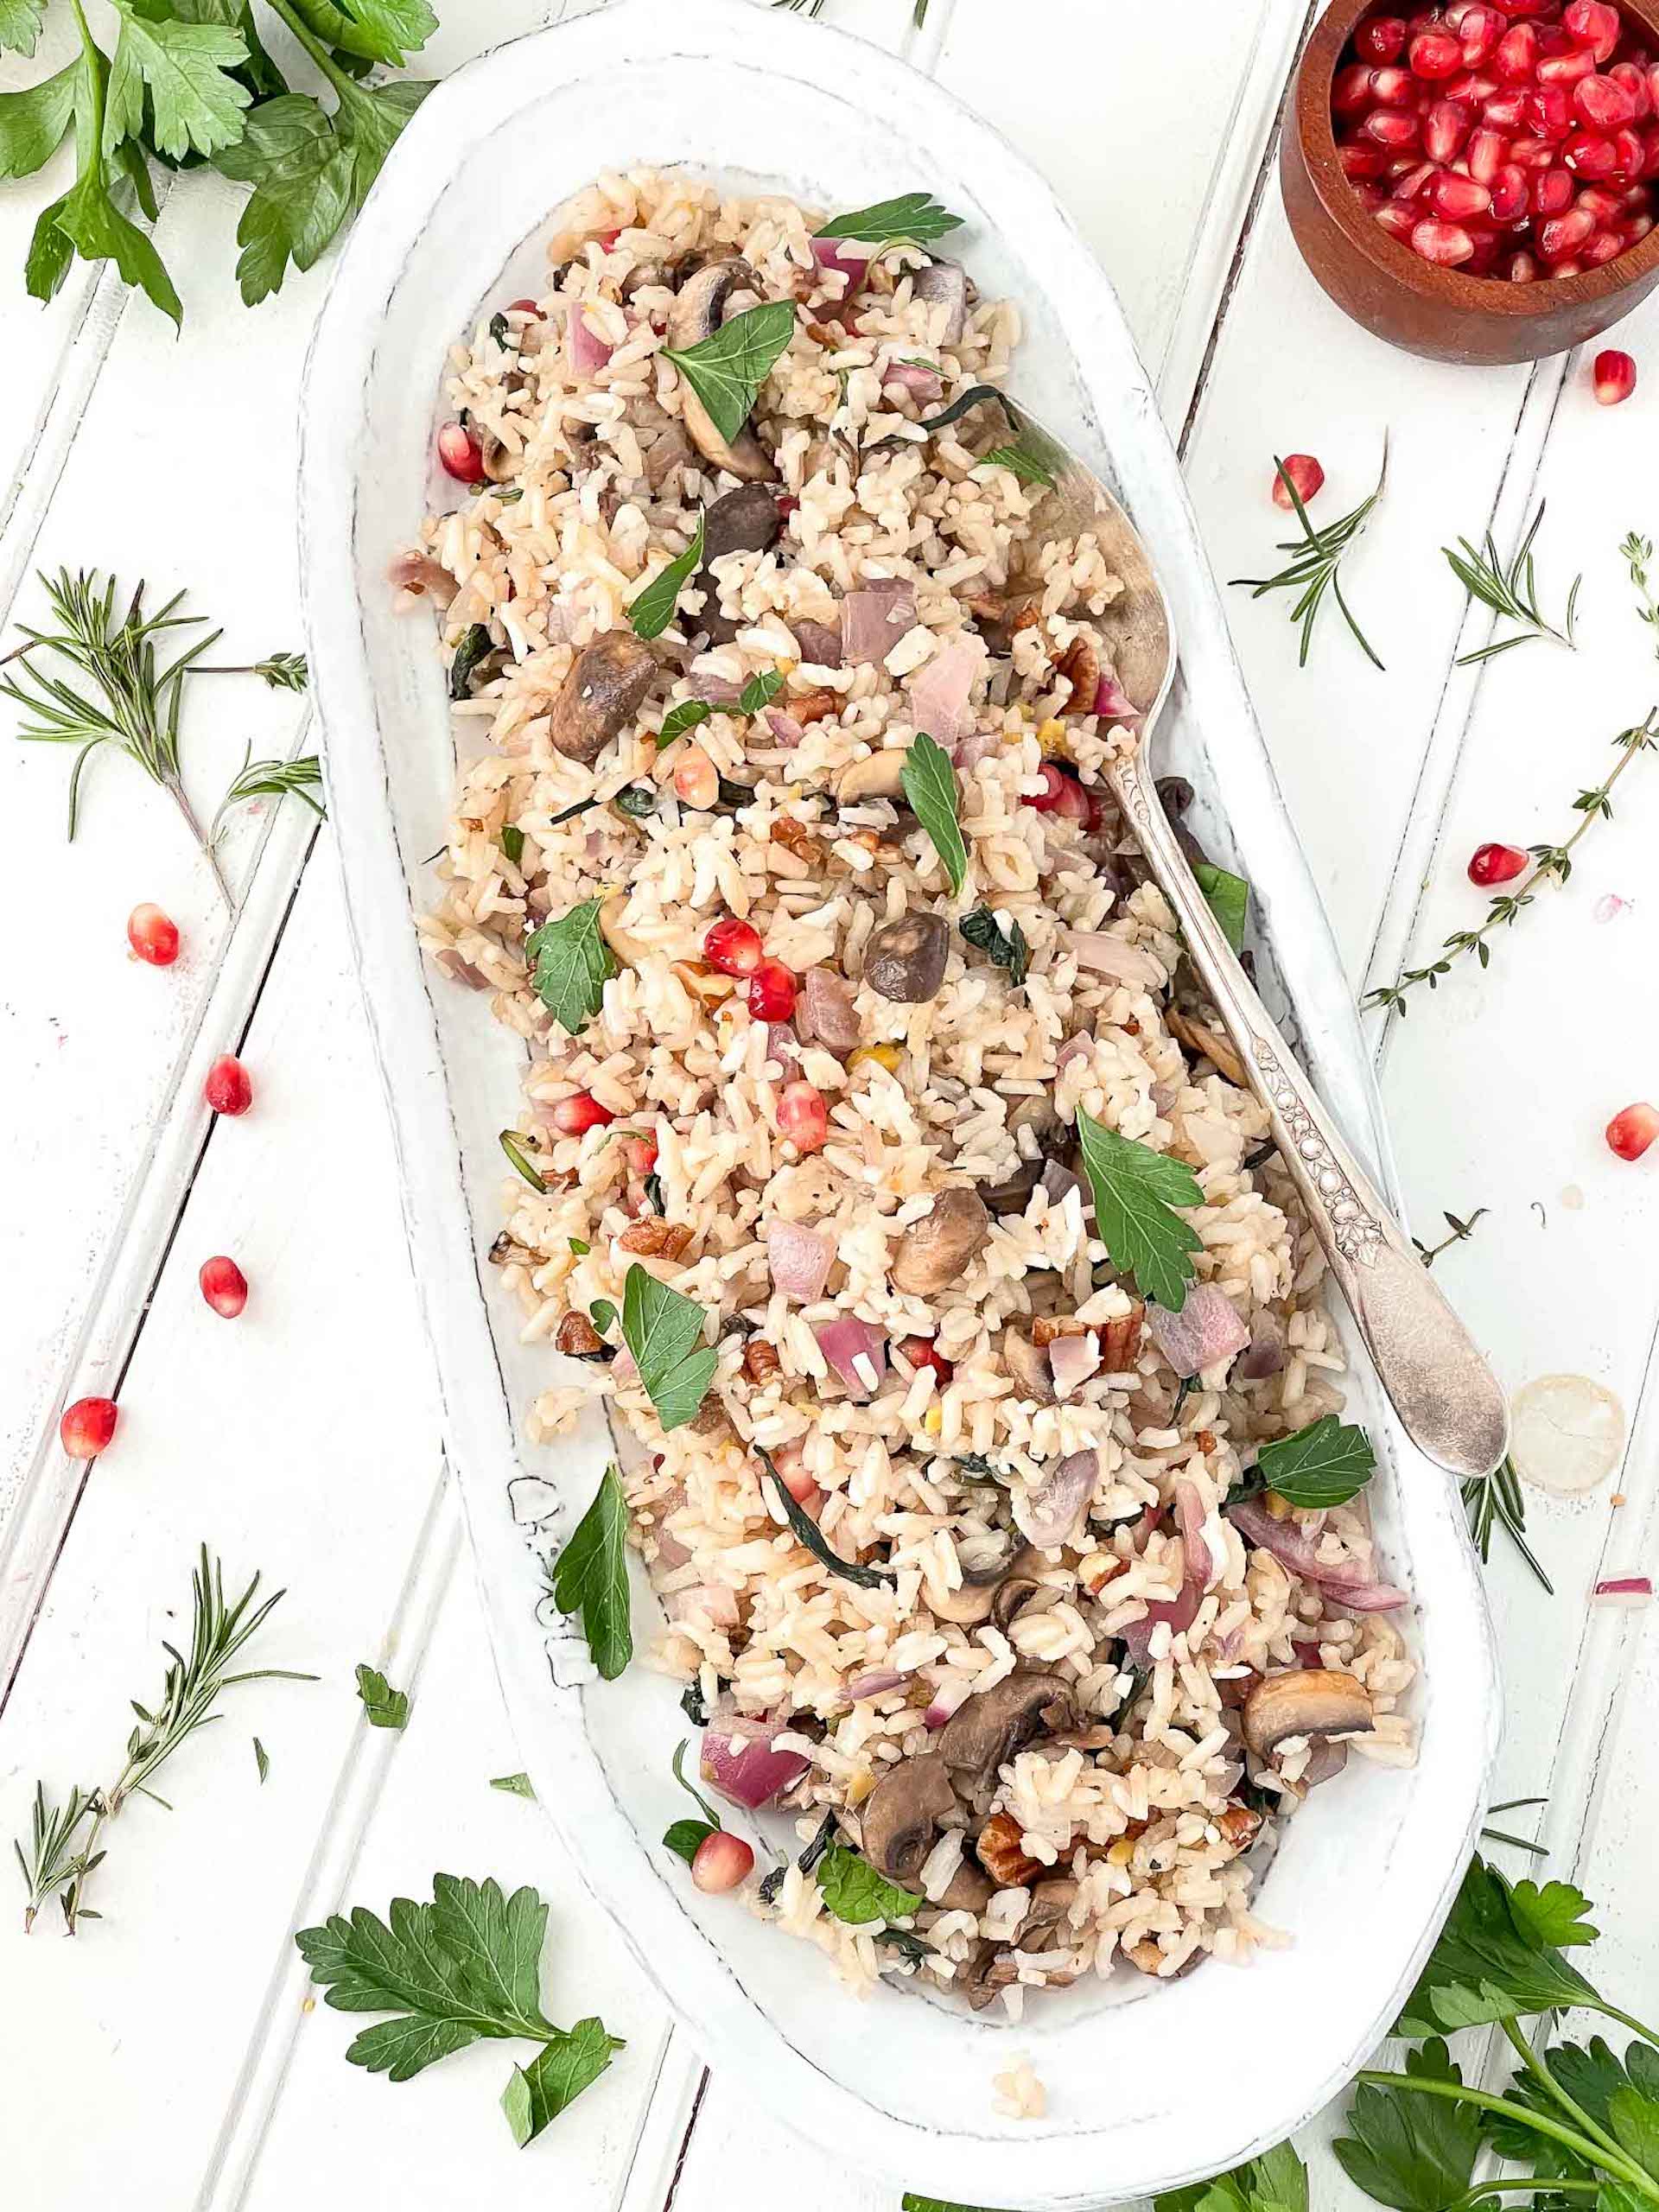
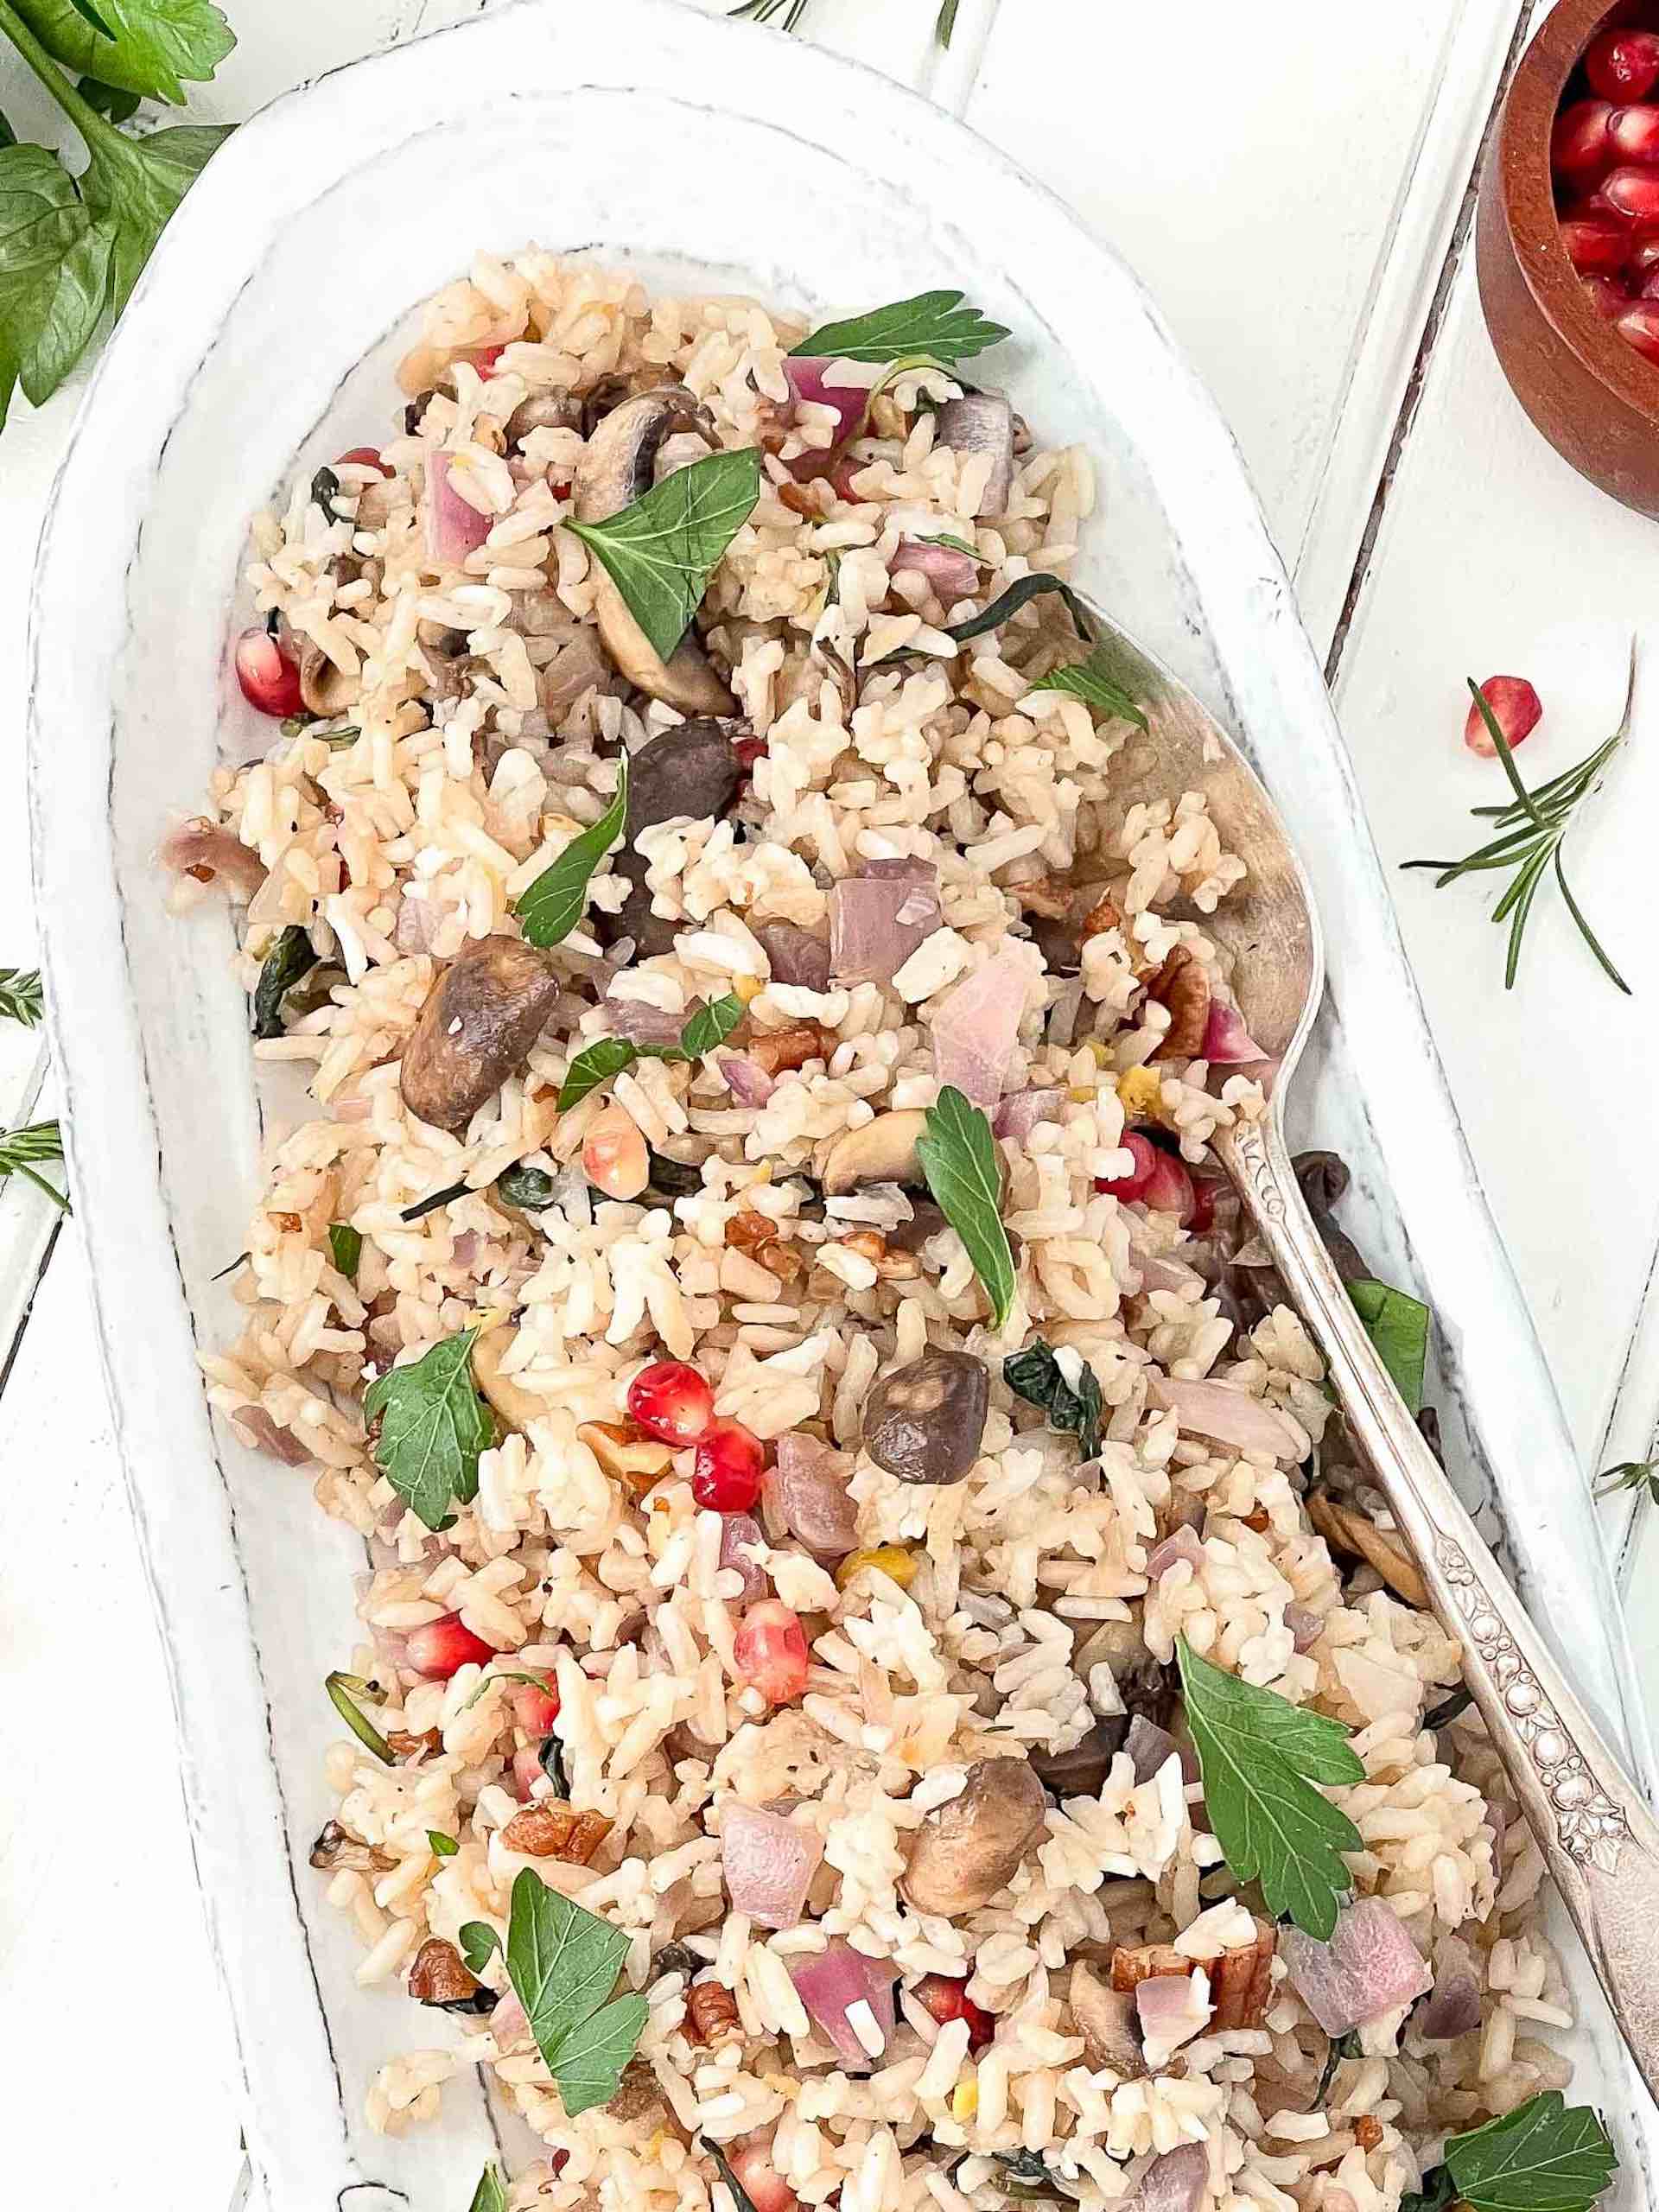
Few things hit the spot like Chinese takeout after a long week, and no order is complete without a large order of fried rice! Bring that takeout goodness to your own kitchen with our versatile and delicious basil fried rice!
![]()
No matter what little New England town we lived in when I was growing up, my mom always managed to find the best takeout. Whether it be Chinese, Thai, Pizza, or ice cream, within the first few months of us arriving in our new home, we had established at least one on the phone number list stuck to the fridge.
Each place always seemed to have its own claim to fame, and honestly, I remember most of them by their specific signature dishes rather than their actual names. The pad thai at Sala Thai in Portland, Maine, the breakfast sandwiches from the shack at the top of the hill when leaving Higgins Beach. The eggrolls from Bamboo in Middle-of-Nowhere, Massachusetts, and the bread with olive oil from Espo’s Trattoria in Westbrook. My mouth is watering, and my brain running as I sit here, embracing the nostalgia. Delicious nostalgia, hehe.
I did leave one particular favorite out, though, that I can’t fully credit to my mom’s takeout-senses.
When I was sixteen, I met a very-cool, very-hip boy. He played the bass, and he was vegan. Now, I had no idea at the time (roughly 2010) what that even meant… but I knew I wanted to be it, too. To make a long story short- my veganism stuck around much longer than the cute senior with curly hair and bellbottoms. Still, his favorite foods were an essential part of my diet in my late teenagehood… and some have transformed into my own personal recipes… Hint: Foreshadowing!
He used to take me to the tiniest Chinese takeout spot I’d ever seen. No chairs to sit down and wait for your food, let alone tables to enjoy it. It was strictly a call-and-pick-up kind of place… and let me just tell you… They made the best fried rice I’d ever eaten in my life. Basil fried rice… and it was eggless!
Reasons You’ll Love Basil Fried Rice
-
- Super easy to throw together in a pinch! The prep takes the most time, but it’s well worth the effort.
- Throw in or take out any veggies you’d like… it’s all up to your taste! Jasmine rice can accommodate just about any vegetable, for example, bok choi, carrots, peas, and many more.
- It stores very well and is debatably better as leftovers! We eat it often at our house, and everyone agrees it’s even better that day after when heated up.
- Works well as a side or main dish. If you add tofu, you’ll also get a healthy dose of protein.
- Brings that takeout goodness home with you. Actually, better than takeout, but I’ll let you be the judge!
Basil Fried Rice Ingredients and Equipment
So simple you’ll wish you’d made it sooner.
-
-
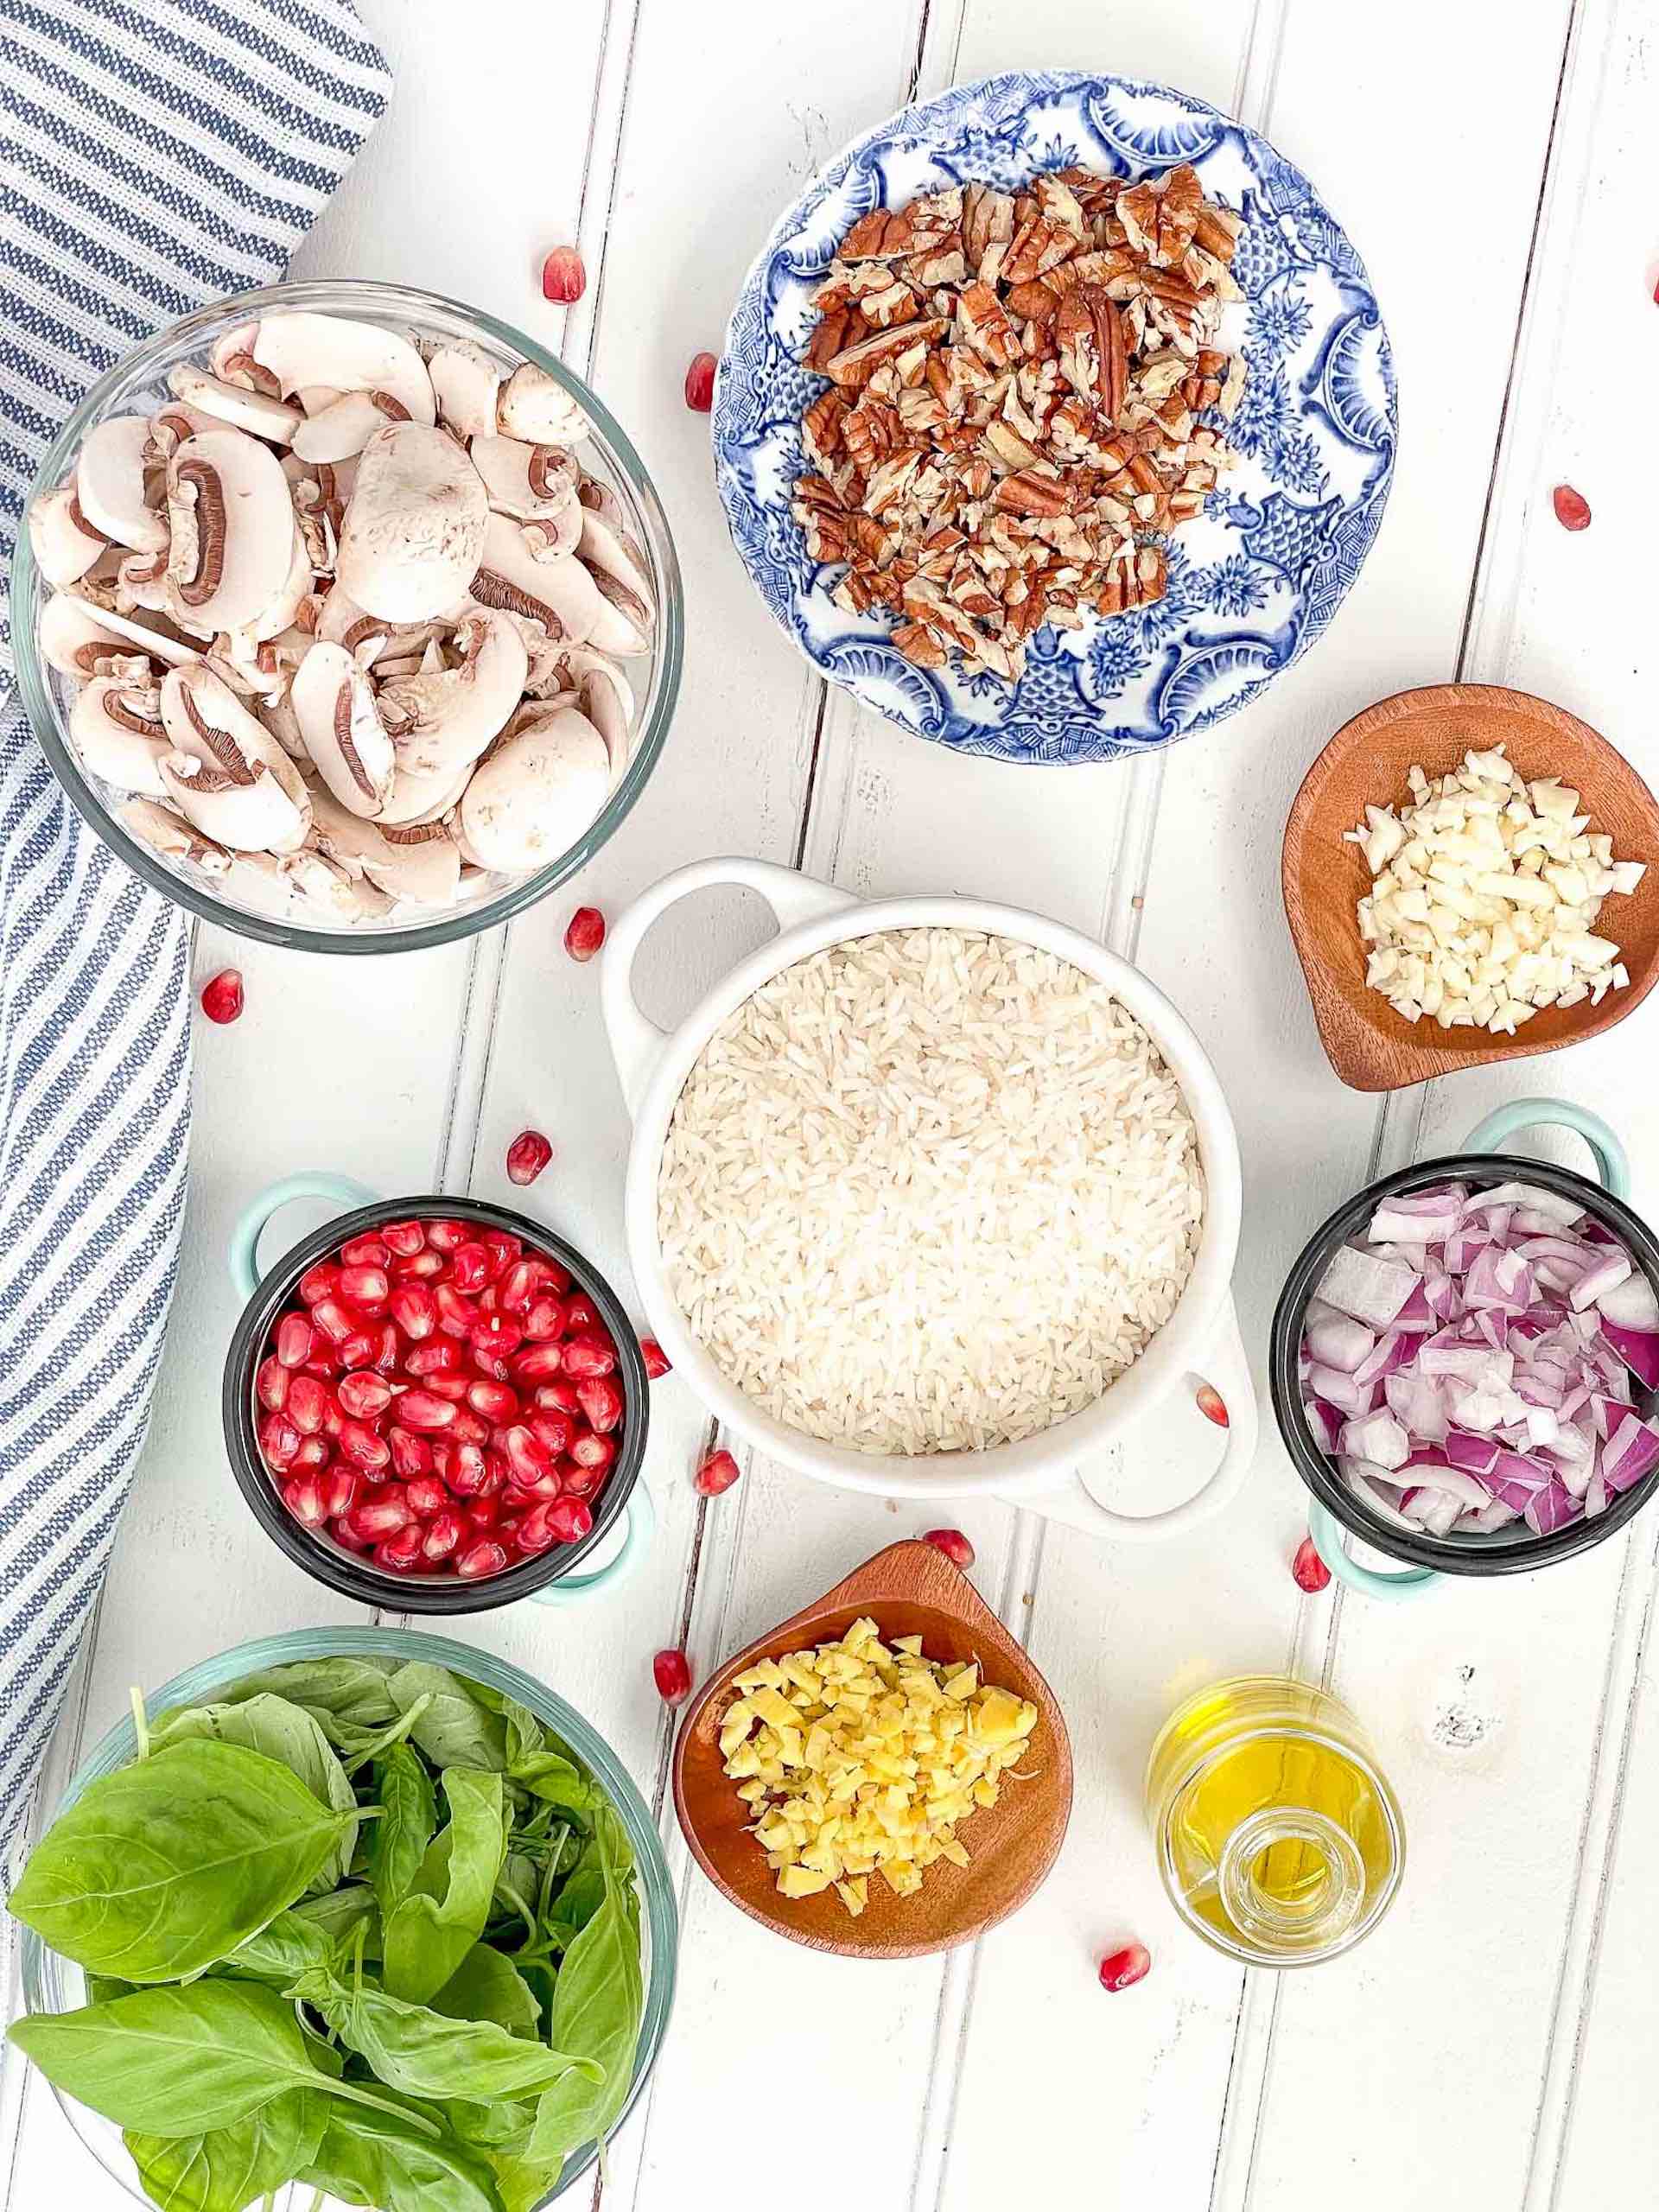
- Thai Jasmine Rice – Jasmine rice works so well here. Since it’s long grain rice and more fluffy than regular rice, it is my preferred rice for cooking.
- Garlic – Of course! When stir-fried, garlic has a sweet buttery flavor.
- Red Onion – I love the deep purple outside and red inside of the red onion. The flavor is milder than a regular onion as well.
- Fresh Ginger – Ginger adds depth to our basil-fried rice. Ginger has slightly peppery and sweet, with a pungent and spicy aroma.
- Basil- and lots of it! We’re not called the ‘Basil Food Journal’ for nothing. Load up on the fresh basil!
- Mushrooms – Mushrooms add a rich, deep flavor
- Pecans – Pecans have a sweet, nutty, and buttery flavor that is very unique, and they add another flavor to your basil fried rice.
- Pomegranate – Pomegranate arils add pop and color to your fried rice. See this video on how to cut and seed a pomegranate.
- Extra Virgin Olive Oil – Olive Oil is used more than to cook with. It adds a flavor of fresh herbs and fruits.
- Liquid Aminos, Tamari, or Soy Sauce – Liquid aminos add great flavor to your rice but also help caramelize these delicious mushrooms to a deep golden brown.
- An everyday skillet – Use any skillet you have in your kitchen.
-
WATCH ME MAKE THIS RECIPE

How To Make Basil Fried Rice
There are a few steps, but well worth the effort.
-
- Prep time, yeehaw! As most great skillet recipes go, the real work is in the pre-work. In this case, we have a whole bunch of veggies to chop! Crush and mince the garlic, dice the red onion, and peel and mince the ginger. You can choose to chop the mushrooms, but I prefer putting sliced white mushrooms in so they retain some size/shape when cooking amongst all the other ingredients.
- Make the jasmine rice! For rice, we have a foolproof how-to that will explain exactly how to perfectly make Thai jasmine rice at home without a rice cooker or anything fancy. Of course, instant rice is just fine, and whatever corners you need to cut is allowed! Just make sure you have about three cups of cooked rice by the end of it, and all will be well.
- Pull out that pan! Get ready- we’re cookin’! Place your skillet or any non-stick pan on low heat, and let the pan heat for a minute or two. Then, add the olive oil until it’s shimmering and appears to be less viscous. Rotate the pan so it’s coated, and wait about 30 seconds until the oil becomes fragrant. That’s when you know it’s ready!
- Time to add the good stuff! No matter what I’m cooking, I always start with aromatics. Not only will it instantly improve the smell of your kitchen, but it’s essential to make sure the flavors have a chance to release properly into the oil before adding the rest of your veggies. Think of it like infusing olive oil in a pan. I first add the minced garlic, minced ginger, and red onion. I sautee them on low heat until evidently fragrant and softened. You want your onion to be almost flimsy and garlic/ginger sizzling but not burnt or browned. If this happens- truly, it’s not the end of the world… Just continue, lower the heat, and add a dash of water to cool everything down/un-stick the burnt bits from the bottom of the pan.
- Mushrooms and any other veggies you’ve chosen to add in! Add your mushrooms to the pan and about half of your basil. Make sure everything is coated in oil and well-mixed, and let that baby cook for about five minutes, stirring every once in a while! This shouldn’t take too long unless you decide to add a more dense vegetable, like carrots or potatoes. I do all of this on low to medium heat, but that’s because I have a very temperamental gas stove! Figure out what works best for you- but just remember, you don’t need anything flash-fried or cooked at a high heat here! We’re just sauteeing, not deep frying!
- Toast the pecans. Now, this isn’t a necessary step, but I love the smell and prefer a bit less of the bitterness that comes with raw pecans- so I toast them in a separate little pan! No oil, no nothing, just pecans on very low heat until I can start to smell them. This can take three to five minutes on low heat, but stay tuned in! You’ll know when they’re a little too toasted by the burnt-peanut-brittle smell. Put them to the side for now- we’ll need them soon!
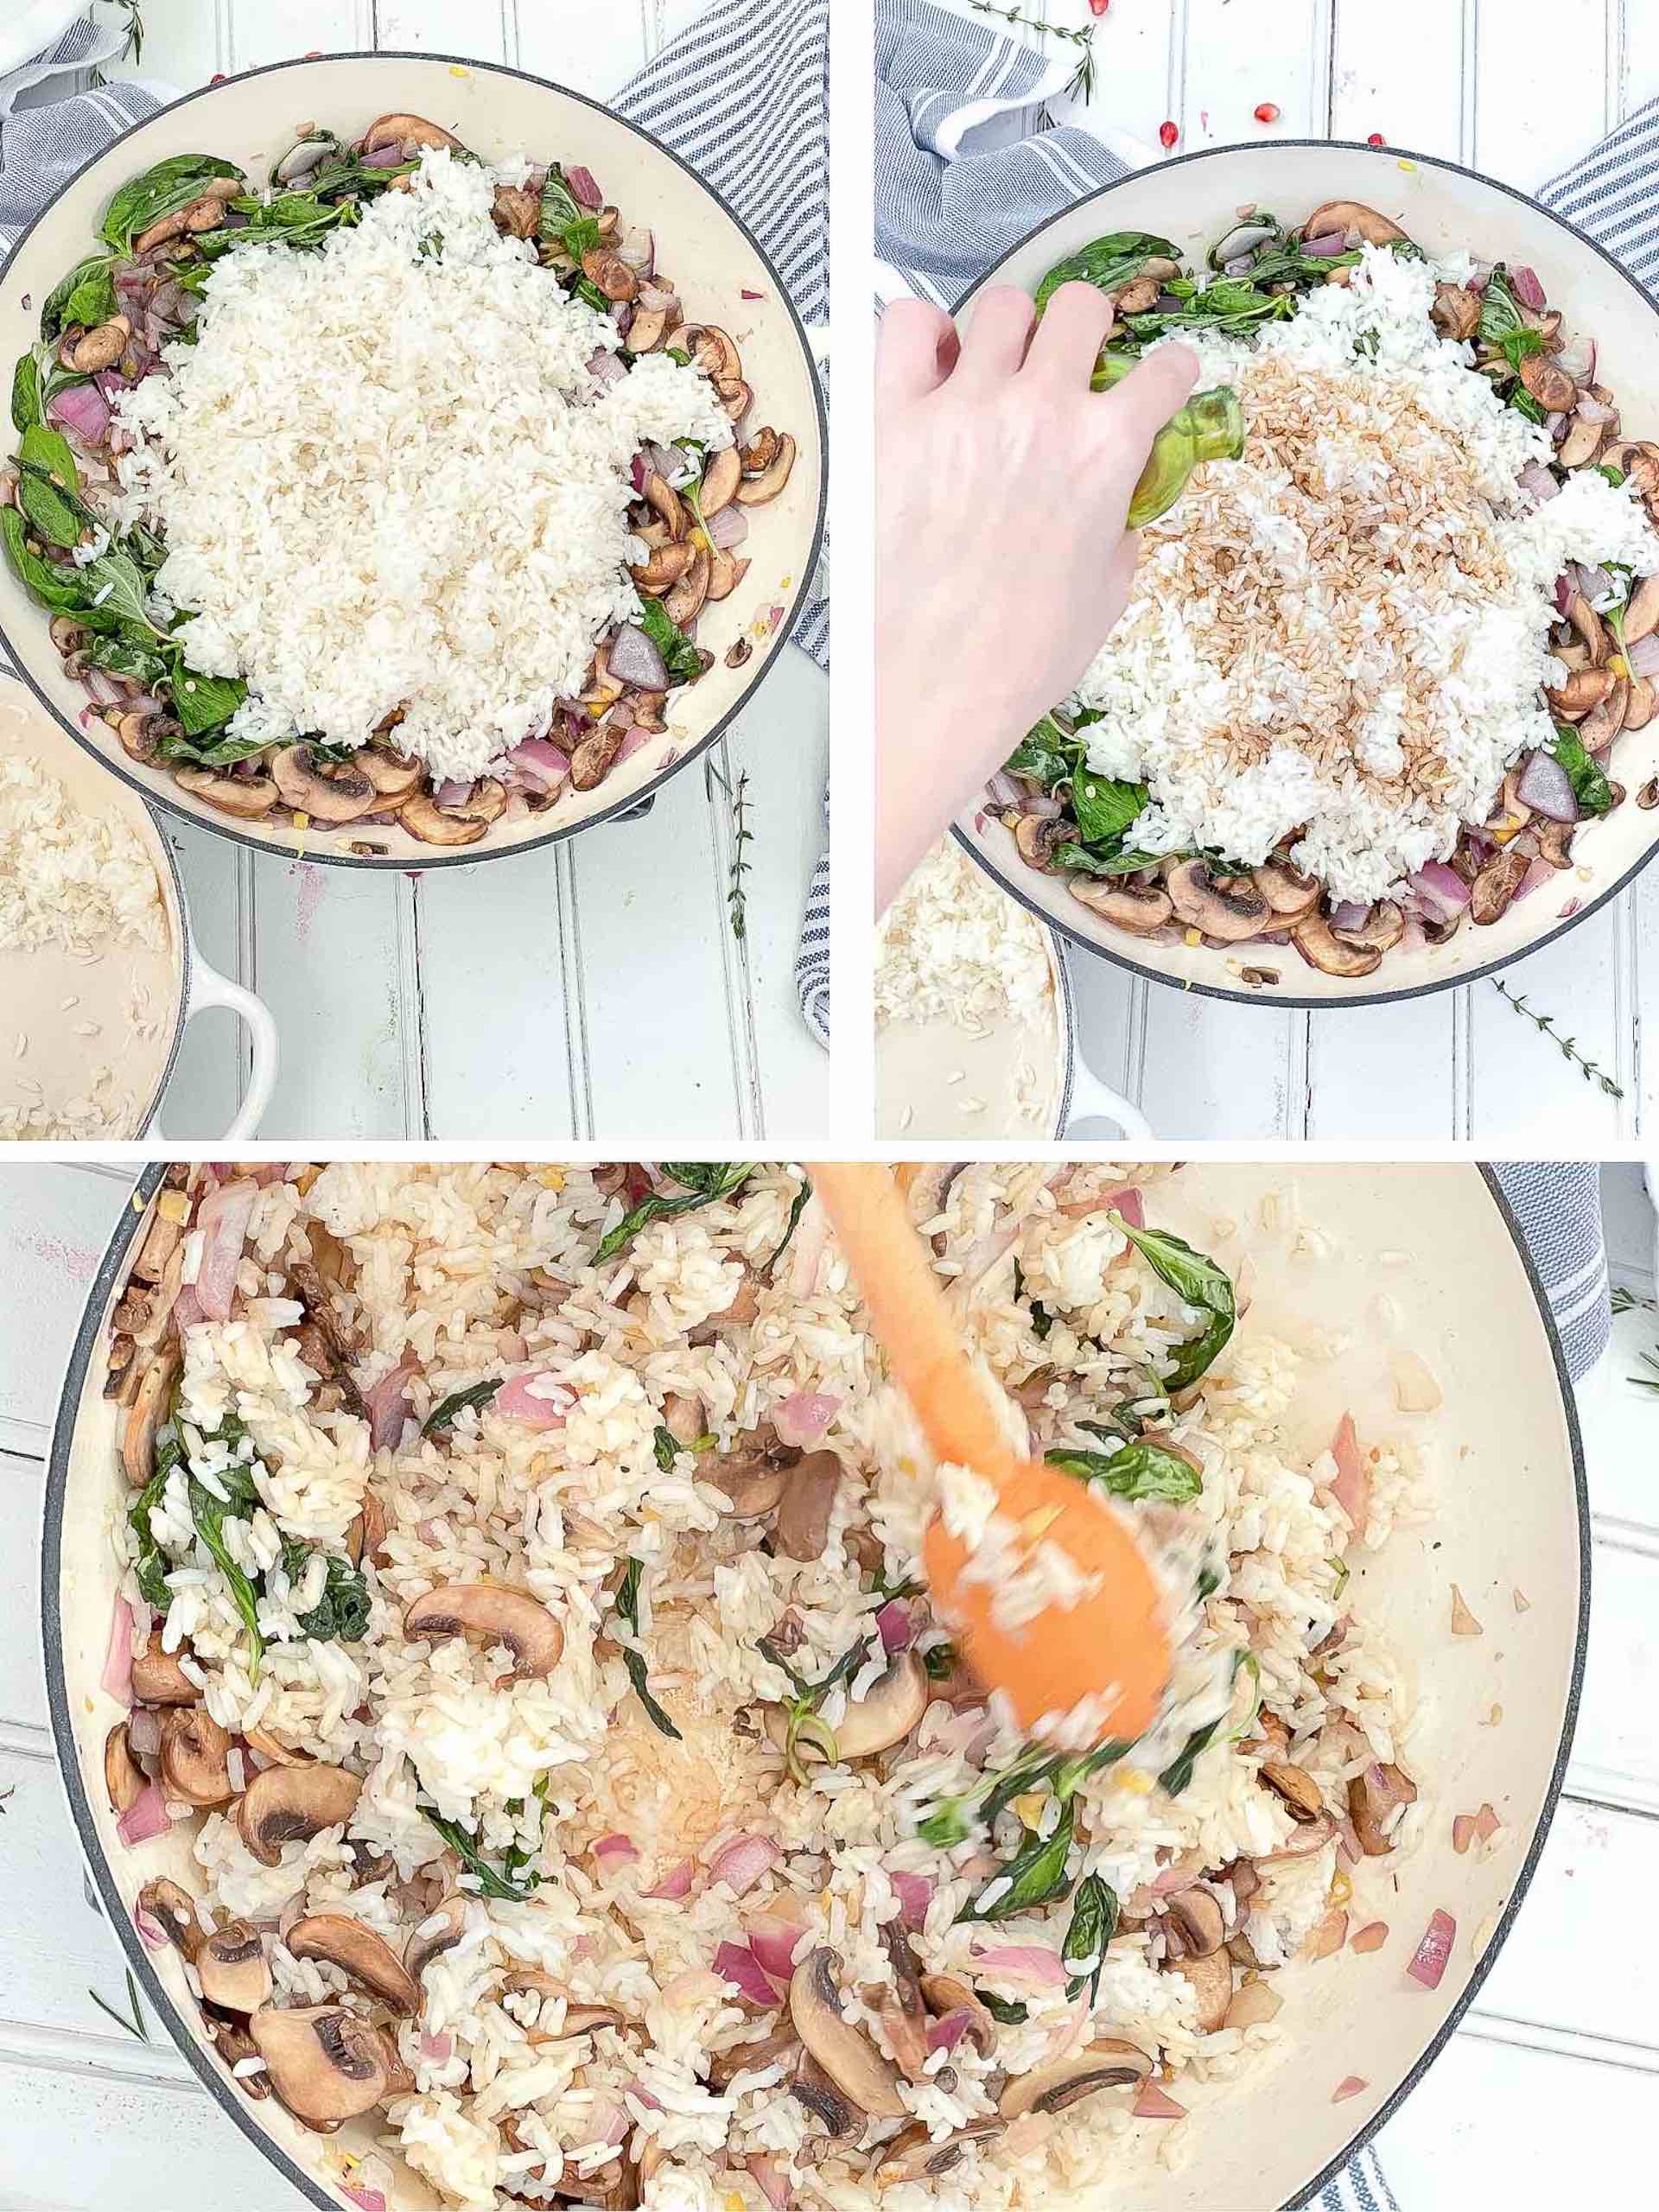
- Back to our veggies, and time to fry the rice! At this point, your veggies should be comfortably cooked and ready for the rice. I like to push all of my cooked veggies to one side of the pan, leaving the remnants of oil on the other side. Sometimes if I feel like most of the oil has already been soaked up, I’ll add a dash to the empty side of the pan, but rarely do I have to. I then add all the cooked rice to the empty side and loosely press down so all the rice is either making contact with the pan or close to it. Now you should have what looks to be half a pan of perfectly white rice and half a pan of fully cooked veggies.
- Help that rice out and add some flavor! I prefer liquid aminos over tamari or soy sauce, but feel free to use whatever you like! I add a few good healthy swigs of the liquid aminos directly to the white rice, about three tablespoons, and then mix the rice, still sectioning it from the veggies, until it’s all lightly brown from the liquid aminos and the remaining olive oil.
- Mix it all up! Finally, you can stir it all up! Using a wooden spoon, combine the rice and veggies together. Flatten everything down closer to the bottom of the pan and let the bottom layer of rice get just a little bit crispy! This should take about three or four minutes on low-medium heat. Then, repeat! Mix it and let it sizzle for a few!
- Add in your extras! Now’s the time to throw in your pecans, the remainder of your basil, and your pomegranate seeds! Turn the heat off on the rice and stir it all in. The hope is that none of those additions need to be cooked but instead brightened with a small amount of heat.
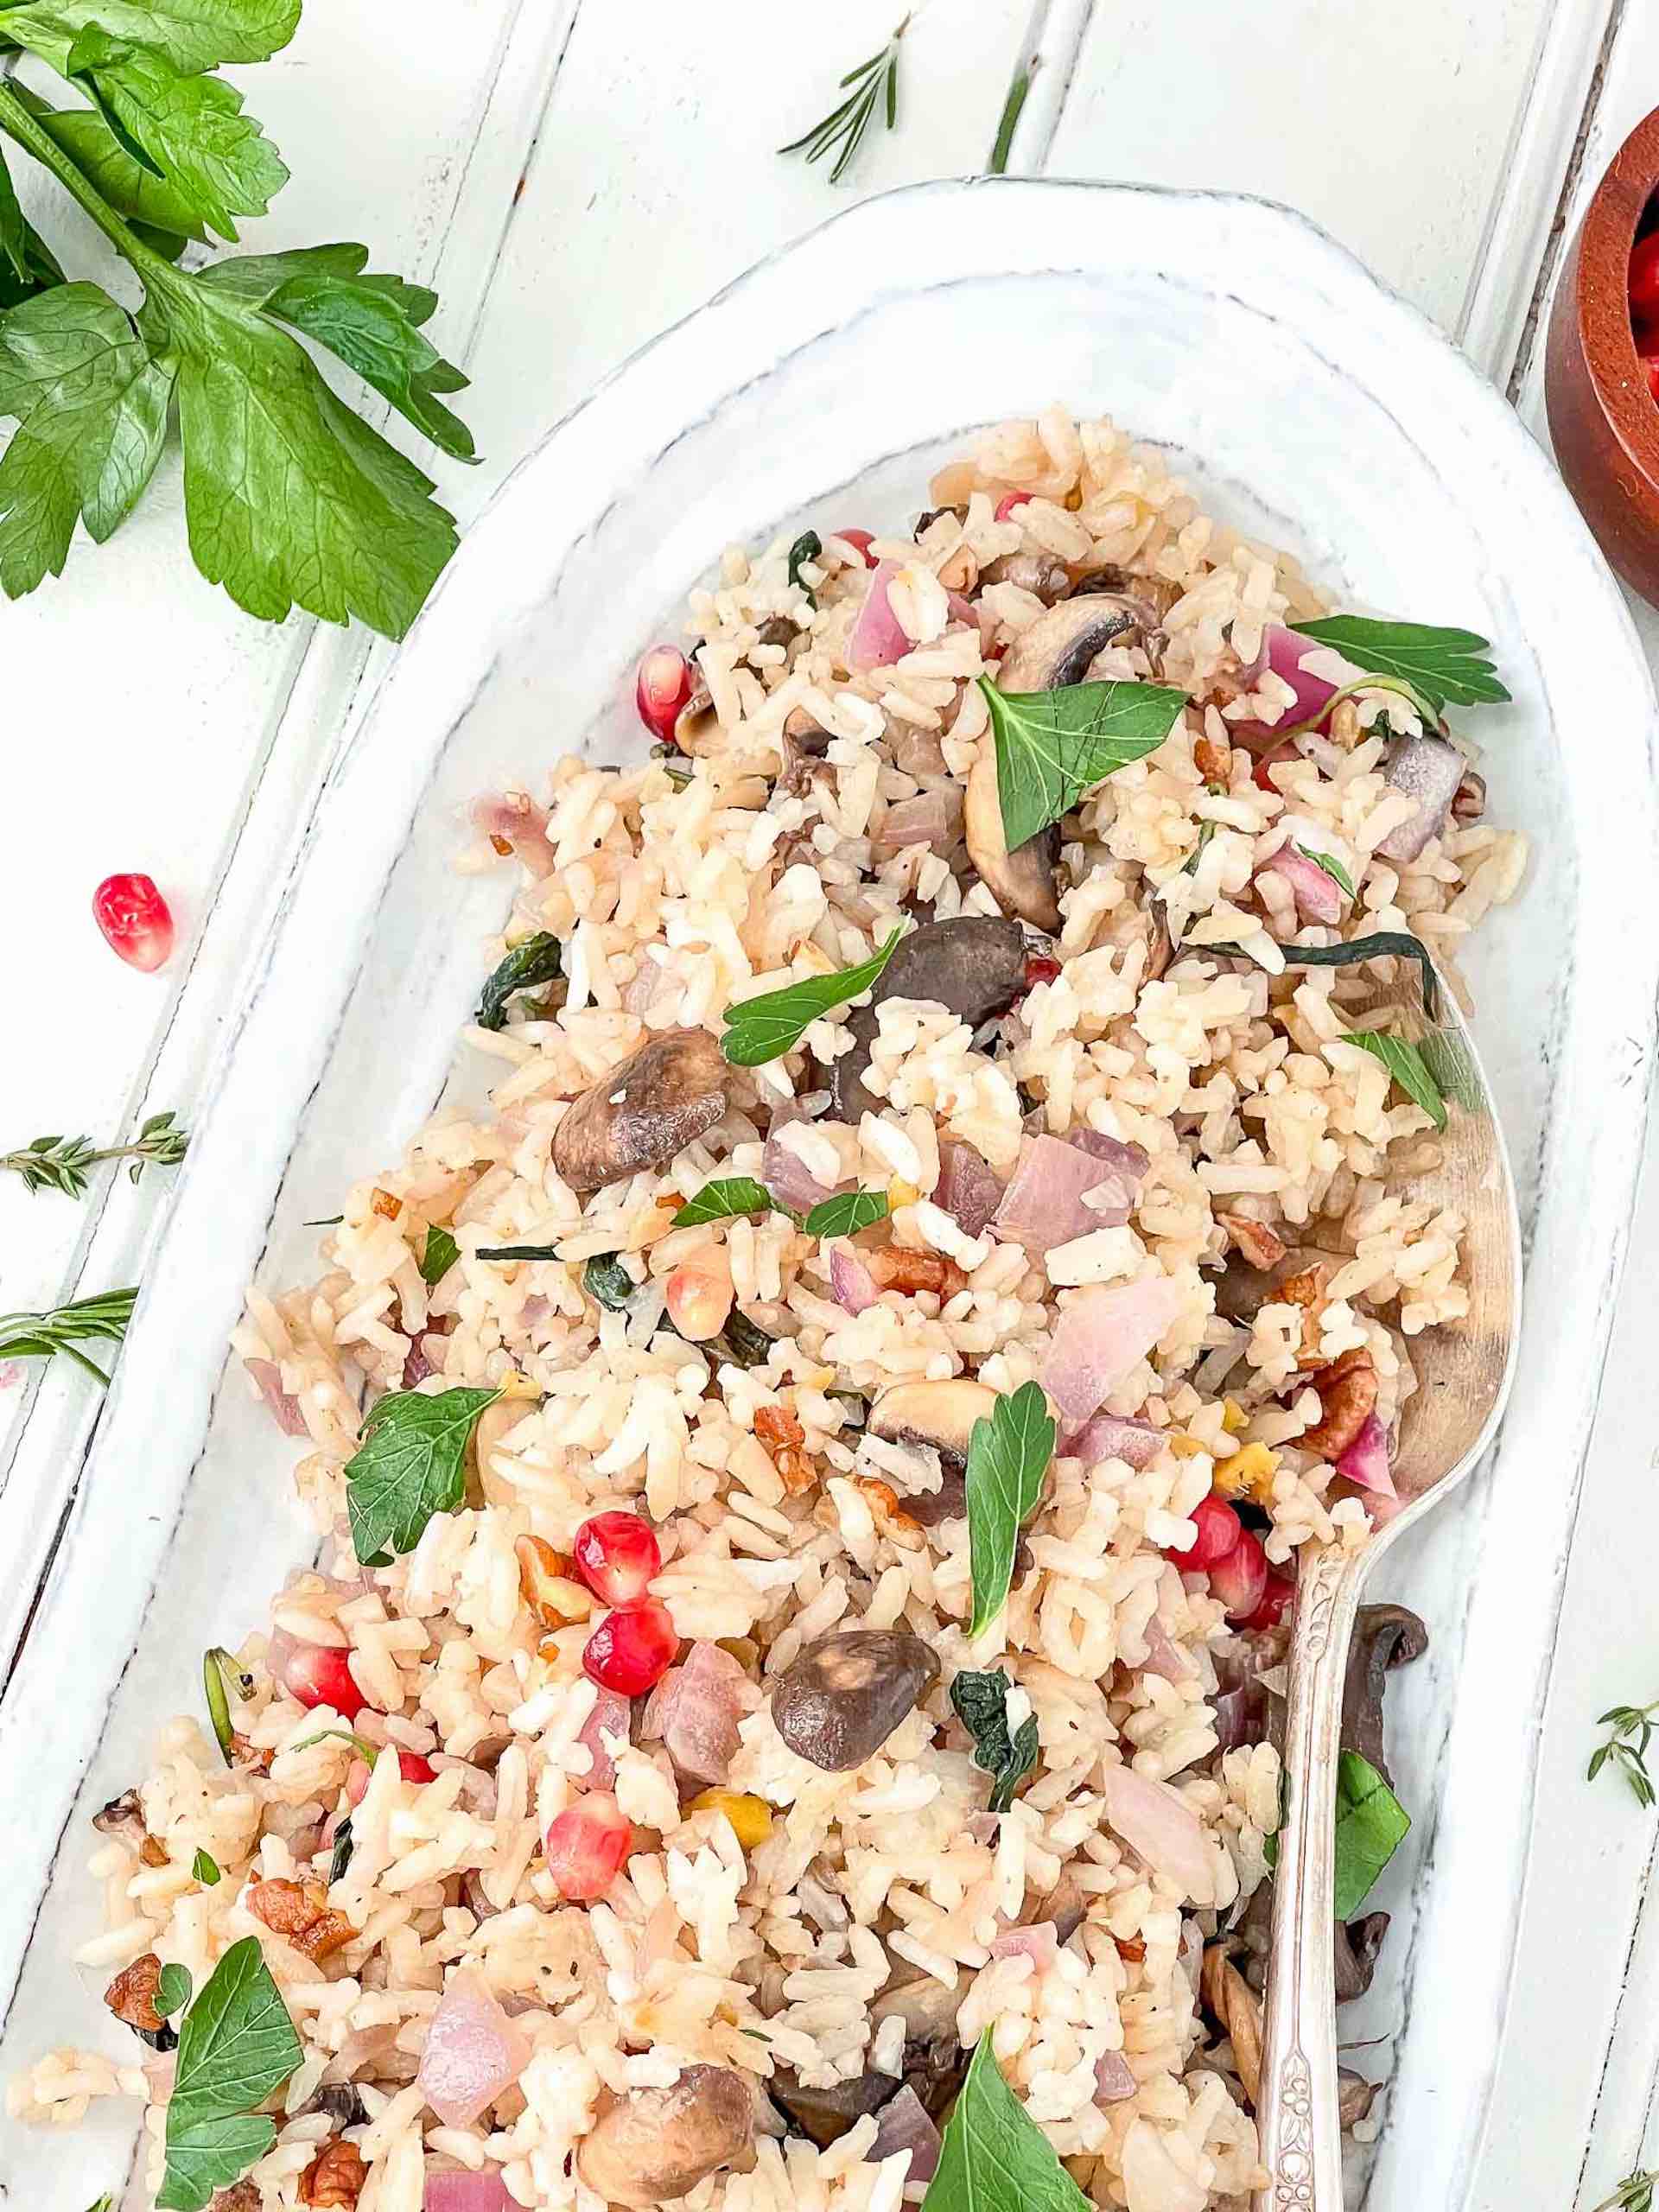
- Voila! You’ve just made yourself some bangin’ basil fried rice! Scoop into an acorn squash, throw underneath some tofu, or store in the fridge for this week’s meal prep.
Basil Fried Rice Tips & Tricks
-
- Add the smell-good stuff first! All that garlic, ginger, and onion deserve a bit of the spotlight. By doing this, you make sure all flavors are released before overloading your pan with other vegetables.
- Heat your pan first, then add the oil! When pan-frying or sauteeing anything, it’s a great habit to get into. Frequently, if you add oil to a cold pan, it’s going to, in turn, heat up when you turn the pan on… but doing this will burn off some of the best flavors of non-neutral oils, like olive oil.
- Add a little extra oil before adding the rice if you’re worried about burning. All the liquid will cook down by the time you’re done, which assists in future fan scraping! You could even add veggie stock or water if you’re a bit nervous about oil.
- Dress her up! Don’t feel limited by the vegetables I use or even the type of nut! Any veggie you adore in fried rice, throw it in there! It’s a totally addition-friendly recipe. I love adding extra mushrooms, peas, corn, and even potatoes work well! Whatever you have in the fridge will suffice.
Basil Fried Rice Frequently Asked Questions
-
- Moving the veggies to one side of the pan is messy – how do I avoid that? As referenced in our video, I find it easiest with smaller pans to move all of the veggies evenly to the outer ring of the pan and then add the rice directly to the center. Way less mess, and looks pretty cool!
- What if I don’t have an “x,” “y,” or “z” vegetable? Not to worry- there’s always a solution! Either replace it with a similar aromatic powder (garlic powder, onion powder) or a comparable veggie.
- Does this recipe work with other kinds of rice? It definitely does, but Thai jasmine is by far my favorite!
- It tastes great, but it looks bland. Add something to brighten it up that won’t compromise the taste! Some sliced green onion, dried cranberries, or chopped fresh basil! It’ll help it look as delicious as it is without affecting the final product.
- It looks great, but it tastes bland. Season, season, season! Seasoning is the most critical part of cooking with vegetables- without it, the real flavor of veggies will be lost. Don’t skimp on the salt; if you find yourself frequently having this issue, it may be time to come to terms with the fact that you’re a serial undersalter. It’s okay, and we’ll get through this together.
- I don’t have liquid aminos/tamari/soy sauce. Any other ideas? Vegetable oil and some good ole salt! Nothing compares to soy sauce’s umami flavor, but the salt will help!

Serving Suggestions for Basil Fried Rice
-
- Roasted acorn squash
- Garlic Lemon Tahini Dressing
- Cute takeout containers you can get on Amazon!
- A carved pineapple! This is by far the most fun and visual option.
- Alongside our Arugula Salad for a light but filling lunch!
Sometimes the best food is the easiest! Low effort, low cost, and so beyond delicious that you’ll have yourself second guessing if you ordered out. This basil-fried rice will have you scooping it out of the pan with a spoon before serving, and you have my word! It hits the spot, and again, we all owe it to the vegan senior boy I so desperately wanted to impress. Luckily, now we can impress ourselves.
Basil Fried Rice
Ingredients
- 2 cups jasmine rice
- 1 cup mushrooms, I used white mushrooms
- 1/2 tbsp fresh ginger, ground
- 1/8-1/4 cup red onion
- 1 cup fresh basil, trimmed
- 1 tsp fresh garlic, ground
- 1/4 cup pecans, roasted
- 1 tbsp extra virgin olive oil
- 1 tbsp liquid aminos, tamari, or soy sauce
Instructions
- Prepare! Crush and mince the garlic, dice the red onion, and peel and mince the ginger. You can choose to chop the mushrooms, but I prefer putting sliced white mushrooms in so they retain some size/shape when cooking amongst all the other ingredients.
- Make the jasmine rice. For rice, we have a foolproof how-to that will explain exactly how to perfectly make Thai jasmine rice at home without a rice cooker or anything fancy.
- Place your skillet or any non-stick pan on low heat, and let the pan heat for a minute or two. Then, add the olive oil until it’s shimmering and appears to be less viscous. Rotate the pan so it’s coated, and wait about 30 seconds until the oil becomes fragrant. That’s when you know it’s ready!
- Time to add the good stuff! No matter what I’m cooking, I always start with aromatics. Not only will it instantly improve the smell of your kitchen, but it’s essential to make sure the flavors have a chance to release properly into the oil before adding the rest of your veggies. Think of it like infusing olive oil in a pan. I first add the minced garlic, minced ginger, and red onion. I sautee them on low heat until evidently fragrant and softened. You want your onion to be almost flimsy and garlic/ginger sizzling but not burnt or browned. If this happens- truly, it’s not the end of the world… Just continue, lower the heat, and add a dash of water to cool everything down/un-stick the burnt bits from the bottom of the pan.
- Add mushrooms and other veggies. Add your mushrooms to the pan and about half of your basil. Make sure everything is coated in oil and well-mixed, and let that baby cook for about five minutes, stirring every once in a while! This shouldn’t take too long unless you decide to add a more dense vegetable, like carrots or potatoes. I do all of this on low to medium heat, but that’s because I have a very temperamental gas stove! Figure out what works best for you- but just remember, you don’t need anything flash-fried or cooked at a high heat here! We’re just sauteeing, not deep frying!
- Roast the pecans Now, this isn’t a necessary step, but I love the smell and prefer a bit less of the bitterness that comes with raw pecans- so I toast them in a separate little pan. No oil, nothing, just pecans on very low heat until I can start to smell them. This can take three to five minutes on low heat, but stay tuned in! You’ll know when they’re a little too toasted by the burnt-peanut-brittle smell. Put them to the side for now- we’ll need them soon!
- At this point, your veggies should be comfortably cooked and ready for the rice. I like to push all of my cooked veggies to one side of the pan, leaving the remnants of oil on the other side. Sometimes if I feel like most of the oil has already been soaked up, I’ll add a dash to the empty side of the pan, but rarely do I have to. I then add all the cooked rice to the empty side and loosely press down so all the rice is either making contact with the pan or close to it. Now you should have what looks to be half a pan of perfectly white rice and half a pan of fully cooked veggies.
- Add soy sauce, tamari, or liquid aminos. I prefer liquid aminos over tamari or soy sauce, but feel free to use whatever you like! I add a few good healthy swigs of the liquid aminos directly to the white rice, about three tablespoons, and then mix the rice, still sectioning it from the veggies, until it’s all lightly brown from the liquid aminos and the remaining olive oil.
- Finally, you can stir it all up! Using a wooden spoon, combine the rice and veggies together. Flatten everything down closer to the bottom of the pan and let the bottom layer of rice get just a little bit crispy! This should take about three or four minutes on low-medium heat. Then, repeat! Mix it and let it sizzle for a few!
- Now’s the time to throw in your pecans, the remainder of your basil, and your pomegranate seeds! Turn the heat off on the rice and stir it all in. The hope is that none of those additions need to be cooked but instead brightened with a small amount of heat.

0 Comments